How to Dodge and Burn in Photoshop
This quick photography tutorial will show you how you can easily dodge and burn in Photoshop. Below, you can find out what dodging and burning means, followed by a non-destructive photo editing workflow for dodge and burn in Photoshop, along with free Photoshop actions to help you dodge and burn.
What is Dodge and Burn in Photoshop?
Dodging and burning has been a part of landscape photography from its inception, and is now a favoured part of most photographers workflows in the digital darkroom.
Dodge and burn means to either lighten or darken a part of an image. The terms come from its practice in the darkroom, where a light source is placed behind the negative and shone through this negative onto photo sensitive paper, which becomes the physical photo. Photographers would cover parts of the photo during this exposure, so some parts of the photo paper got more, or less, light. The more light the paper received, the darker it would get, due to the chemical reaction within the paper – this was known as burning in photography, as a darker image is ‘burnt’ onto the photo paper.
Dodging in photography is the reverse process, where parts of the photo paper are exposed to less light, so causing the chemical reaction in the paper to be less intense, and the photo to remain lighter in that area.
In both cases, photographers would block light, or direct more light to the photo through using cardboard cutouts, their hands, or whatever else was in their studios.
In Photoshop, dodge and burn gives exactly the same result, but using digital tools. So, the dodge tool in Photoshop causes a part of your photo to become lighter, and the burn tool causes it to become darker as it is painted over your picture. Therefore, the tools cause opposite effects.
When to Use Dodge and Burn?
Because dodging and burning is such a simple, yet powerful technique, you can use it in a huge number of different situations, like:
- Selectively increasing contrast
- Brightening key parts of your photos, like the eyes in a portrait
- Directing the viewer’s eyes through your photo, and much more …
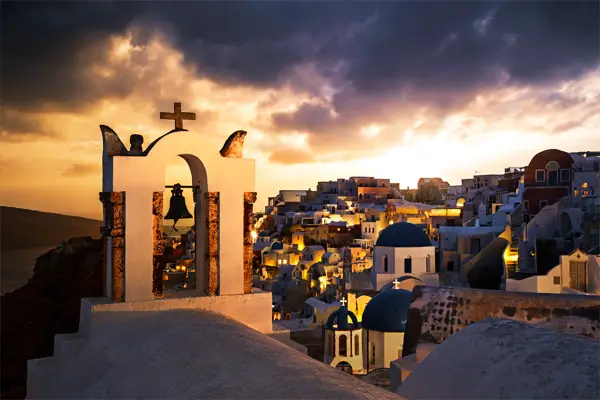
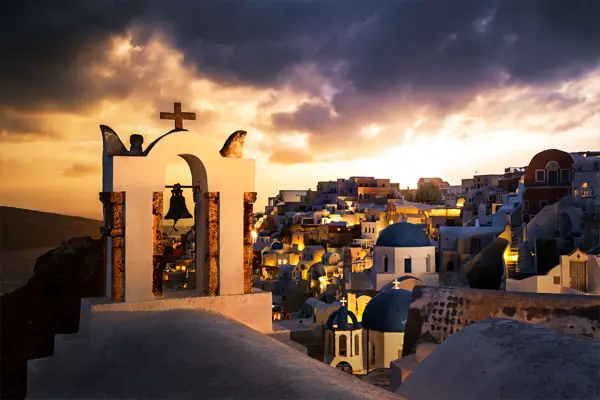
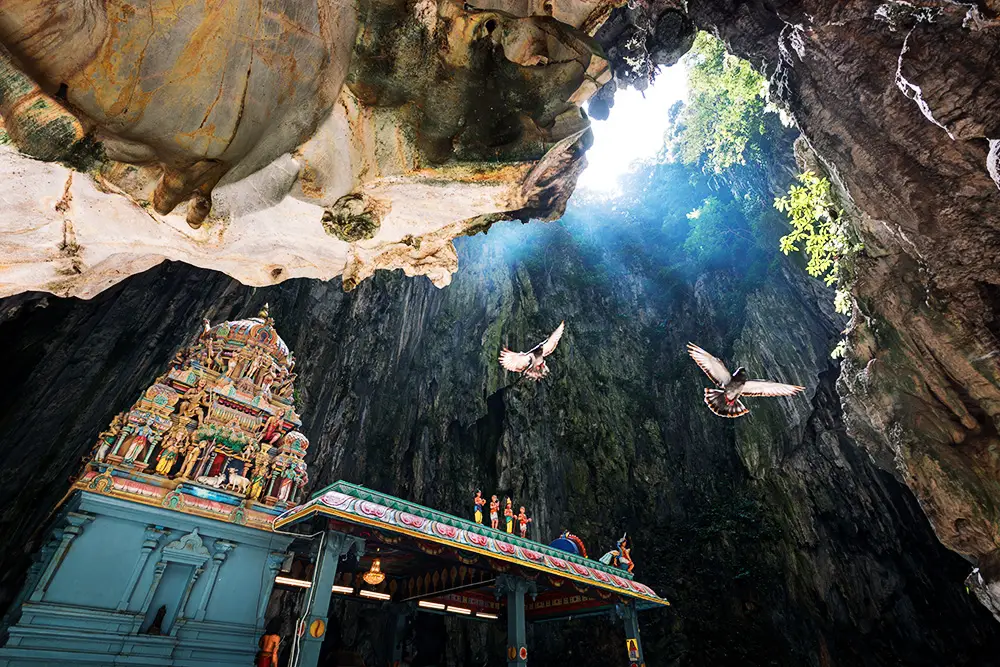
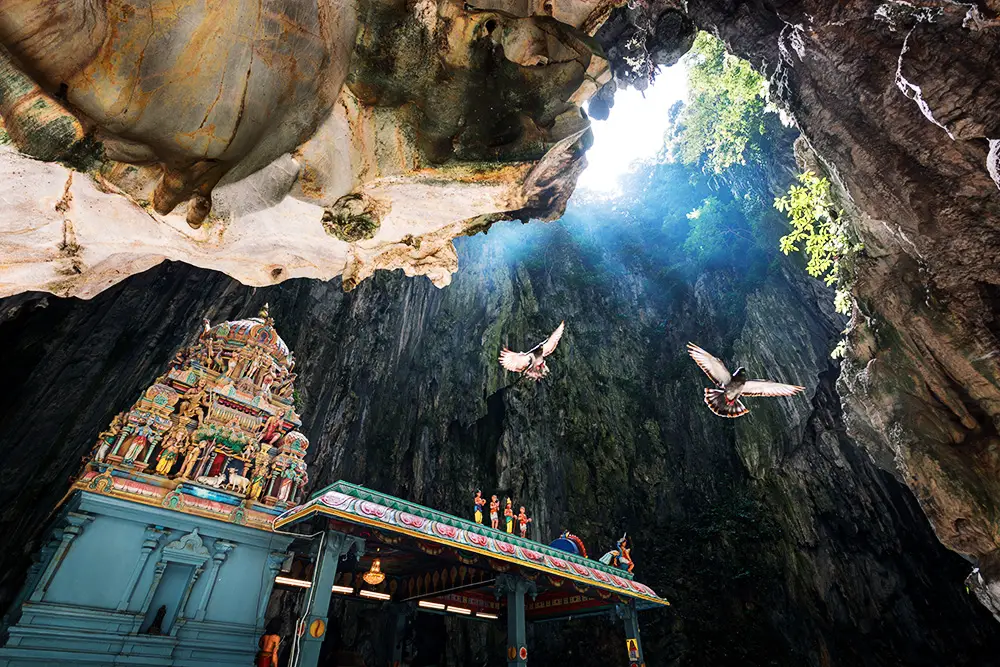
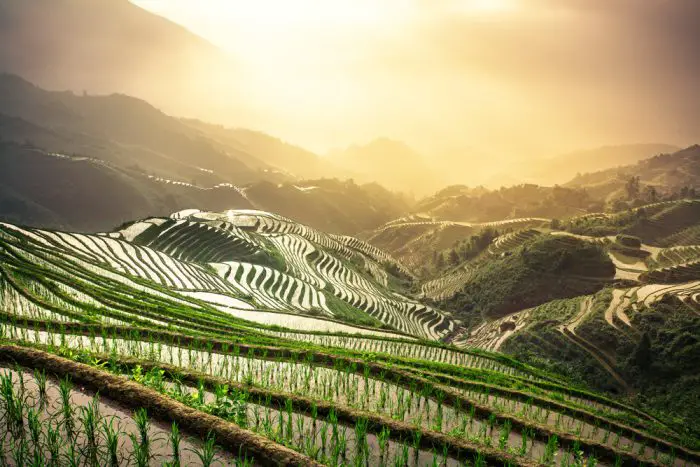
Some examples of how you might use burn and dodge in landscape and cityscape photography are below:
Where is the Burn tool in Photoshop 2023?
To find the dodge or burn tool in Photoshop, look on the toolbar on the left-hand side of your workspace for these symbols:
As the dodge and burn tools occupy the same position on the toolbar in Photoshop, to switch between them, you must right-click on the icon on the toolbar to bring up the menu you see above.
Alternatively, the Photoshop shortcut key for dodge and burn is “o”. To switch between the tools the shortcut is “Shift+o”.
How Do You Dodge and Burn in Photoshop?
The simplest way to dodge and burn in Photoshop is to just paint the tools straight over your photo. This is destructive though, and so is difficult to reverse later, if you feel you have gone too far. It is always much better to perform edits like this in a way that can be easily reversed.
It’s possible to dodge and burn in a non-destructive manner:
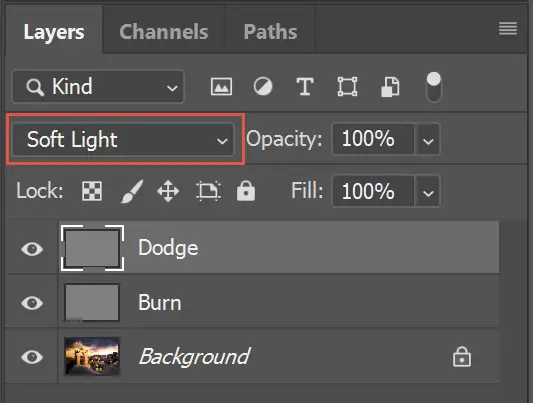
- Create two new layers and rename one to ‘Dodge’ and one to ‘Burn’.

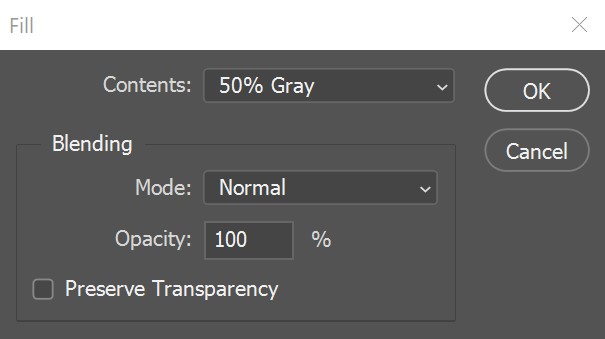
- Fill each layer with 50% gray. Go to the Edit menu, then choose Fill, or use the keyboard shortcut “Shift+F5”. In the dialog box that appears, choose Contents of 50% gray.
- Then set each layers blending mode to Soft Light.
If you want to skip having to do these steps each time, there is a free dodge and burn Photoshop action available in the Photoshop Colour Control Action Pack. Get a download link by signing up for my mailing list below:
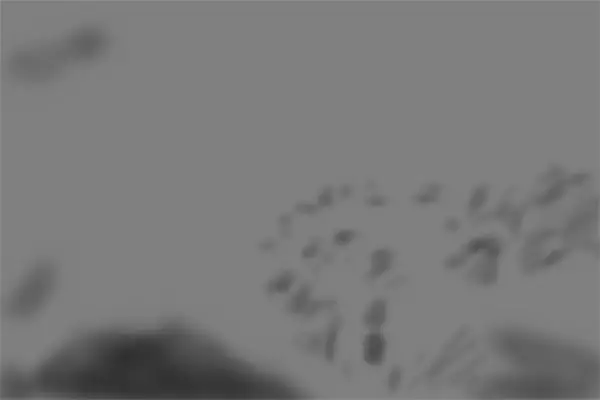
- Finally, you are now able to use dodge and burn to brighten and darken parts of your photo, on their respective layers, to accentuate areas where shadows and light intersect. Aim for subtle enhancement. You can use the toolbar at the top to change the strength of the tools as you paint, by increasing or decreasing the exposure.

Applying the dodge tool to your ‘Dodge’ layer, and the burn tool to the ‘Burn’ layer gives you further control over the process. To make the effect stronger, you can change the blending mode of the layers to Overlay, to make it weaker reduce the Opacity of the layer, and you can easily delete any part of the dodging and burning by painting 50% gray over part of the layer with a regular brush.
To go back to the example we saw earlier, I heavily used non-destructive Dodging & Burning in the below photo of Santorini. Compare the before and after and see the Dodge & Burn layers for an example of how you should use it, particularly in the foreground of this photo.

Why Not Read Some Related Tutorials?
- How to Crop a Layer in Photoshop
- How to Make Images Bigger in Photoshop
- How to Remove Lens Flare in Photoshop
- How to Stretch an Image in Photoshop
- Photoshop Filter Gallery Grayed Out? Read this to fix it
The Photoshop Color Control ActionPack contains 17 powerful actions to control color and tone and finalise your photos.

Leave a Reply