Landscapes Masterclass
Table of Contents
Part 3: Blending Two or More Photos
An important part of the digital blending workflow is combining two or more photos into one, using a variety of techniques and layer masks. You can’t do this in Lightroom unfortunately, only Photoshop. It’s not always necessary, but it can make a huge difference to your final photo. If you don’t have two or more versions of a photo that you want to blend, skip straight to Part 4. If not, then there are a handful of reasons why you might want to blend photos, including:
10. Multiple Exposure Blending
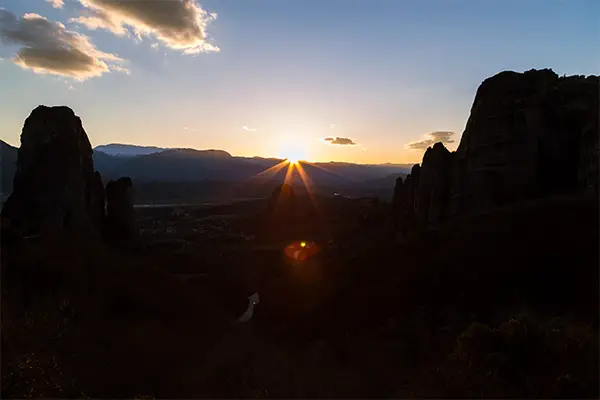
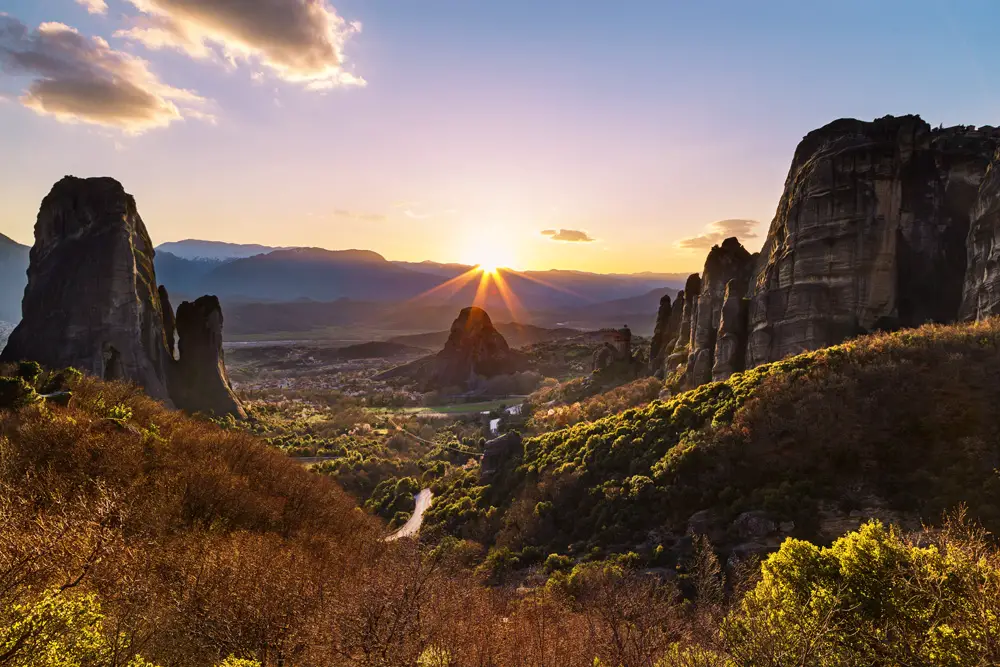
Although modern cameras can deal with increasingly bright lights and dark shadows in the same scene without losing detail in either, sometimes you still need to shoot exposure brackets if the dynamic range is very high, for example, if you are shooting directly into the sun. There are several ways to blend photos for dynamic range, with the most common being luminosity masks and HDR. Take a look at these photos of Meteora, Greece, to see luminosity masks in action. See the blending tutorials page for details.

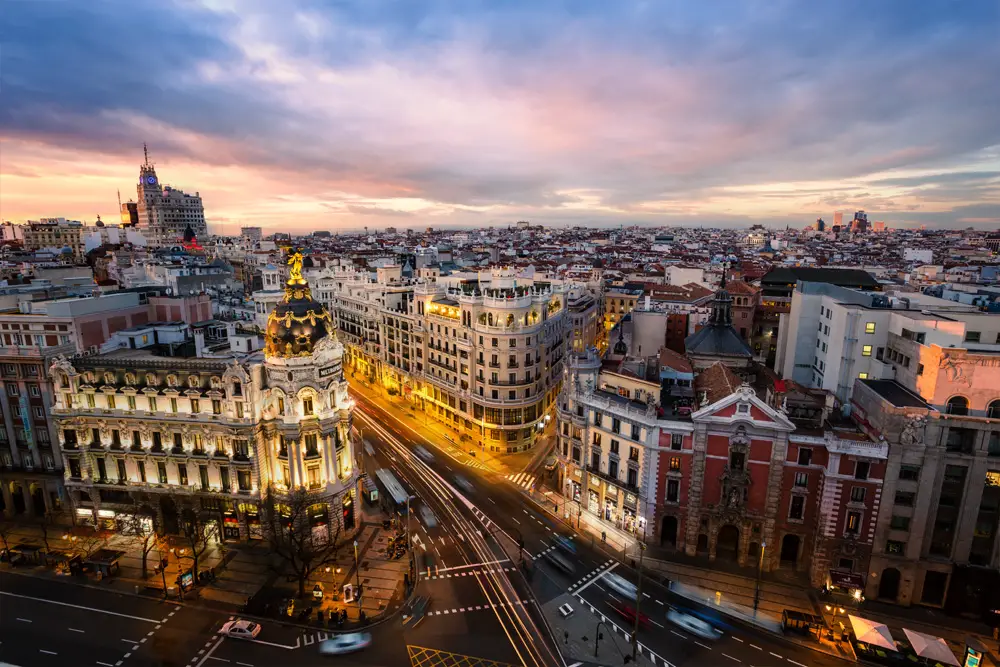
11. Time Blending
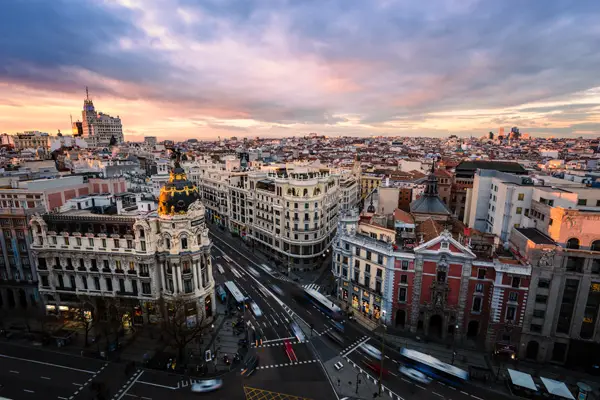
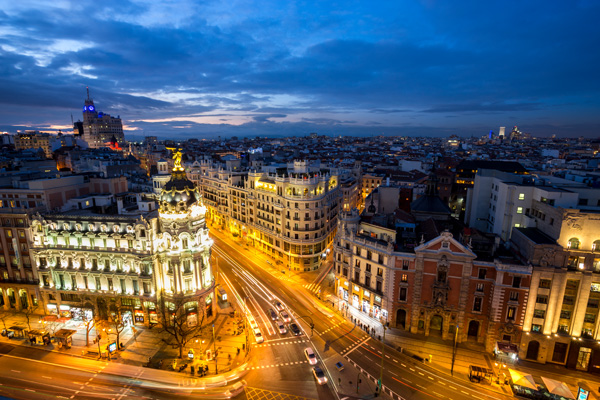
My most common reason for blending multiple exposures is to capture a sense of time. You might set up your tripod, shoot a photo, wait half an hour, shoot another, then blend them later. This creates a unique sense of dynamism you can’t get any other way. Compare these photos of Madrid taken at sunset and blue hour, along with the final blend. Luckily this is easy to do! The most common blending methods for Time Blending are hand painting and luminosity masks. See the time blending tutorials page for more details.
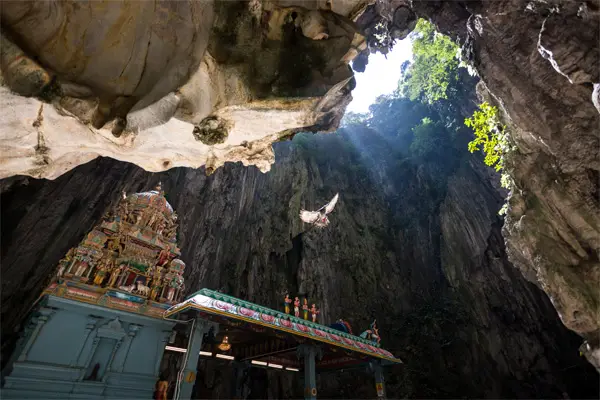
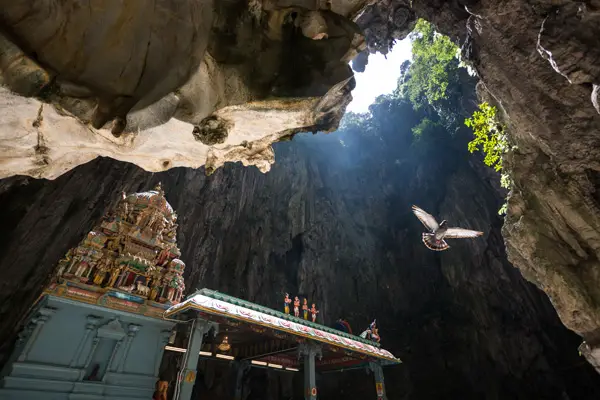
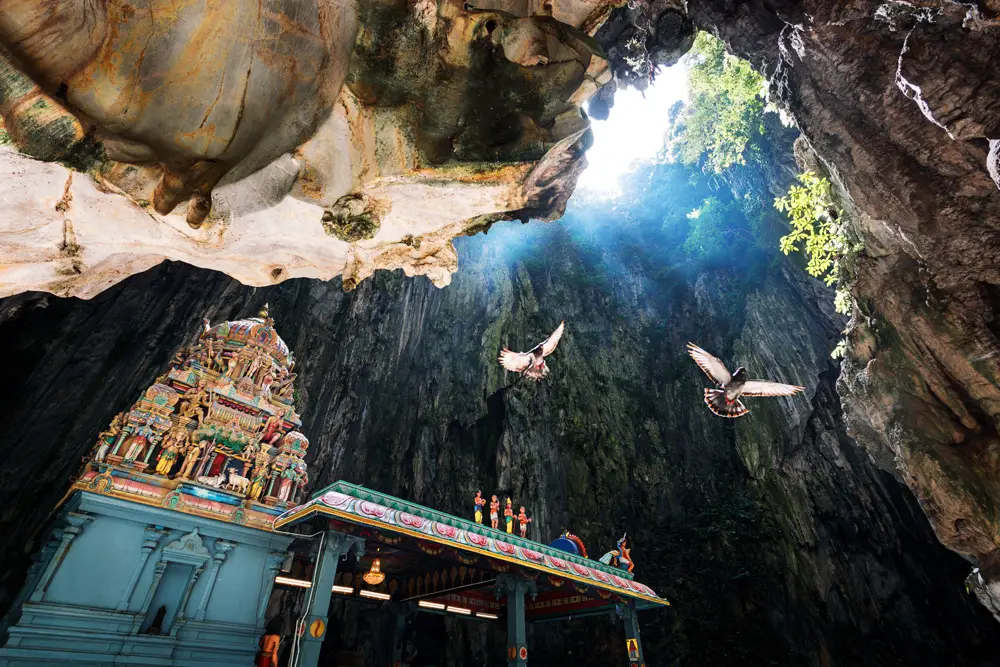
12. Object Blending
Sometimes you set up your tripod with moving objects in front of you. You take multiple shots of them, then want to blend the objects together into one frame, usually using the quick selection or magic wand tool and blending modes. It’s pretty common to do this with birds. See the object blending tutorials page for more details.
13. Double Process Blending
Sometimes you run one image through Lightroom multiple times, getting different results each time. You like parts of all of them, so what do you do? You blend them together. I produced 5 versions of the Li River shot, 2 of which I decided to blend. How? Ask yourself this question:
- Which is Your Favourite? Decide which version you like best and open it in Photoshop. This is your base. Remember, there are no right or wrong answers, and you can always change your mind later.Look at the remaining versions and ask yourself if there are any parts of them you like better than in your base photo. In the Li River photo below, I preferred some of the sky, water and mountains in version 2. So, I dragged version 2 into Photoshop, into the same workspace as my base photo, setting it as another layer on top of version 1, which was already open in Photoshop. There are now a number of blending methods open to you that are covered in much more detail on the double process blending tutorial page.For the Li River photo, as with most of my double processed photos, I chose to blend by hand, painting in the areas I wanted to blend. This method works particularly well on photos with similar dynamic ranges, but differing colour grades.
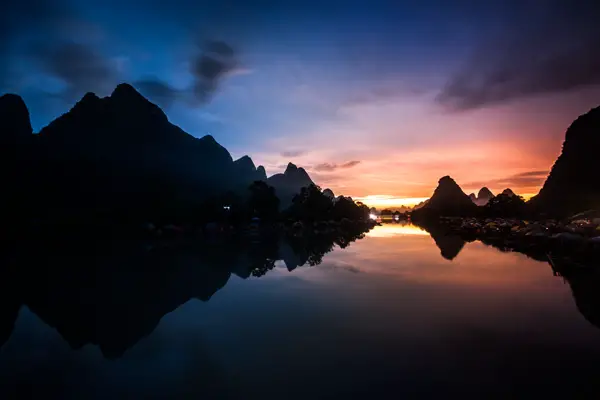
Version 1 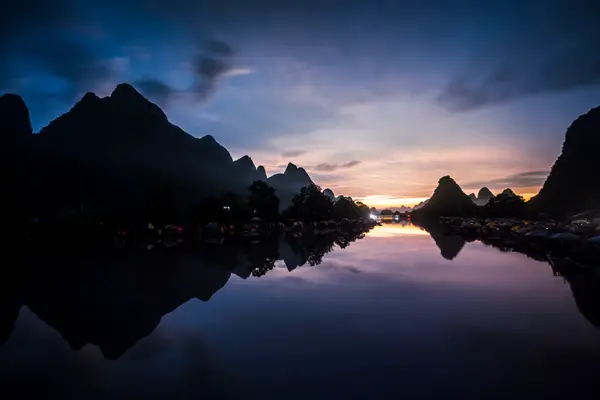
Version 2 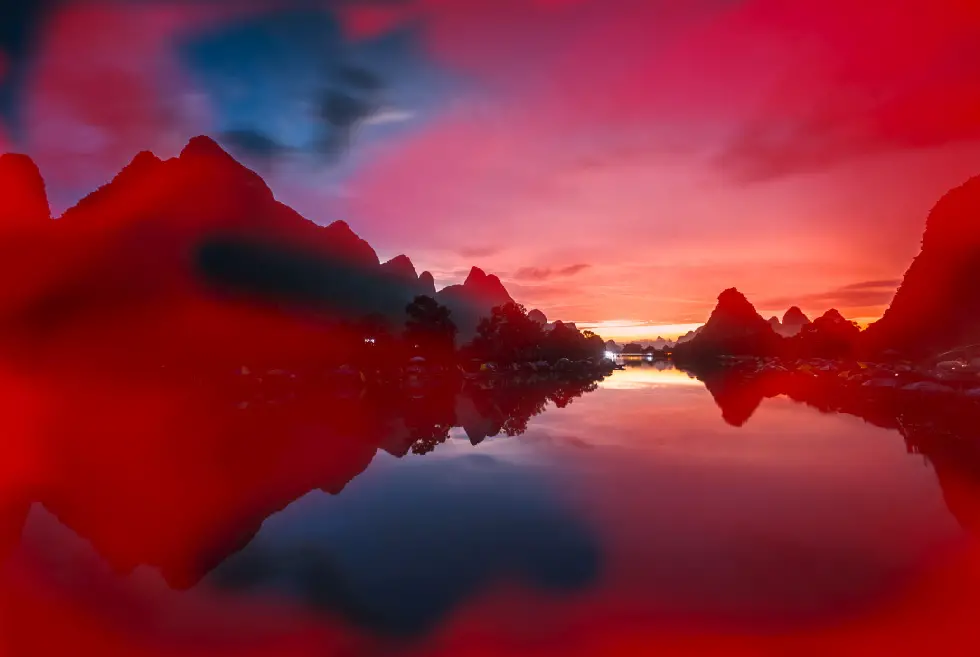
Digital blending hand-painted layer mask 
Final Digital Blend
You can read the in-depth article on digital blending, or just watch the quick video below.
Keep repeating this process until you have one final, blended image. It’s now time to perfect the details in Photoshop, in Part 4.
Leave a Reply