5. Blending Skies
When I’m shooting in a city at night, I like to try and capture any stars to give a boost to the night sky. But often this isn’t possible due to light pollution. So why not add a starry sky in Photoshop?
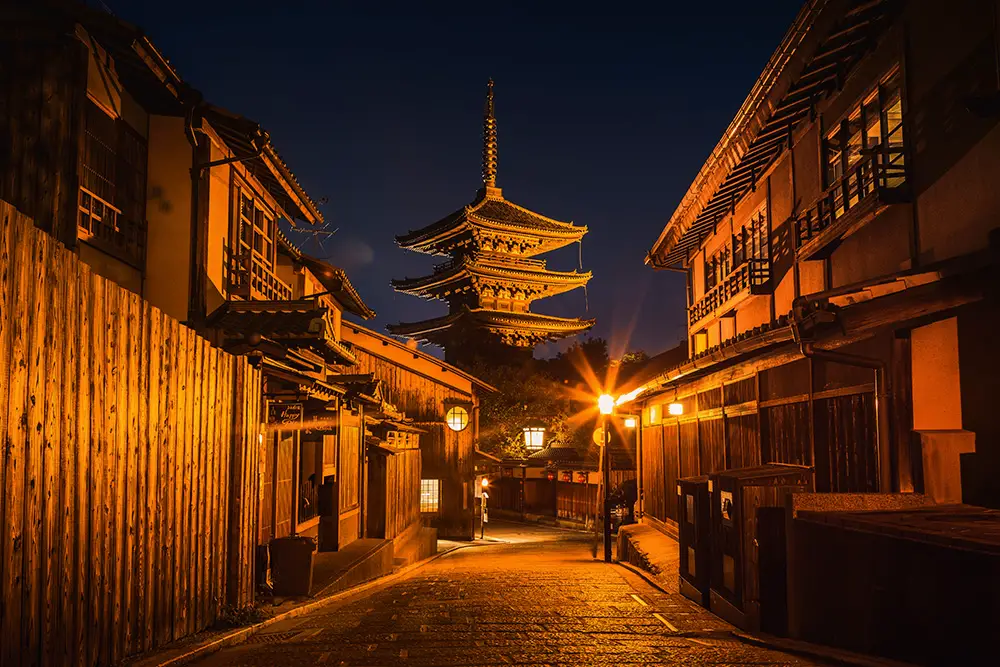
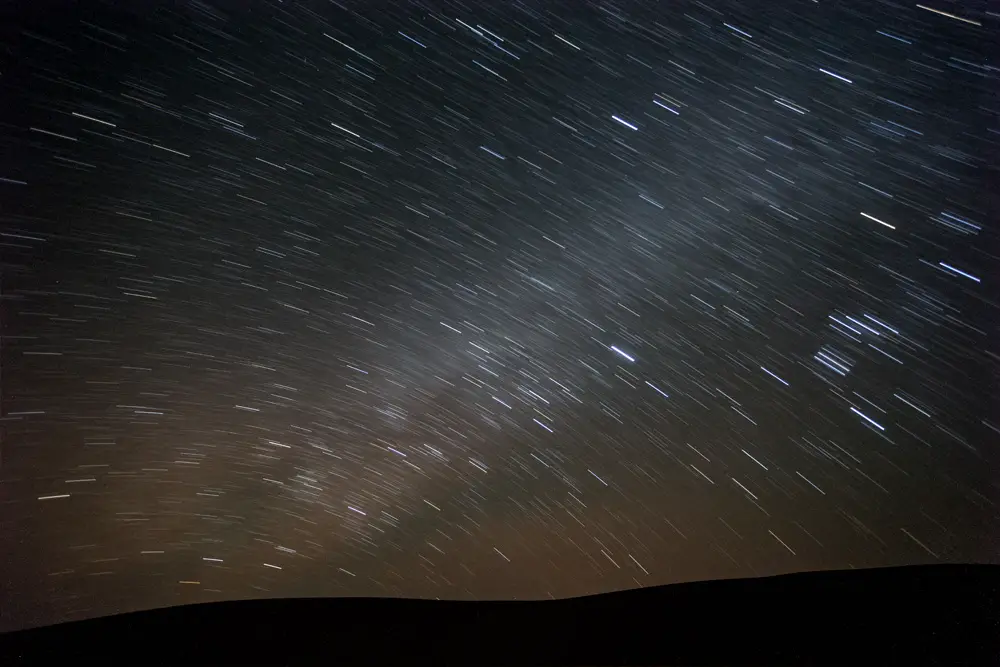
The shot of Kyoto was too dull and flat as it stood, but I thought that the long exposure of stars taken in the desert of Jaisalmer, India would fit well. (Side note: the Lightroom Develop System has an ‘Isolate Starry Sky’ preset especially developed to prepare star photos for blending).
- Open your base photo in Photoshop, and add the stars photo as the topmost layer.
- Make sure the base layer is active, by clicking on it.
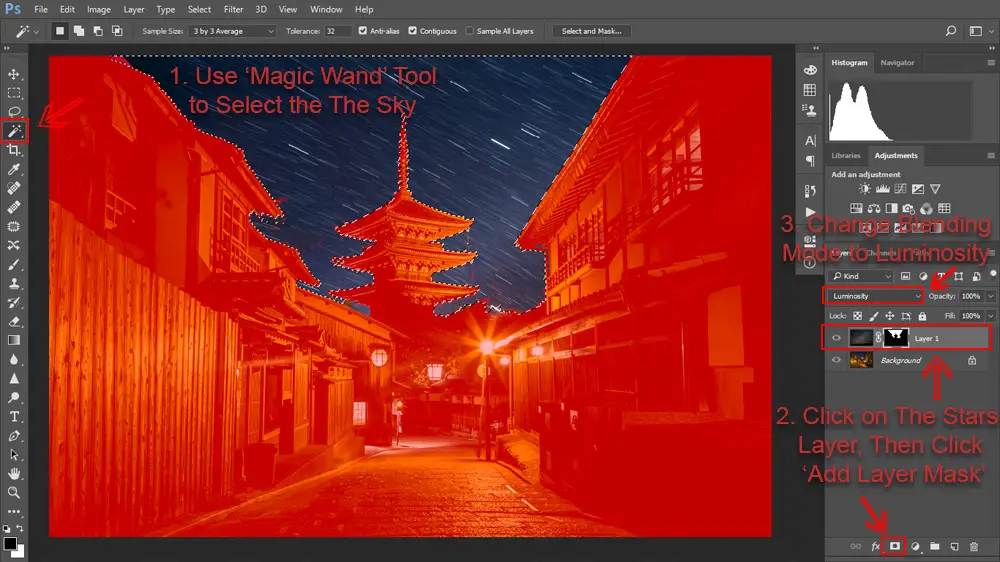
- Use the ‘Magic Wand’ tool (with ‘Sample All Layers’ unchecked) to select the sky in the base photo.
- Click on the stars layer, and add layer mask.
- Change the blending mode of the stars layer to Luminosity.
You can see the mask that the ‘Magic Wand’ created, shown in red below. You might have to tidy up your layer mask by zooming in to 100% and using a soft brush. Alternatively, if the ‘Magic Wand’ tool is having difficulty selecting the sky, try increasing the Tolerance.
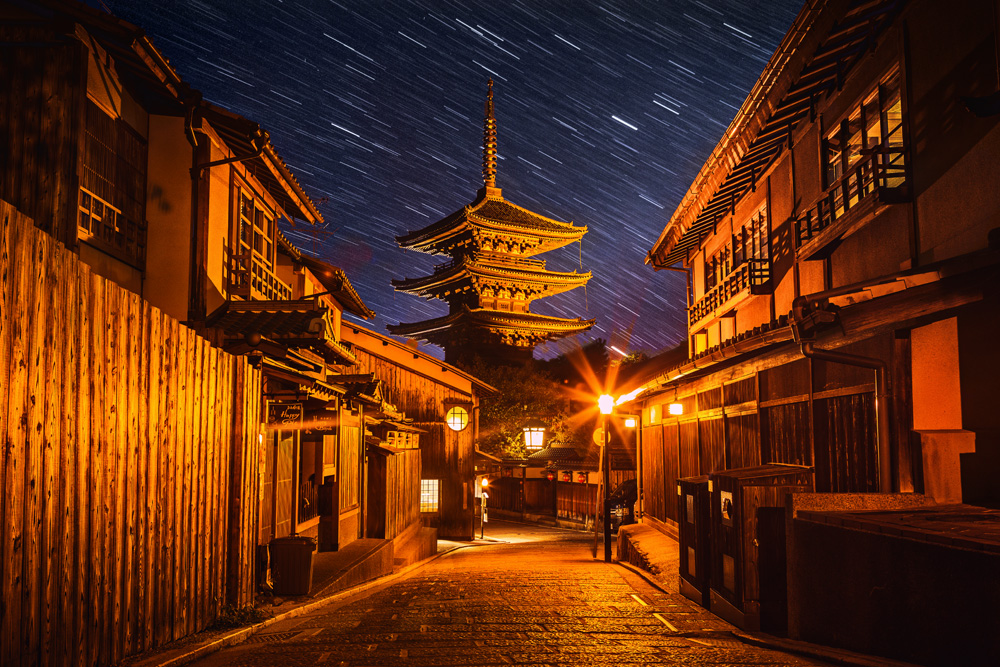
This photo is now ready for the Landscapes Masterclass process.
But what if your photo was taken during a dull, overcast day? You can’t add stars. Instead, you can blend in a new sky.
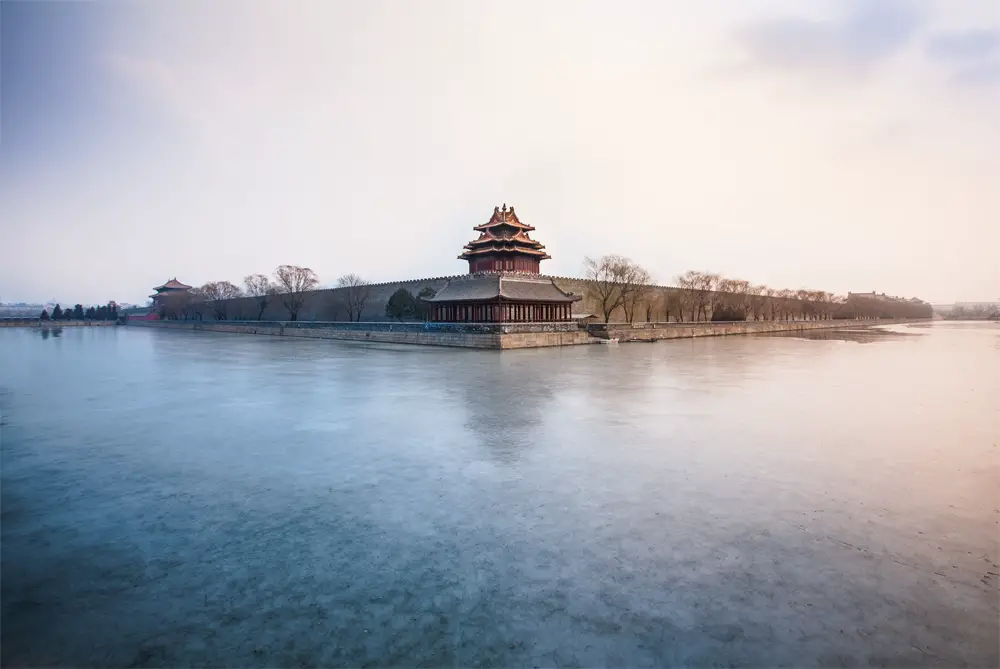
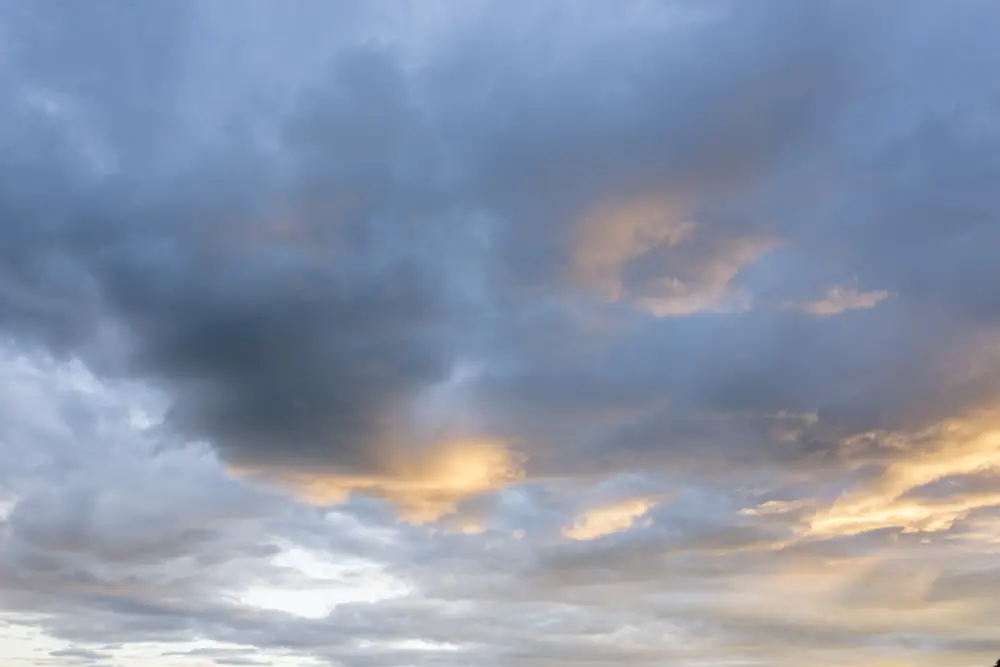
I have a pretty big library of sky photos like the one above from Scotland. Taking pictures of clouds and sunsets on their own is a good habit to get into if you want to do a lot of sky blending. The photo of the Forbidden City in Beijing was processed to this point in Lightroom using the Lightroom Develop System.
Tip: If you shoot the sky at a slightly longer focal length than your base photo (eg. 24mm versus 17mm) it will give the clouds greater impact in your blended photo.
- Open your base photo into Photoshop, and add the sky as a layer on top.
- Turn the sky opacity down to 50% and use the ‘Move’ tool to match up its horizon with that of your base photo. Turn the opacity back to 100%
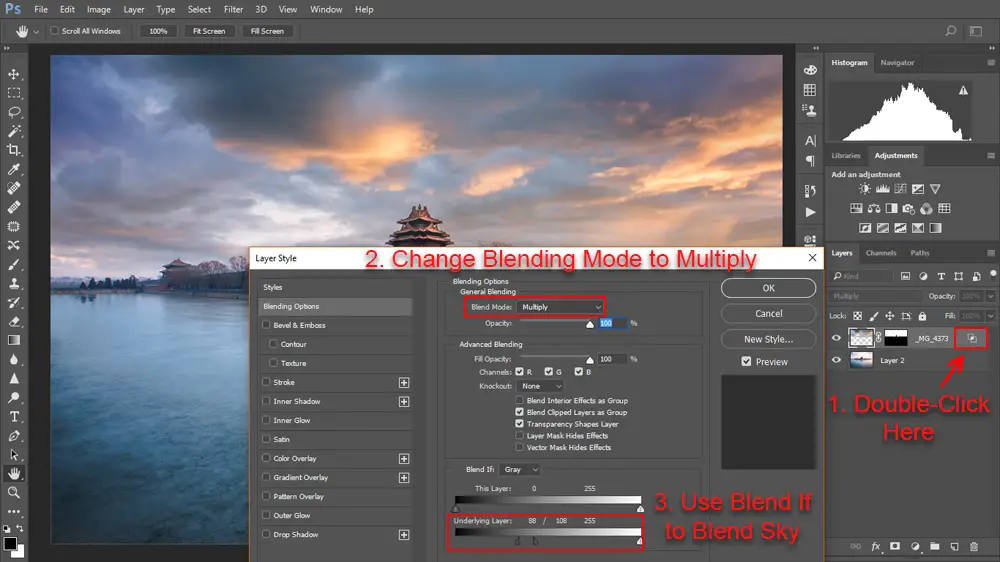
- Double-Click on the right hand edge of the sky layer, in the Layers tab, to open the Layer Style box.
- Change the blend mode to Multiply.
- Using the ‘Underlying Layer’ Blend If box, move the left side tabs to the right, until the dull, overcast sky disappears. Tip: Hold Shift when you click the tabs to feather the Blend If effect.
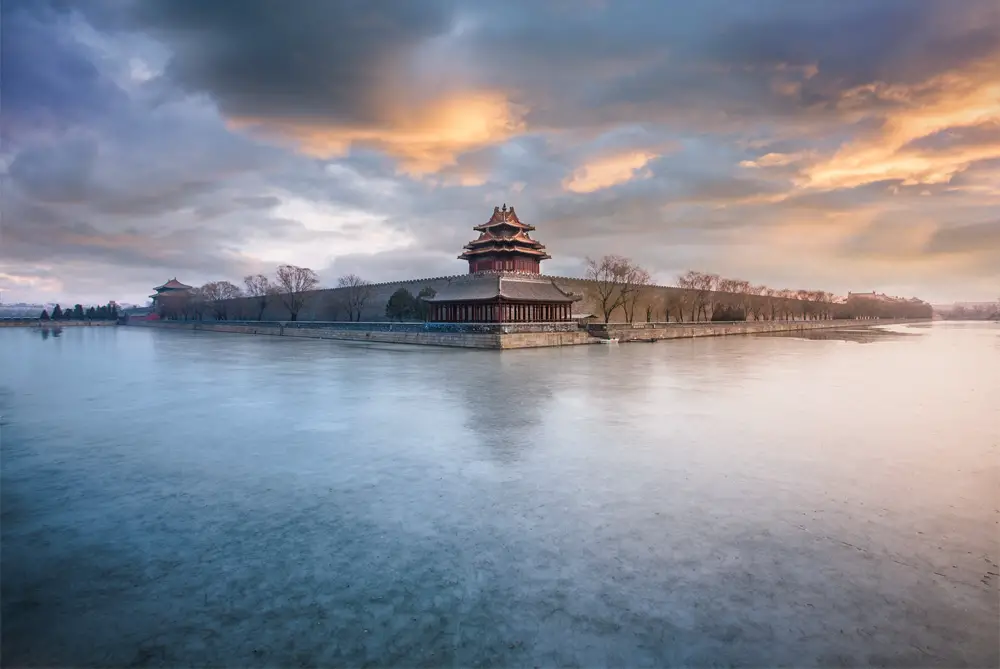
And that easily and quickly gives you a finished blend, that you can then put through the remainder of the Landscapes Masterclass.
Additional Blending Techniques
Blending doesn’t have to be a blunt instrument. It’s possible to use it in subtle ways to really boost a photo. Take a look at the video tutorial photo below for more.
This is only scratching the surface of what you can do in Lightroom and Photoshop. If you haven’t already, take a look at the Landscapes Masterclass for a full start-to-finish workflow of a landscape photo. There are totally free downloads for Lightroom and Photoshop available in the Library, including the Lightroom Develop System, with over 1000 fully stackable presets, and the Photoshop Colour Control ActionPack to create saturation masks and give you total control over colour. And many more tutorials available. And if you have any questions, just contact me.
Get the Photoshop Color Control Action Pack for free!Subscribe to the mailing list and get a free download link right now
While you’re here, why not read my Best Long Form Photography Tutorials & Guides …
The Digital Blending Workflow Tutorial
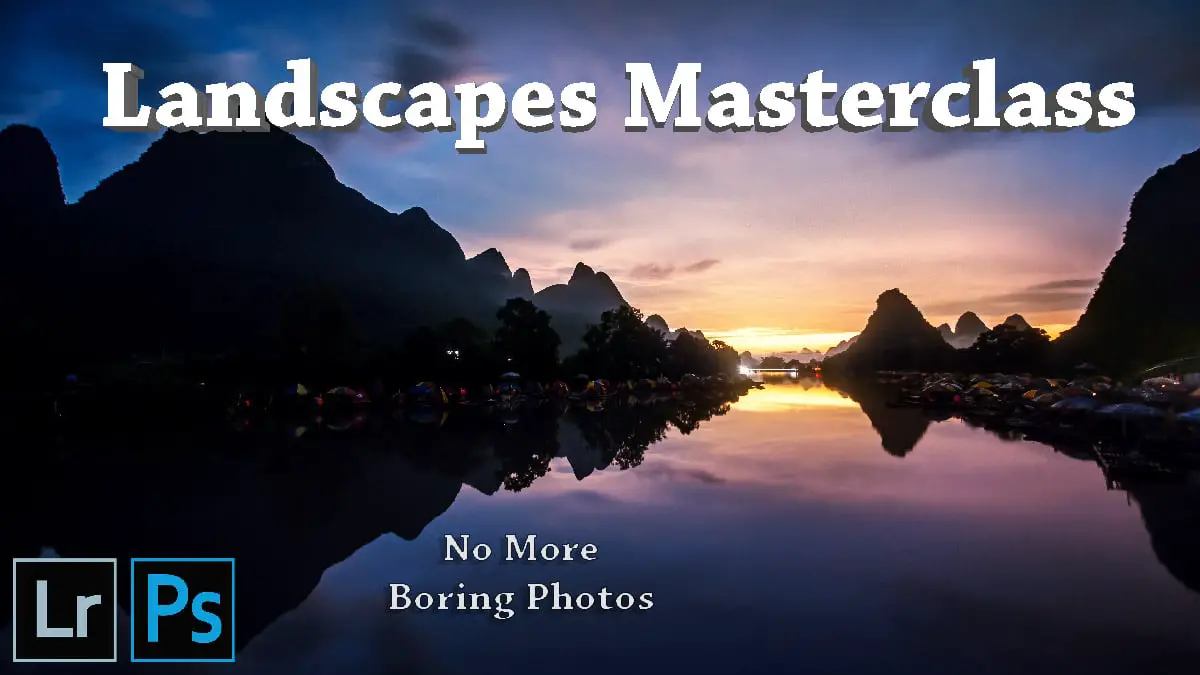
The Landscapes Masterclass: No HDR, No Plugins
This long form guide contains a complete workflow for one landscape photo, giving you detailed tips, tricks and guides on how to perfect your landscape photos through digital blending, using the tools in Lightroom and Photoshop
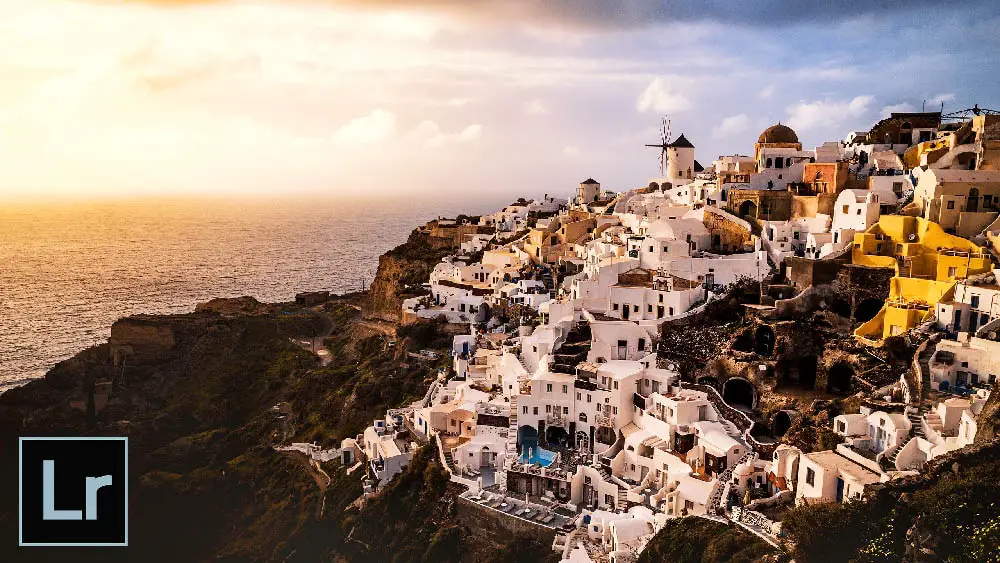
Lightroom Tutorial – Adding Color Depth with White Balance
Using targeted white balance adjustments, you can enhance sunrises, paint in new sunsets, make stormy skies pop, create stylised effects, and much more, all with very little time and effort. Learn how to do this entirely in Lightroom
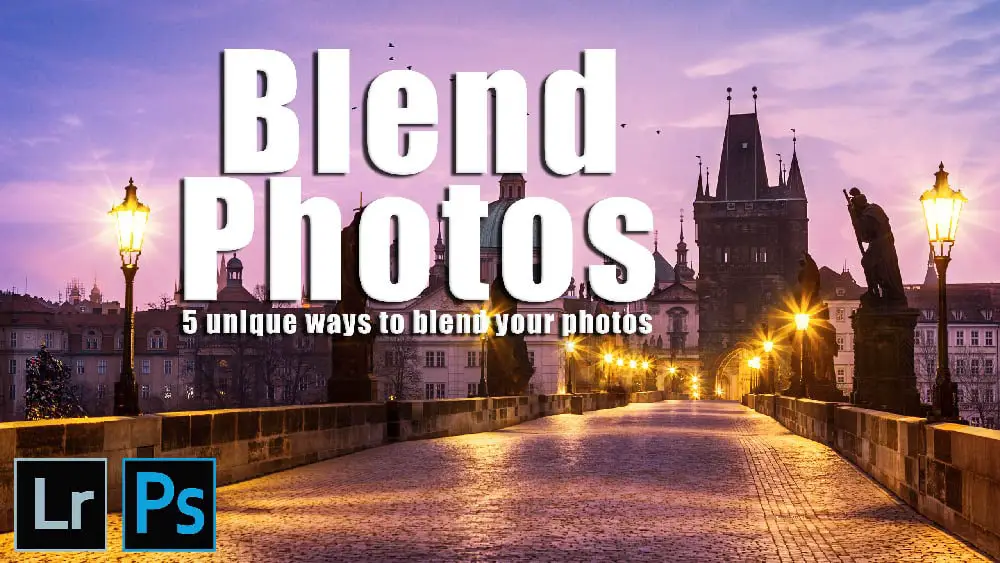
Photoshop Tutorial – Blend Any Two Photos
This tutorial covers methods of blending in five common landscape situations: Multiple Exposure Blending; Time Blending; Object Blending; Double-Process Blending; Blending Skies.
These powerful methods will help you blend photos in any situation.
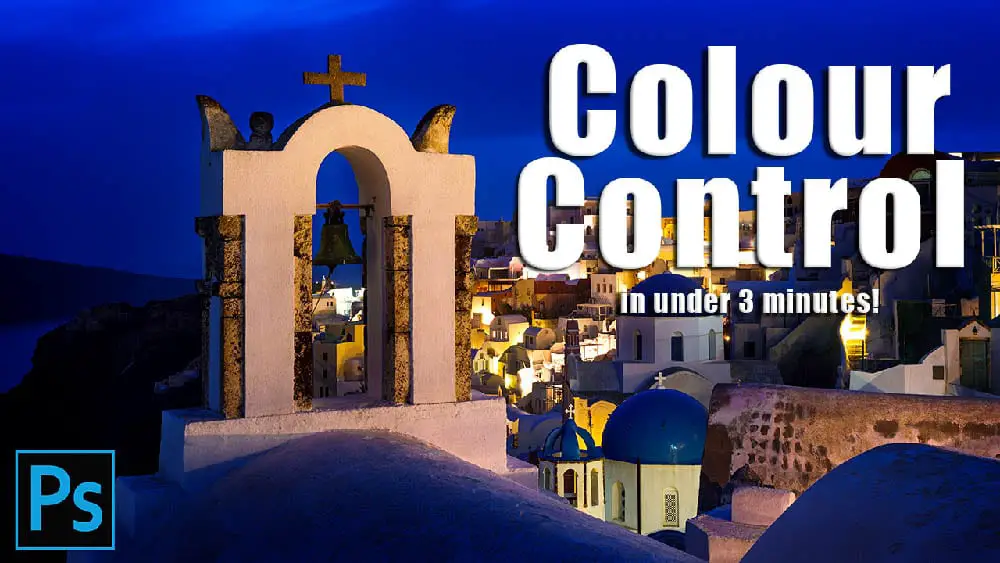
Color Control in Your Photography Tutorial
“I’ve blended my exposures, but my photo still doesn’t look like how I want it to look. Now what?”
Learn a two-and-a-half minute, Photoshop based workflow to fix both colour and tone in this long form tutorial and video series.
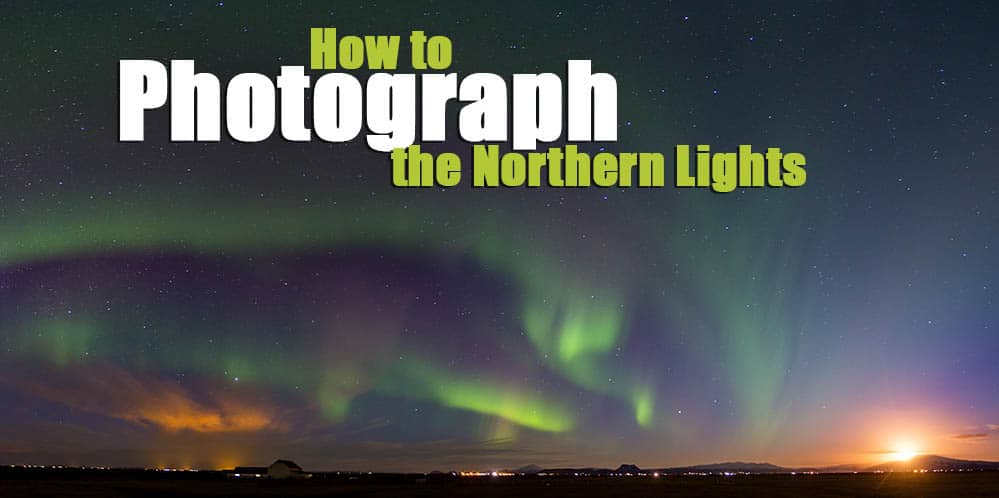
Northern Lights Photography Tutorial
This guide covers how to see the Northern Lights – when, & where, the ideal camera equipment you should use, the camera settings you need to get perfect photos, and how to process your photos to get something you can be proud of, along with much more…
Leave a Reply