Easy Colour Control in Photoshop
“I’ve blended my exposures, but my photo still doesn’t look like how I want it to look. Now what?”
To jump straight into using Saturation Masks in your photos, download the free Photoshop Colour Control ActionPack.
Get the Photoshop Color Control Action Pack for free!Subscribe to the mailing list and get a free download link right now
You’ve blended your photos to create one final photo with perfect dynamic range, but the colours and tone are wrong. What can you do?
I guess there are a large variety of answers, so good, some … not so good, all using different tools, different workflows. Controlling colour and tone is hard, right? There’s no easy, repeatable workflow, no way to manage colours pristinely.
But what if there was?
What if I told you that learning how to modify and control colours the way you want is not difficult?
Goal: A repeatable workflow to get the colours you want
Solution: A two-and-a-half minute, saturation mask based workflow to fix both colour and tone.
Watch the video below to see how easy it is. Download the RAW source file to follow along here. Get the Saturation Mask action set for Photoshop here.
What are Saturation Masks?
You might not have heard of saturation masks before, so what are they?
They are simply another selection method in Photoshop, a way of selecting pixels based on colour saturation rather than lightness. You will get masks comprised of the most highly saturated pixels in your photos, along with masks of the least saturated pixels, and those in the middle.
They are extra useful when luminosity masks or other selection methods fail because of low dynamic range. Whatever the dynamic range, there are always differences in saturation, and these differences usually fall into parts of the photo you want to select.
The actions available for free in the Photoshop Colour Control ActionPack will create these saturation masks, which you can then combine with colour balance and curves layers to make very powerful colour and tone changes in your photo, without hassle.
If you want more detail, or would rather make your own saturation masks, take a look at the video below. Otherwise, just get the free set here.
How to Get Perfect Colour and Tone
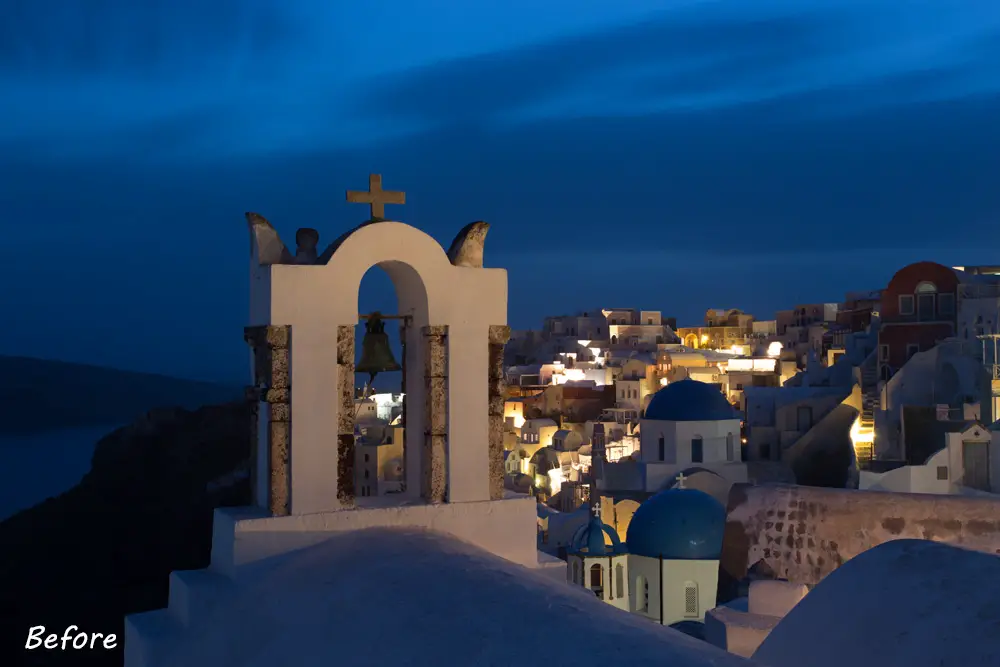
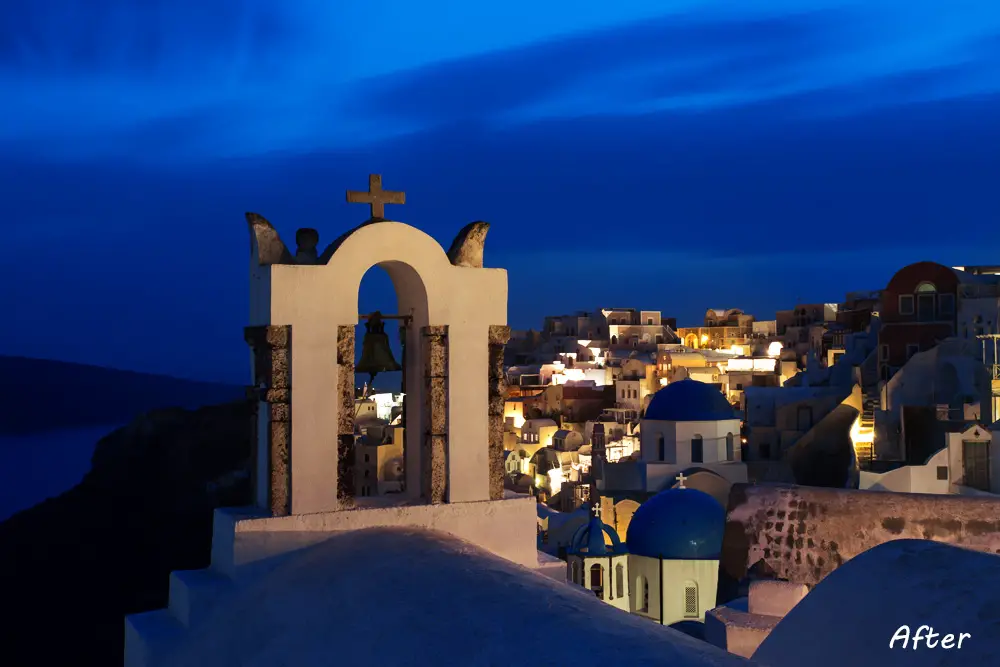
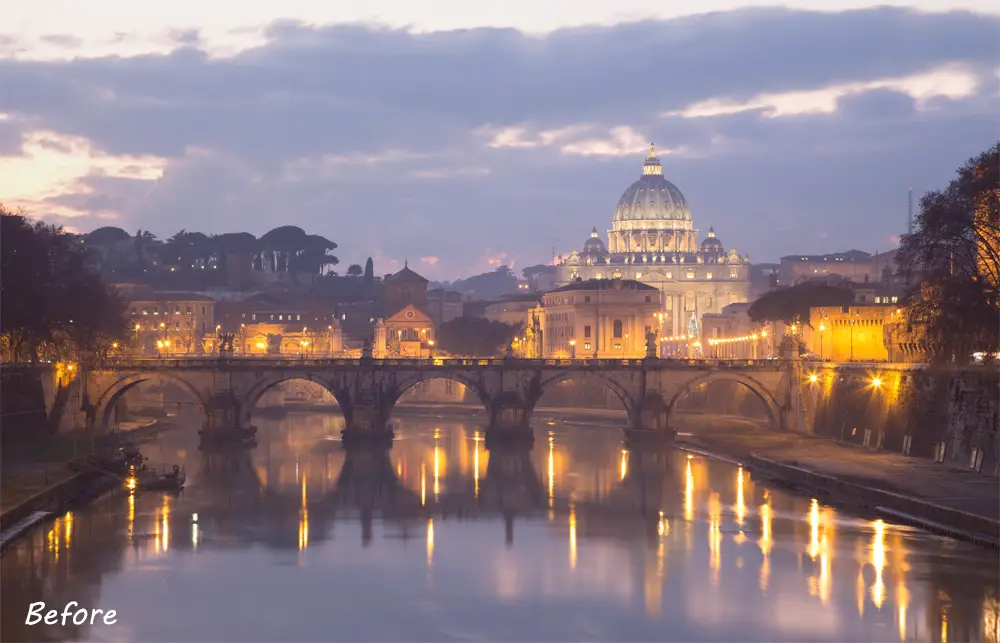
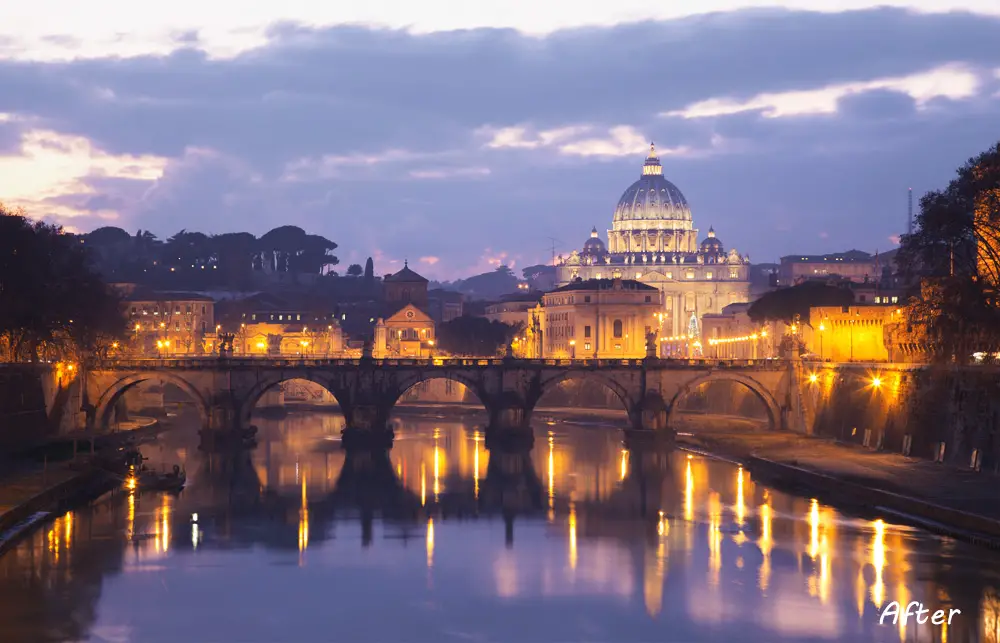
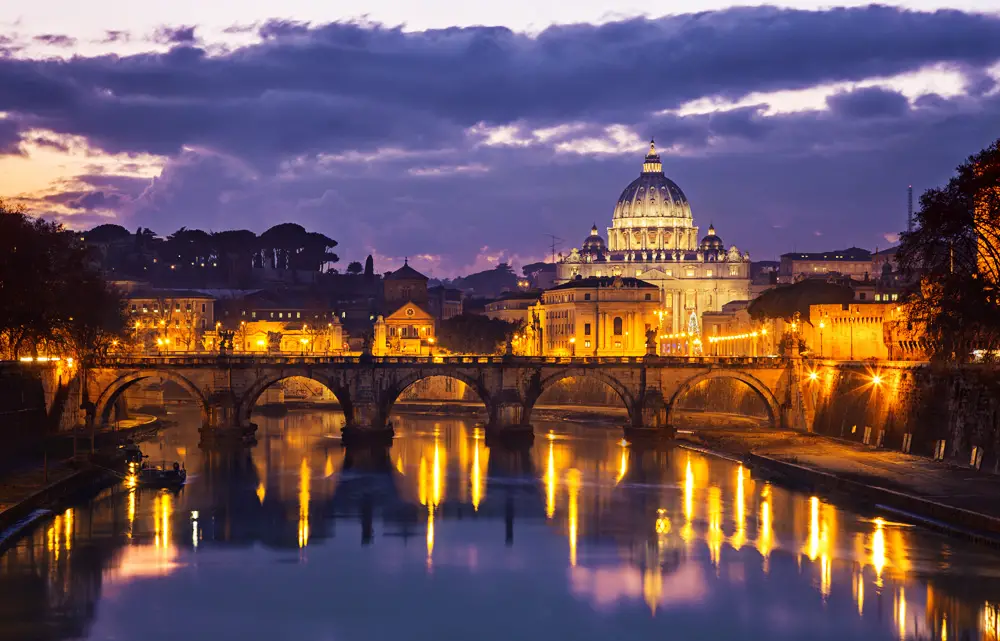
Saturation Masks are incredibly versatile and can be used in all sorts of different situations to get colour and tone exactly how we want it. I used them to get this photo of Rome just right. Follow the steps below to get a taste for what saturation masks can do, or watch the video.
- Create Saturation Masks using the Photoshop Colour Control ActionPack.

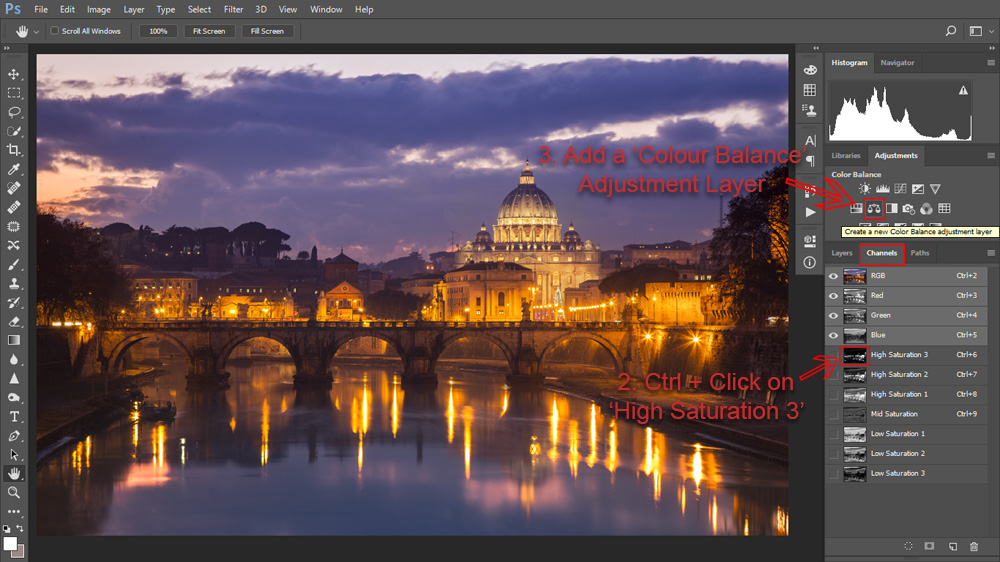
- High Saturation Colour. Ctrl-Click on ‘High Saturation 3’ in the Channels tab, to load it as a selection, then add a ‘Colour Balance’ adjustment layer. The saturation mask will be automatically added as a layer mask. Play around with the colour balance sliders to affect colour in the most highly saturated parts of your photo. In night shots of cities, streetlights are always highly saturated, so I like to use this mask to add some red to them.
- Low Saturation Colour. Ctrl-Click on ‘Low Saturation 3’, then add another ‘Colour Balance’ adjustment layer. Moving the sliders will now affect only the least saturated colours in your photo. For night photos, particularly in cities, adding more blue to the less saturated areas usually gives a powerful effect.
Pushing the colour balance of the most highly saturated and the least saturated areas of your photo in different directions often adds a powerful colour dynamic to your photos, that is very difficult to achieve with other means.
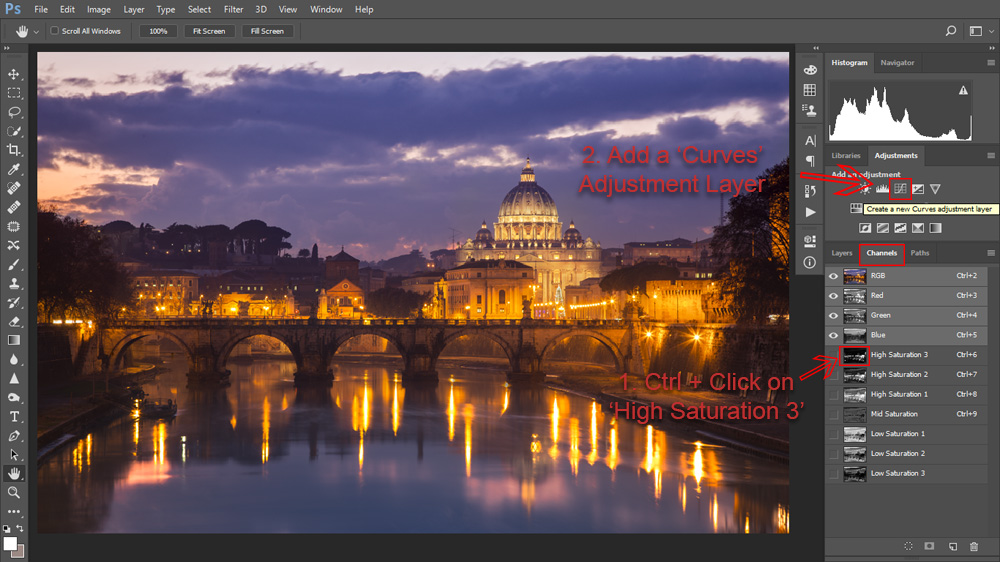
- High Saturation Tone. Load the ‘High Saturation 3’ mask as a selection again, but this time add a ‘Curves’ adjustment layer. You can use this to change the tone of only the most highly saturated areas, including adding or removing contrast. S-curves often work well, but make sure to try more extreme curves adjustments than you would usually use.
- Low Saturation Tone. Repeat the above step, but using the ‘Low Saturation 3’ mask.
nb. If you want your colour or tone effects to appear stronger, use saturation masks 1 or 2. The lower the number next to the saturation mask, the less specific it is and it will affect more pixels. Also, you can always use the paintbrush to modify the masks by painting out any areas of your photo that you wish to exclude.
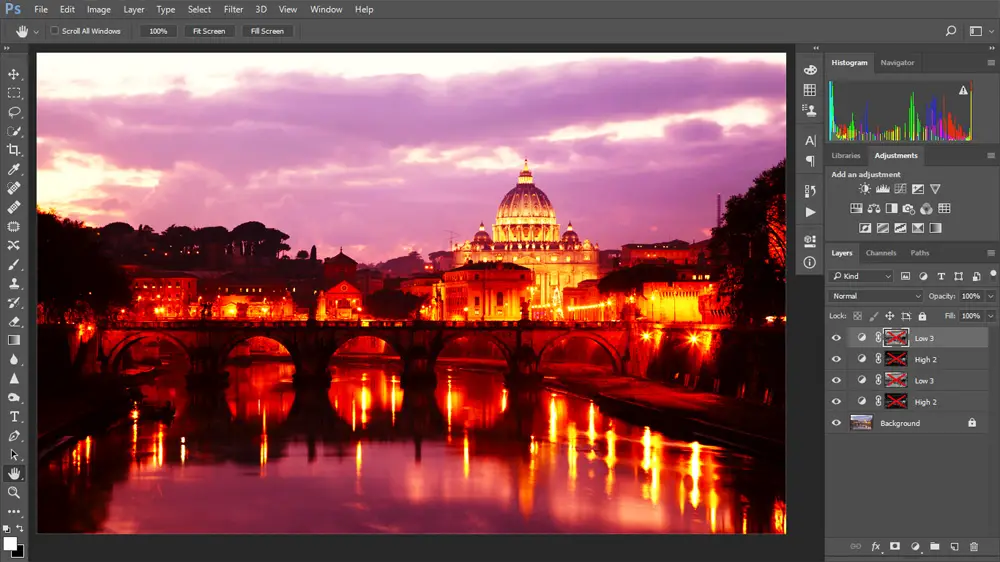
So that you can see just how powerful saturation masks are, I have switched off all the layer masks in the screenshot below, but not changed any of the adjustment layers.
To finish the Rome photo, I then ran through the remaining actions in the Photoshop Colour Control ActionPack, which include, ‘Pro contrast / Detail Extractor’, ‘Highlights Glow’, and ‘Shadows Sharpening’.
Subscribe to the mailing list and get a free download link right now
Here are a couple more examples of how to get the most out of saturation masks. They were both processed using exactly the same techniques as for the Rome photo above.
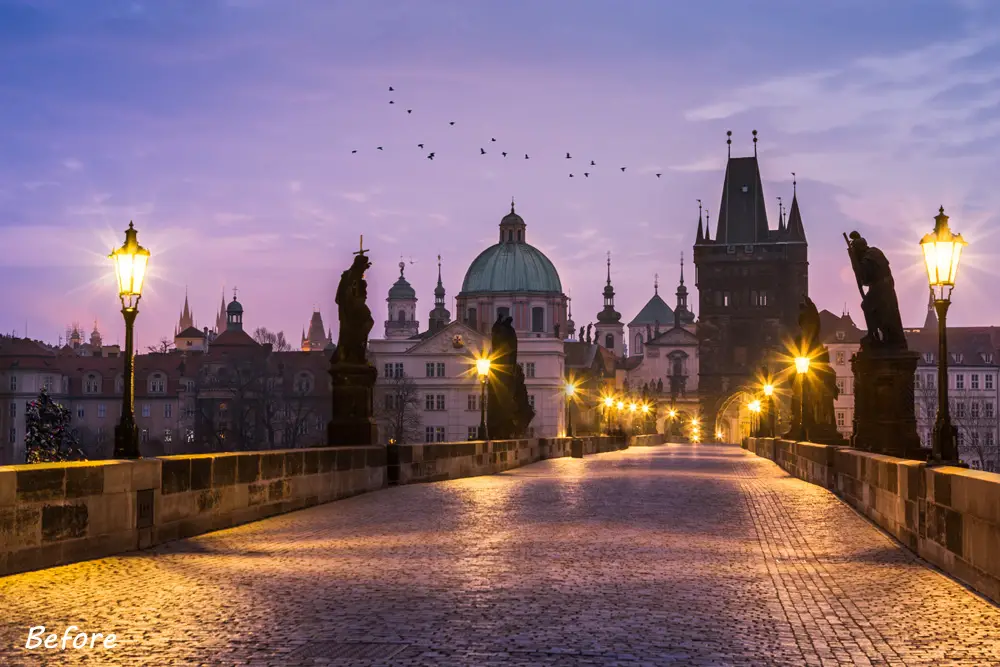
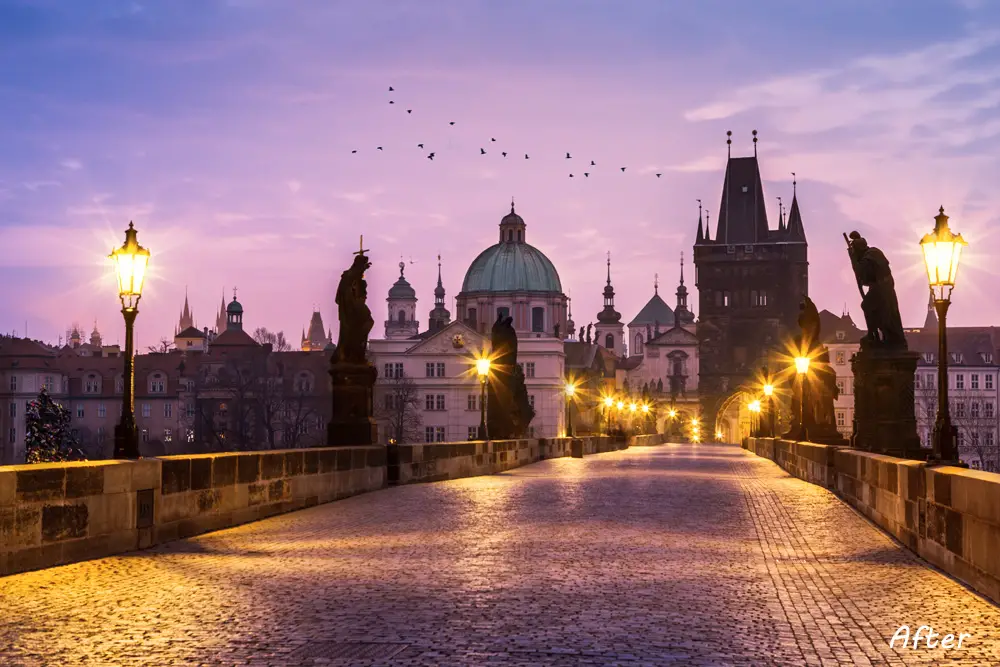
This photo of Prague was first processed using the Lightroom Develop System, with the help of the Landscapes Masterclass process.
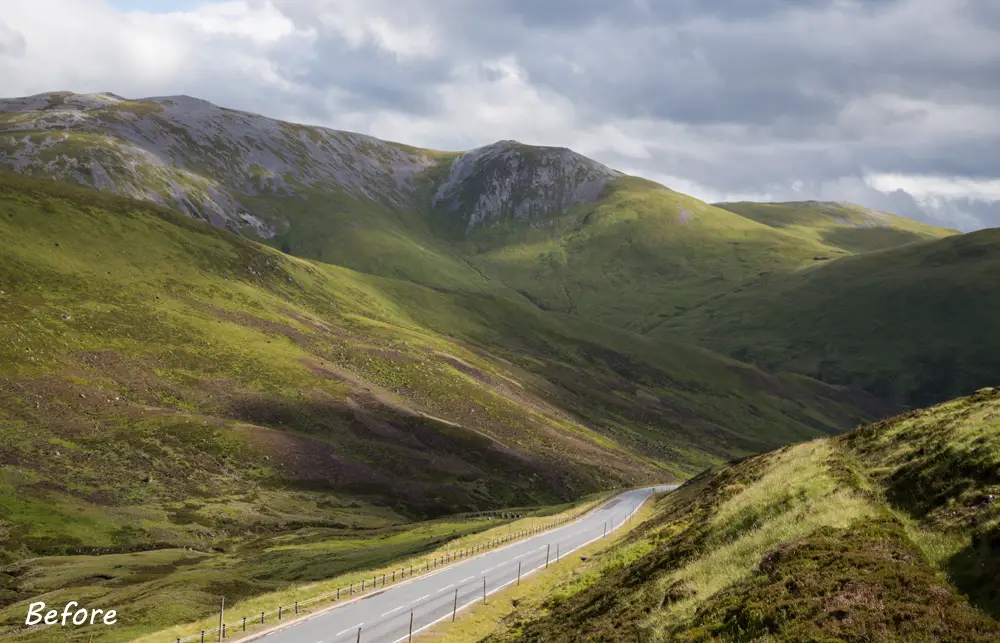
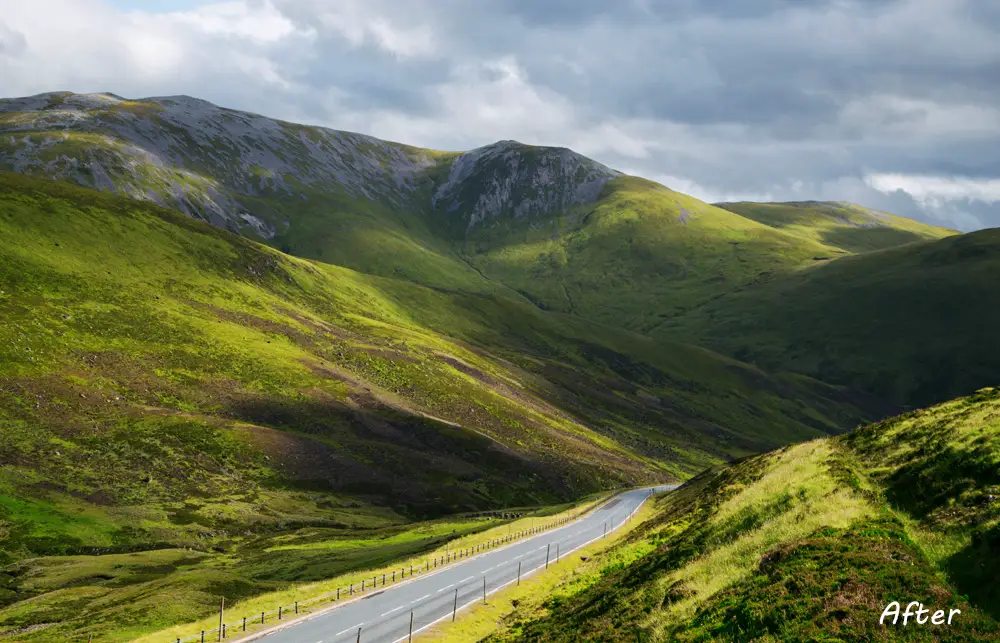
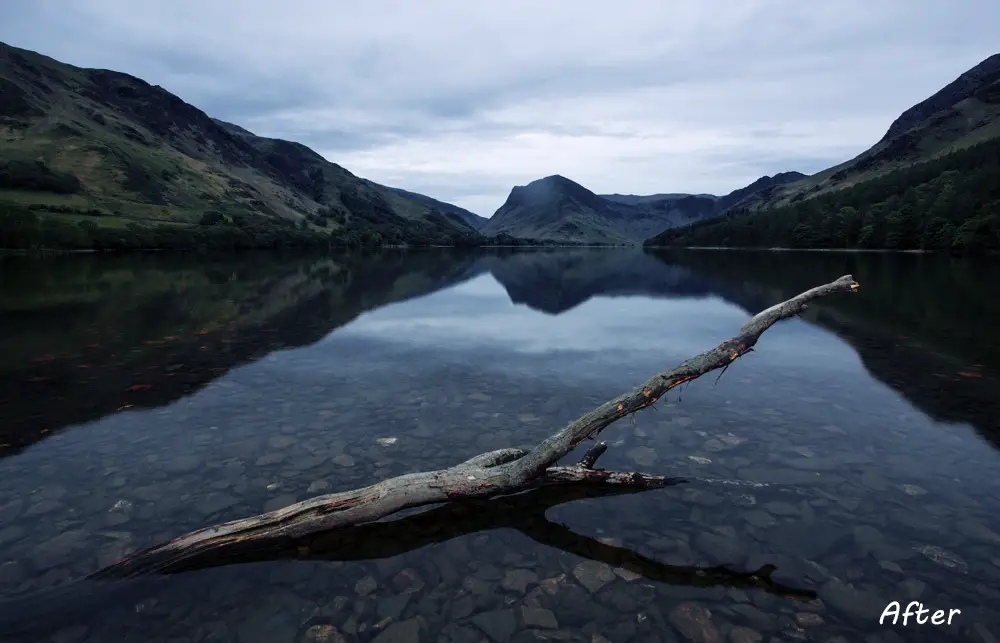
Saturation masks are especially useful for photos with very low dynamic range, as in the photo below. See the video for a how-to.

Tips for Using Saturation Masks
Remember: Saturation masks are just a selection method. Once you have ‘ctrl-clicked’ on a mask, you can then apply any adjustment layer you like to make targeted changes to your photo. Some adjustment layers work better than others. The most useful include:
- Colour Balance
- Vibrance
- Curves
- Selective Colour
Tip: Playing around with the Mid Saturation mask and a curves layer can create some powerful contrast effects. Also, a massive vibrance increase using a Mid Saturation mask can really make the colour in your photos pop.
Don’t forget: this is only part of the Landscapes Masterclass workflow. And there are plenty of free resources available in The Library.
Try it all out and let me know how you get on.
Tim
Get the most powerful add-ons for Lightroom and Photoshop!Subscribe to the mailing list and get a free download link right now
While you’re here, why not read my Best Long Form Photography Tutorials & Guides …
The Digital Blending Workflow Tutorial
The Landscapes Masterclass: No HDR, No Plugins
This long form guide contains a complete workflow for one landscape photo, giving you detailed tips, tricks and guides on how to perfect your landscape photos through digital blending, using the tools in Lightroom and Photoshop
Lightroom Tutorial – Adding Color Depth with White Balance
Using targeted white balance adjustments, you can enhance sunrises, paint in new sunsets, make stormy skies pop, create stylised effects, and much more, all with very little time and effort. Learn how to do this entirely in Lightroom
Photoshop Tutorial – Blend Any Two Photos
This tutorial covers methods of blending in five common landscape situations: Multiple Exposure Blending; Time Blending; Object Blending; Double-Process Blending; Blending Skies.
These powerful methods will help you blend photos in any situation.
Northern Lights Photography Tutorial
This guide covers how to see the Northern Lights – when, & where, the ideal camera equipment you should use, the camera settings you need to get perfect photos, and how to process your photos to get something you can be proud of, along with much more…
2 Responses
Johannes Pokorn
Thank you for the great and inspiring tutorial!
Unfortunately the download of the tutorials does not work. Is there any help available?
Tim Daniels
It should all be working now.