The Power of White Balance in Lightroom
This is part of the Landscapes Masterclass series.
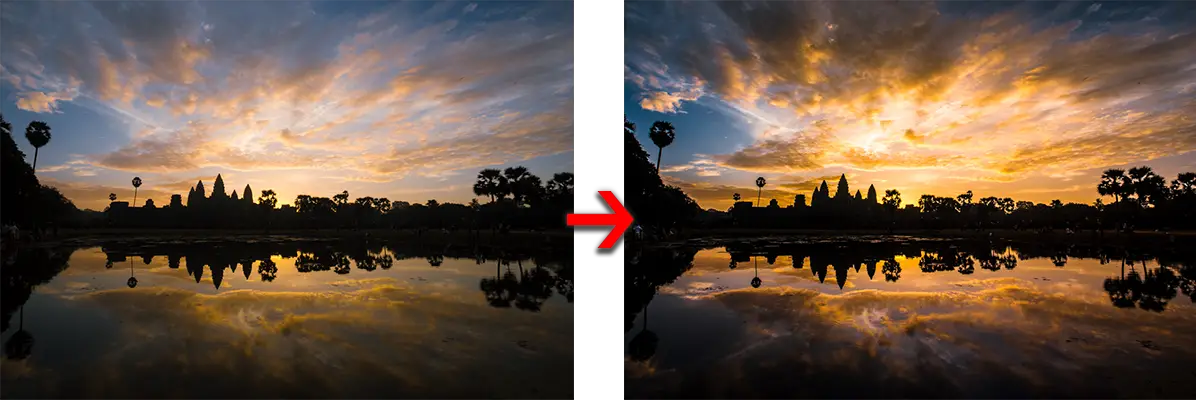
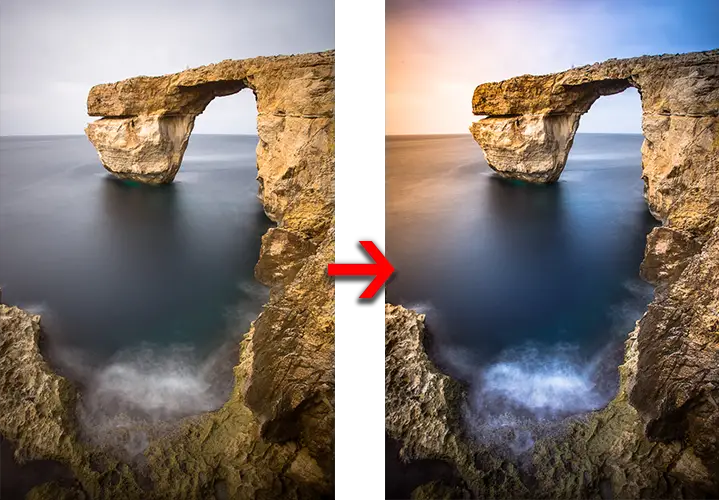
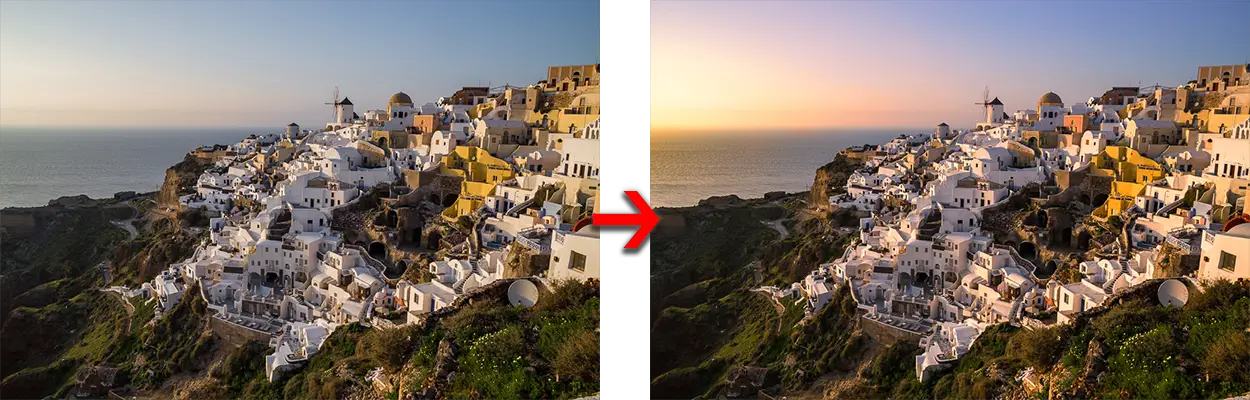
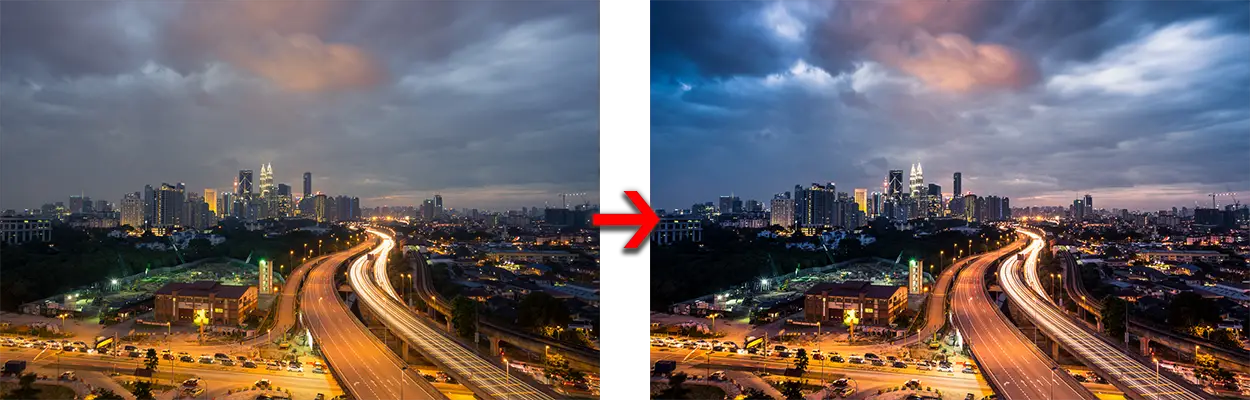
The white balance settings in Lightroom not only set the general, overall colour cast of your photos, but are one of the most powerful ways to create an incredible depth of colour, and to bring something special out of otherwise boring photos.
Using targeted white balance adjustments, you can enhance sunrises, paint in new sunsets, make stormy skies pop, create stylised effects, and much more, all with very little time and effort. For more advanced Lightroom users, you can add tone curve and split-toning effects, which if applied at a very low level, can help you to create special landscape and cityscape photos.
Want to skip ahead? There are plenty of white balance overlay presets available for free in the Lightroom Develop System. Prefer to make them yourself? Then read on. Part 1 is all about basic effects, using white balance to modify colour. Part 2 deals with adding in some more advanced effects such as creating new sunsets from scratch, and Part 3 is a secret 🙂 Let’s start with some examples to get a feel for what you can do.
Some Examples
Subscribe to the mailing list and get a free download link right now
Part 1: Basic Effects
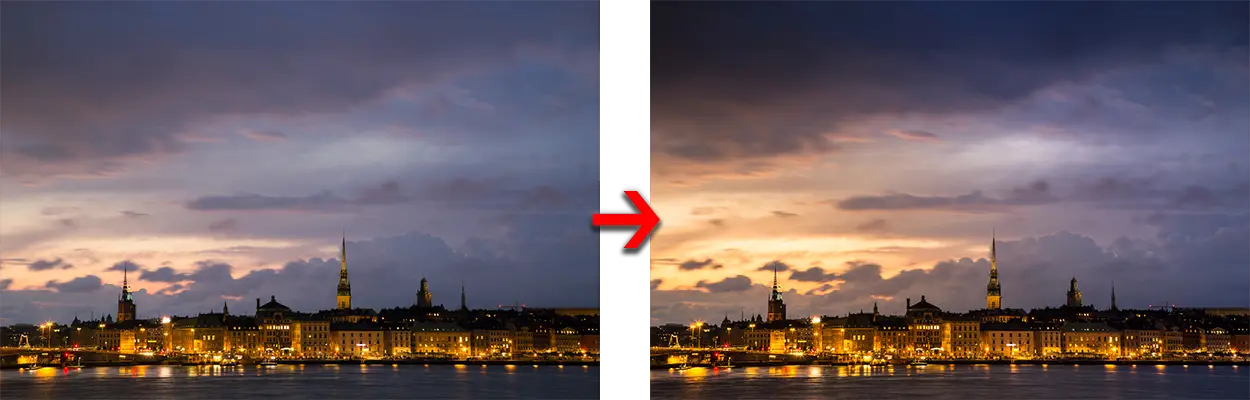
Let’s start by enhancing a sunset over Stockholm, entirely using targeted white balance adjustments. This is an excellent way to start processing a photo, as you only have to change the main white balance slider, then add a few graduated and radial filters. It’s one of the most powerful and simple techniques I use to process photos, yet not many people seem to know about it. Here’s the before & after, and I’ll guide you through the steps for this process below.
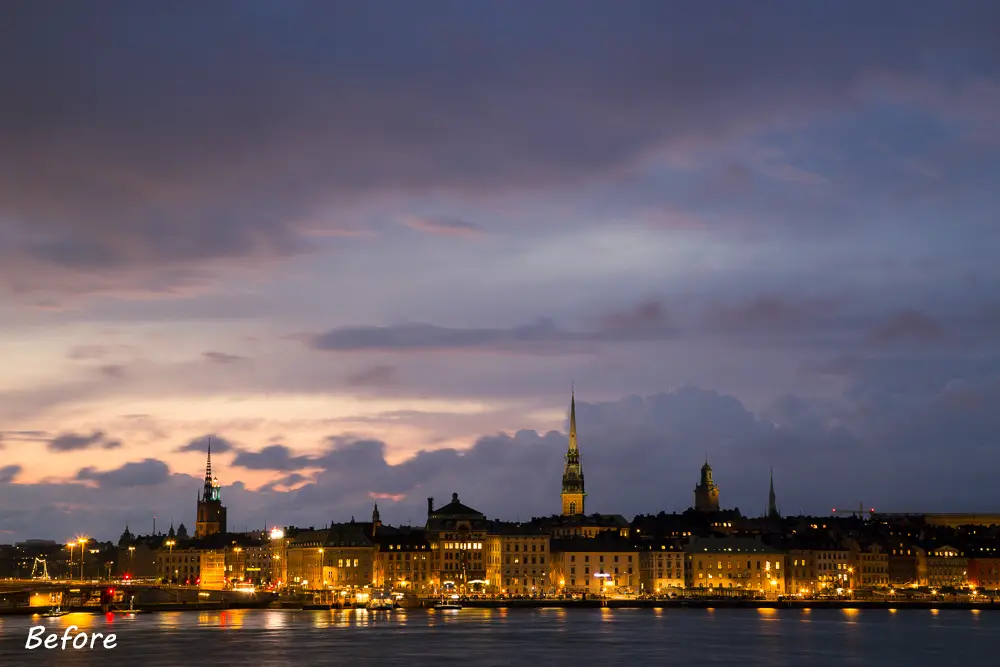
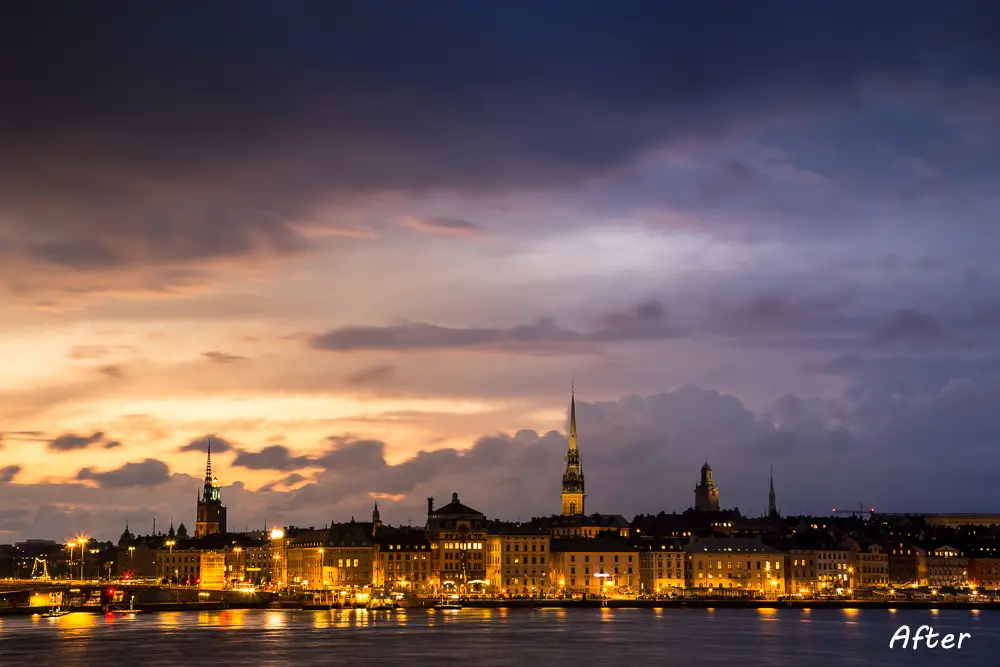
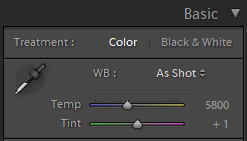
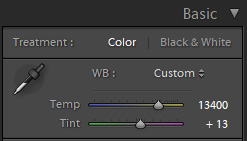
- Main White Balance Changes. Take a look at the white balance setting for the untouched photo in Lightroom. It’s set for 5800, which is a pretty middle of the road, standard daylight sort of colour temperature. The first thing to do is to change that, and push it up high, until the part of the photo with the sunset (on the left side in this case) gets that hot, golden colour that sunsets are supposed to have. Here, it is increased to 13400, which had a big effect on the rest of the photo, but this is where targeted adjustments save the day.

- Targeted White Balance Changes. We have powered up the sunset, now we need to recover the blue in the rest of the sky. Click on the graduated filters button in Lightroom, and push the Temp slider all the way to the left, to minus 100, as shown in the screenshot below. I usually also make some contrast, clarity and exposure changes at the same time, but this is totally optional. Then, draw the grad filter over the right half of the photo, restoring some of the blue sky and clouds.
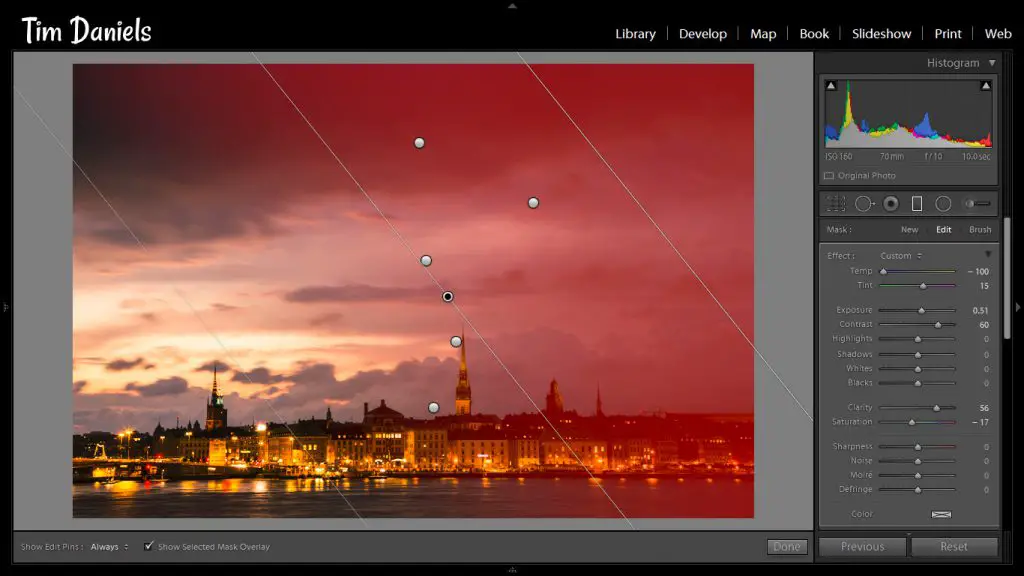
- Don’t stop at one graduated filter. Keep drawing as many of these cooling filters over your photo as you want, until you have restored the blue sky to your liking.
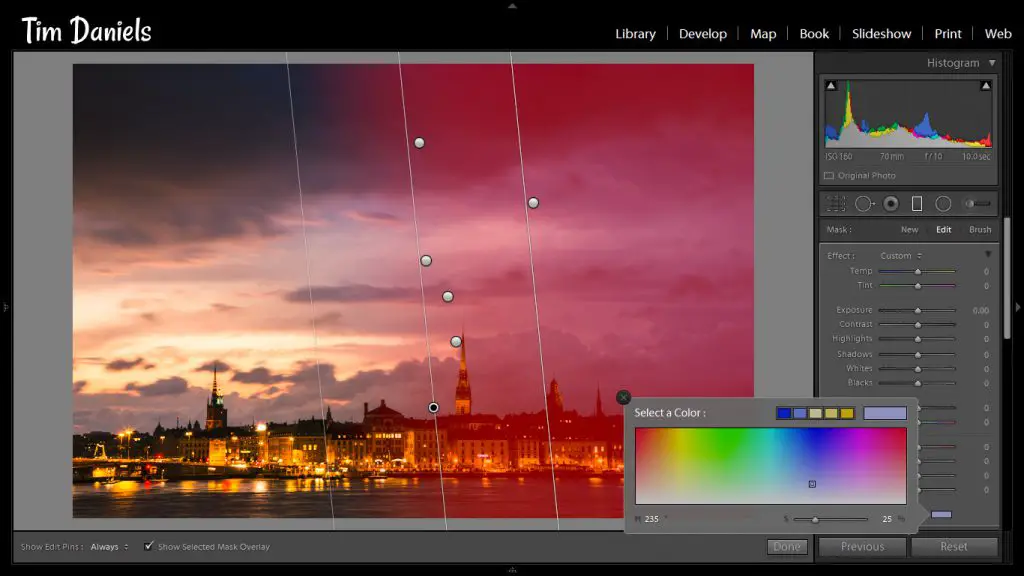
- For an even more subtle effect, click on the Color box at the bottom of the graduated filter control panel, and select your choice of blue colour, with a saturation of somewhere between 10-25%, as shown below.
- If needed, you can apply the same effects with circular filters and the adjustment brush.
- Save these graduated filter overlays as presets, so you can use them again on other photos. There are a number of them available for free in the Lightroom Develop System.
Subscribe to the mailing list and get a free download link right now
If you like your resulting photo, you can stop here. But you can always take it further, if you want. Read the Landscape Masterclass Tutorial for tips, tricks and ideas, or turn to Part 2 for more advanced uses of these white balance overlays, including the results of combining them with curves.
Turn to Part 2 for more …
Leave a Reply