This site is part of various affiliate programs. Links may give us a small compensation for any purchases you make, at no additional cost to you. Please read the disclaimer policy for full details.
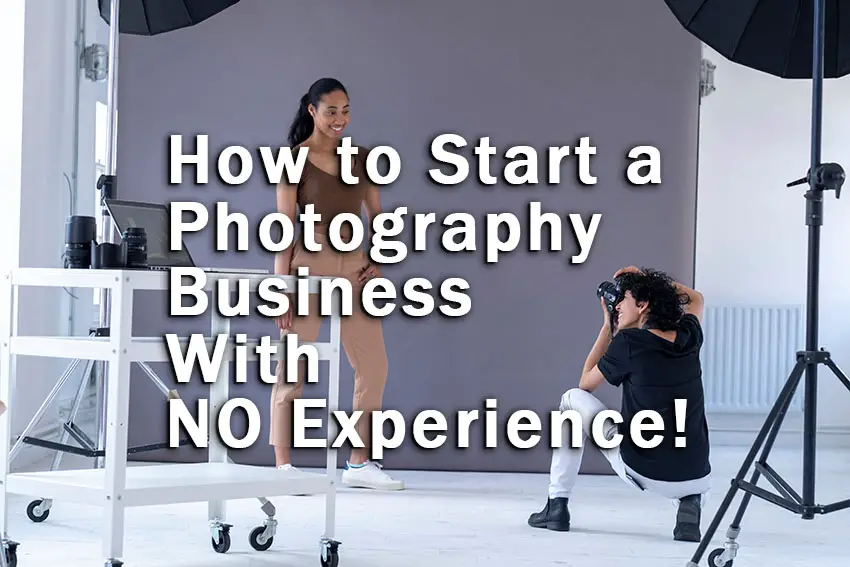
Making a life out of photography might sound like a dream for many photographers— including me.
But, although it is a road with ups and downs, it is entirely possible to live from your photography.
And in this article, I’ll help you get there.
When I started getting my first clients, I talked to many photographers and made countless mistakes, but I also learned a lot along the way. Now, I want to share some of those things with you so that you can take your initial steps into the photography business.
We’re going to cover how to start a photography business with no experience and how to start a photography business with no money.
Let’s get started!
What to Know First
Before heading on to how to start your photography business from scratch, take some time to ask yourself a few questions:
- Why do you want to create a photography business?
- Where do you want to go with your business?
- What kind of photographer do you want to be?
Let me explain this a bit more.
First of all, you must have a genuine interest in photography rather than just thinking of it as a way to make money— which is not easy at all, by the way.
Your main reason for creating a photography business should be personal motivation, as you will have to invest a lot of time and resources before you can start perceiving some money from it.
Also, think about whether you want your business to be a side hustle or if you want to make a living from it full-time. In either case, set goals and write a business plan that helps you maintain your focus. Write down your professional goals, determine a budget, and define your income sources.
Building a business from scratch —even if it’s something you love— takes time and a lot of trial and error. That’s why it’s crucial to have clear goals to help you define a plan so you don’t fall apart in the process.
In this guide, I’m going to give you some general steps to start shaping your business, but a lot of the work comes from you, how you see yourself in the future, and what kind of photographer you want to be.
So, yes, you must be confident that you want to take this path. Forget about any fads and avoid comparing yourself with other people in the business; focus on what you really want and what you need to achieve it.
However, bear in mind that transforming a hobby into a job will require a lot of discipline and planning. It won’t be easy, but I guarantee it will be worth it.
Now, let’s get into the fun part:
How to Start a Photography Business with No Experience – A Quick Guide
This beginner guide covers the primary steps to creating a photography business, from crafting a portfolio to promoting your work online. Nevertheless, I won’t go through any legal aspects of freelancing or setting up a company because all of that will vary depending on your state or country.
That said, let’s go with the first step:
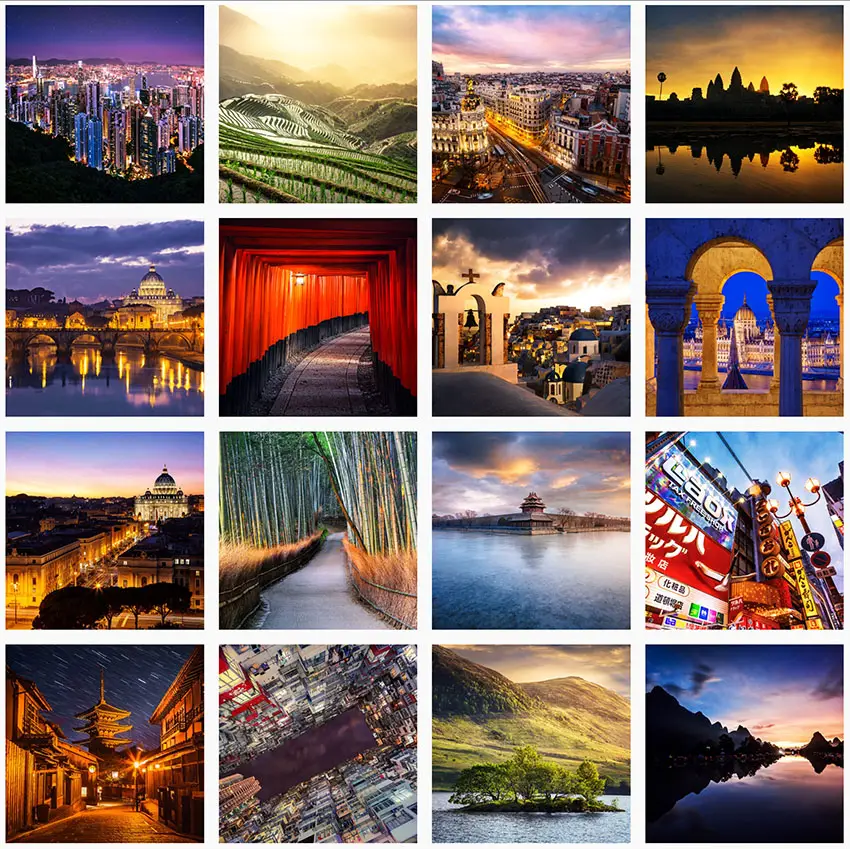
1. Define a niche

Although you could cover different types of photography, it is much better to define a niche to specialize in. That way, you will look more professional in front of your potential clients.
Just think about it: if you had to hire a photographer for your wedding, would you want someone who does product, food, street photography, and so on, or would you look for someone who specializes only in weddings?
Obviously, a wedding photographer would have more experience and training in the field. Plus, they are most likely up to date with the trends and can offer you a higher quality service— which has a cost, of course.
If you define a niche from the beginning, selling your services and making your way as a photographer will be easier. Moreover, your niche will be the basis for developing your personal brand and determining what equipment you need to grow professionally.
So, think about the type of photography you enjoy the most, and consider the economic potential of each to determine the best ways to monetize your work. Here’s a list of popular genres to get you started:
- Product photography
- Food photography
- Portrait photography
- Events photography
- Documentary photography
- Nature photography
- Fashion photography
- Lifestyle photography
- Maternity and newborn photography
- Family photography
- Wedding photography
Also, look at what other photographers around you offer and think about what needs still need to be met in the market and what you can do to stand out from the competition.
For example, you can specialize in dance or theater photography and offer your work to actors who need a photo book, performing arts schools, theaters, etc. It all depends on your interests and professional goals.
Once you have defined your niche, it’s time to think about the gear you need:
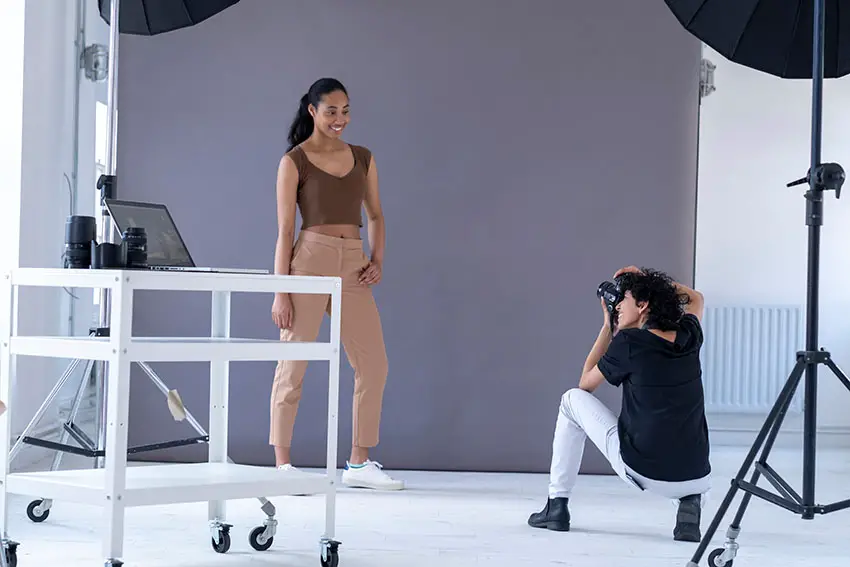
2. Invest in the proper equipment
All of us photographers dream about having a massive arsenal of photography equipment. But, frankly, you don’t need anything fancy to start your business.
Don’t worry too much about having expensive equipment before looking for clients. Focus on the basics (i.e., camera, lenses, and a laptop for editing); if you need more gear, you can rent it until you have the budget to buy it.
Renting equipment is an ideal alternative for new photographers who want to experiment and try out professional gear without making that significant investment blindly. Just be sure to consider the cost of the rental when you provide a quote to a client.
Renting is the best way to start a photography business with no money. Some companies, like Sigma, even offer 1 or 2 day rentals for free, although this depends on geography and fair use.
Now, let’s get into the primary tools you should have:
Camera
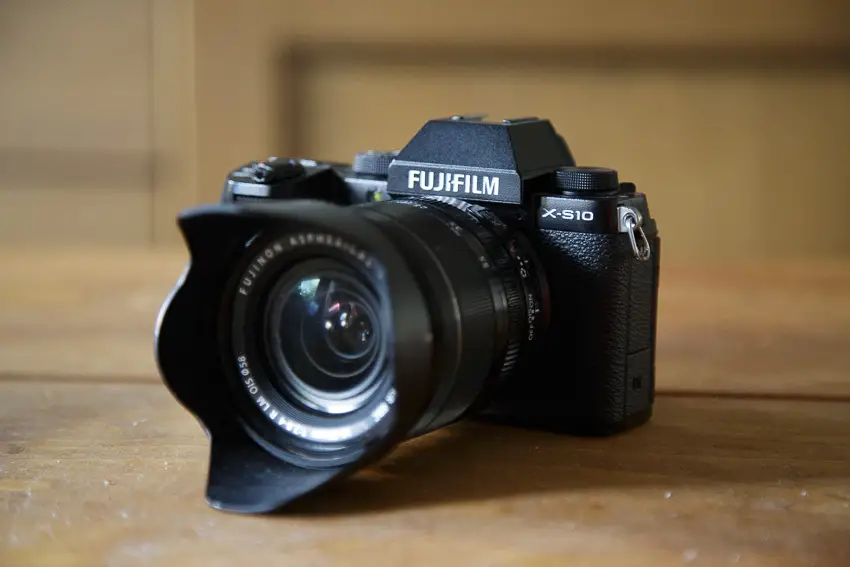
Of course, if you want to earn money for your work, you need to invest in a good camera that lets you capture enough detail to deliver the highest possible quality to your clients.
Still, you don’t need the most advanced full-frame camera to guarantee high-quality results. Any interchangeable lens camera with an APS-C sensor will be enough.
Today, mirrorless cameras dominate the market, as they are lighter and more compact— making them more portable and versatile for different situations. They also have a faster AF system and are ideal for video recording. And in this area, Sony is leading the way.
On the other hand, if you’re sticking with DSLRs, Canon’s entire EOS Rebel line is an excellent starting point for new photographers. Check out our top-10 best DSLR cameras for beginners for more advice.
Lenses
Not all beginners are aware of this, but lenses are way more important than the camera itself. That’s why you should focus on investing in good-quality lenses suited for the kind of photography you want to do.
There are three general aspects to consider here:
- Prime or zoom: prime lenses offer better image quality and low-light performance than zoom lenses— they are fantastic for night photography and portraits. However, zoom lenses allow you to quickly change focal length without carrying additional lenses in your backpack.
- Focal length and uses: consider the effects of focal length in photography and choose a lens suitable for you and your work. For example, a wide-angle lens is best for landscape and street photography, while a short telephoto (such as an 85mm) is perfect for portraits and product photography.
- Aperture: it is always better to have a lens with a large aperture. That will give you more flexibility to work in low-light conditions without setting a high ISO that compromises image quality.
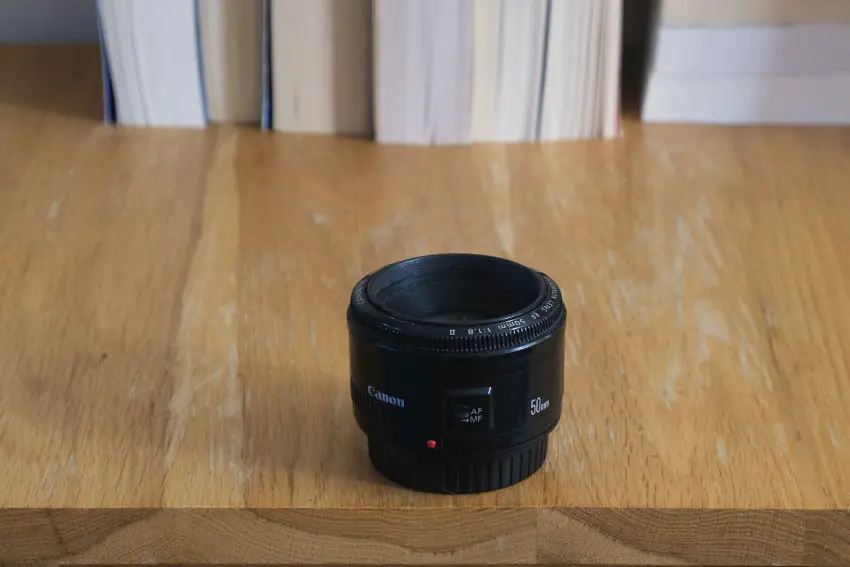
A classic 50mm lens is an excellent investment to start with, as it is inexpensive, lightweight, and versatile; it works great for portraits, product, food, fashion photography, and more.
If you shoot Canon and need some recommendations, check the following articles:
- 10 best lenses for Canon Rebel T6— all compatible with Canon EF-S mount.
- 10 best Canon lenses for family portraits
- Best Sigma lenses for Canon
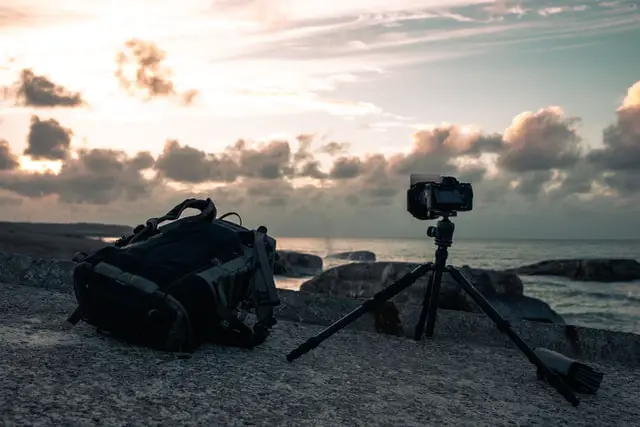
Tripod
For me, a tripod is a primary tool for any photographer. It gives you stability and security to work in low-light conditions and allows you to experiment with long exposure, time-lapses, or stop-motion videos. It is essential for product, food, and night photography— to mention a few examples.
There are many tripods to suit all budgets. When choosing one, consider the following factors:
- Material: carbon fiber or aluminum? Both materials have advantages and disadvantages, but carbon fiber tripods are usually lighter and more durable than their aluminum counterparts— and also costlier.
- Height: consider both the maximum and folded size of the tripod. That way, you can evaluate the tripod’s portability, usefulness, and convenience in different environments.
- Weight: this point may not be that relevant if you plan to work in a controlled environment. But if you’re looking for a tripod that is easy to carry, go for a lightweight choice that you can bring anywhere without a car.
- Accessories: consider whether the tripod has interchangeable heads for greater flexibility or if you can attach other accessories.
Camera bag
Your camera is your primary working tool, so you should keep it safe and dust-free.
Invest in a good camera bag to store and carry your camera, lenses, and other accessories comfortably and securely.
Lighting equipment
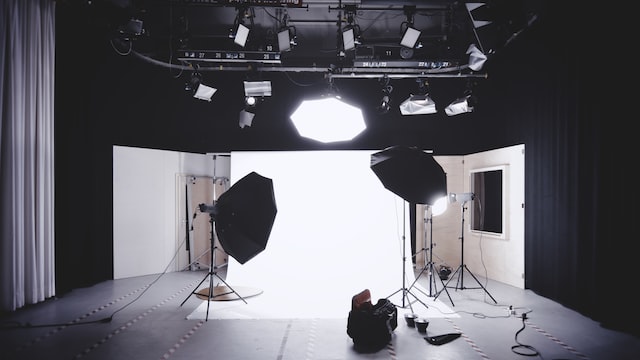
Personally, I don’t find it necessary to have too much lighting gear to start your business. And, again, if you need flashes or continuous light for a particular project, you can rent equipment until you feel confident to make that investment.
What I do recommend is to buy a speedlite if you are interested in flash photography. You can do a lot with it and get professional results without spending that much money. Neewer offers affordable and high-quality choices for Canon and Nikon shooters.
Alternatively, you can check studio lighting kits on Amazon if you prefer continuous lighting rather than flash. There are great deals online at different price ranges, and you could even set up a basic studio for $100 or less.
Reflectors and diffusers
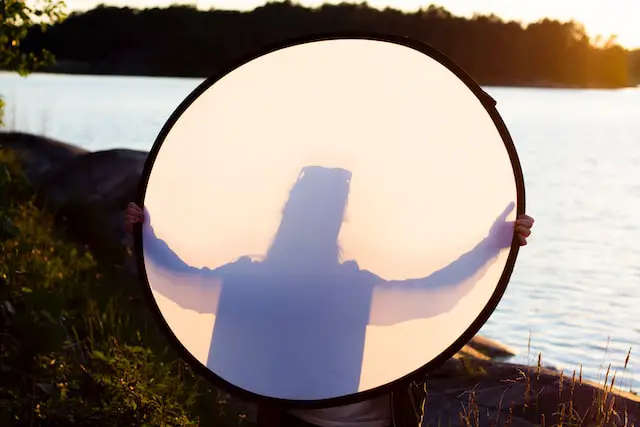
Light modifiers are essential to manipulate the light to your liking according to what you need— both natural and artificial.
There are many types of reflectors, diffusers, and other tools you can add to your arsenal, and as you gain experience, you’ll learn which ones are most useful to you. It will all depend on your photography style and the lighting scheme you use for each project.
However, you can invest in a multi-disc reflector and diffuser as a starting point. It is portable, versatile, and pretty affordable. It is one of my favorite tools to handle all kinds of light indoors and outdoors.
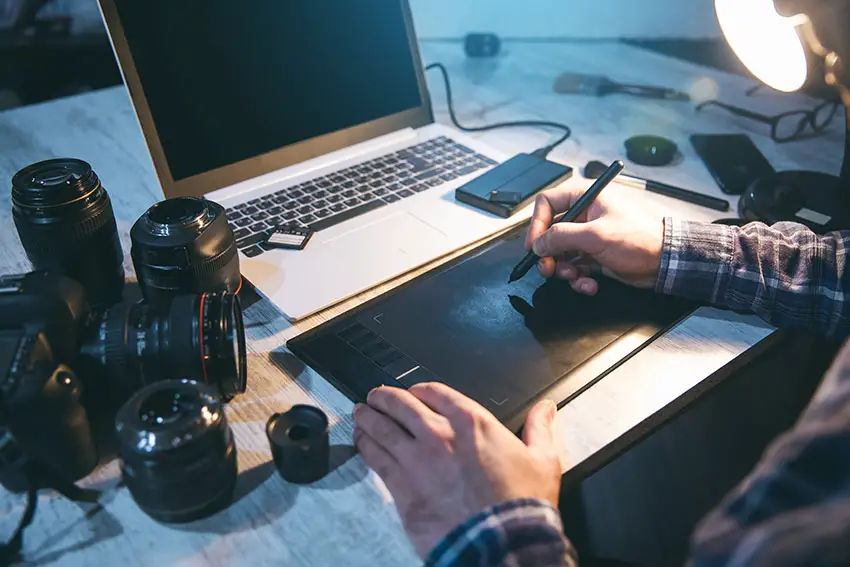
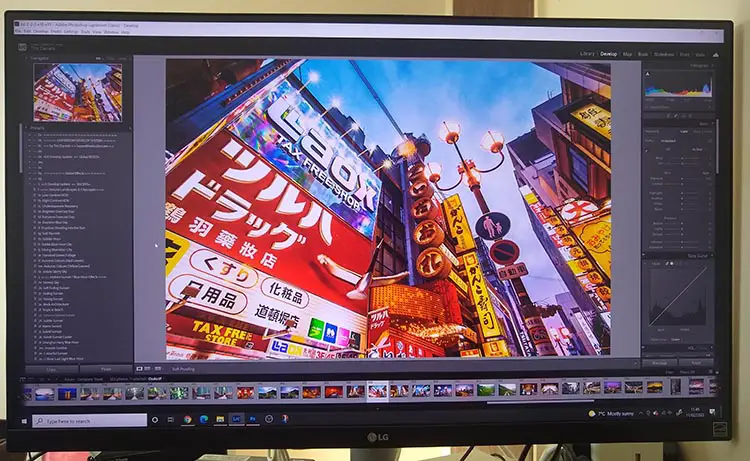
Laptop
Besides the photographic equipment, you should also think about having a good laptop to handle all your material and run Photoshop and Lightroom smoothly. For me, it should be one of your top priorities.
To choose the proper laptop, you must consider the following:
- RAM: at least 16GB.
- Hard drive type: a solid state drive (SSD) is a much faster and better alternative than a hard disk drive (HDD).
- Processor: look for the fastest and newest processor your budget can afford— at least Core i5 and 9th generation or higher.
Additionally, check the screen size, resolution, and graphics card. The bigger the screen and the higher the resolution, the better.
With time, you will be able to have a more complete and sophisticated editing setup with a second monitor and other useful gadgets to enhance your workflow.
If you still need a computer to work with, check out some of the best laptops for editing on a budget.
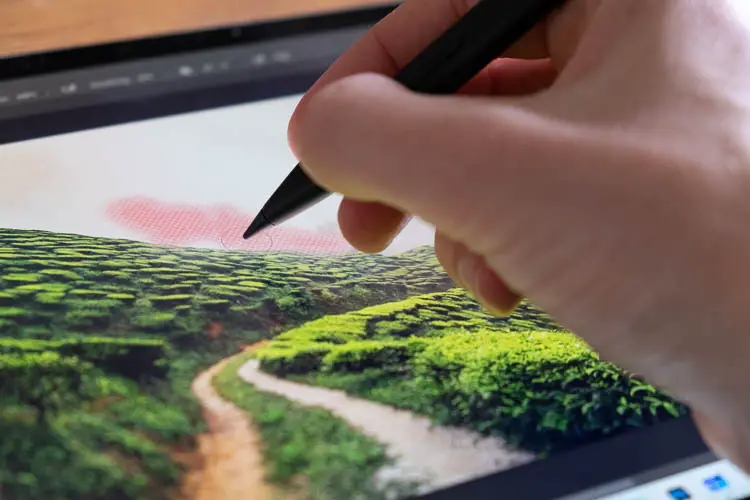
Editing software
Professional image editing software is another cost to include in your budget— some are subscription-based, while others are one-time purchases. Remember that post-processing is as crucial as taking photos.
When you start working with clients, you must learn how to edit and organize all that material. And Adobe Lightroom is the ultimate software for this.
Check all our Lightroom articles, tutorials, and presets to boost your editing workflow.
Besides Lightroom, other popular editing programs include Photoshop, Capture One, DxO PhotoLab, and Luminar Neo.
Storage

Just as you need a platform to organize and manage all your projects, you also need space to store all that data— and to back it up!
Don’t rely on your computer’s internal storage. Buy a high-capacity external hard drive to keep all your files safe and well organized. Additionally, you can invest in a cloud-based storage service to back up your files online.
You get 20GB of online storage with Adobe’s Photography Plan, which also includes access to Lightroom and Photoshop. This is for my money the best deal you are going to get for storing your photos. Compare the Photography Plan to the other plans here.
3. Create a solid online portfolio
If you want to catch the attention of potential clients and gain their trust, you need to show them you are good at what you do. The best way to do that is to send them a link to your online portfolio. It should be brief but powerful, showing your finest work and personal style.
And what if you have never worked with clients before? How can you demonstrate your talent?
I know how frustrating and intimidating it feels to be in that situation. But, you don’t need to work for others to create exciting projects. See this as an opportunity to generate material for your portfolio without the pressure and requests from someone else. That creative freedom will also allow you to discover yourself as a photographer.
When putting together your portfolio, you can either show your work as separate projects or make a wide selection of images that sums up who you are as a photographer. In any case, think of quality before quantity. As a quick reference, 20-30 photos would be more than enough.
SmugMug offers a wide variety of customizable templates to build a professional online portfolio quickly and intuitively. It also includes other valuable benefits and features for photographers, from RAW file storage, unlimited photo storage with management and organization tools, app integrations, private galleries, and more.
Among the different plans offered by SmugMug, the Portfolio plan is the best alternative for photographers who also want to sell prints. Yet, if you are only interested in showcasing your images, the Power plan will be good. Check our SmugMug Power vs. Portfolio comparison for more info and for money off!
Regardless of your plan, SmugMug has a drag-and-drop interface that makes it very easy to upload images to your portfolio and create your website entirely from scratch without needing to know anything about web development.
Here are some SmugMug example websites if you need some inspiration to start building your site!
Other strong alternatives for starting your site are Pixpa (50% off with code PXREF550 – and read our Pixpa review), who are a specialist site builder for photographers, and Squarespace, one of the most popular website builders around.
4. Determine your services and set your prices
Now, let’s talk real business: what services are you offering, and how much will they cost?
Think about how to monetize your work and make it valuable to clients. For example, if you want to do product photography, you can offer packages for social media and e-commerce at different prices to suit clients with different needs and budgets.
You can offer various services: photo shoots, events coverage, photo albums, and even courses or tutoring.
Also, you can decide whether you prefer to charge by the hour or by the project. In my experience, charging per project is much better, as it makes everything easier for the client beforehand.
Nevertheless, you must consider the estimated hours you would need to finish a project —besides other resources— to calculate a fair price for yourself and your client. Therefore, always have an hourly rate in mind for that.
Pricing your work can be complicated initially, so you can start by doing a little market research to know how much the competition charges for the same service you offer. Look for the standard and use it as a benchmark to set a price you feel comfortable with.
Pro tip: prepare an itemized invoice for your clients. That will make them clear about what they are paying for.
Pro tip 2: write contracts for each project and point out the conditions of your service, payment methods, delivery times, and so on. Always leave a written record of everything you do with your clients to prevent them from taking advantage of your work.
5. Sell your photos online
Besides offering your photography services, you can generate passive income by selling your work online. In fact, you could make a photography business solely from your online sales, but that will depend on your goals as a photographer/artist.
Broadly speaking, you have two options to monetize your photography through the web:
Sell your work to particular clients
SmugMug might be everything you need if you are interested in selling prints— among other things. The Portfolio plan allows you to add a whole sales platform to your website without worrying about all the technical and logistical issues yourself. You just set it up, and they do the rest.
On top of that, SmugMug offers you plenty of tools to run your business like a pro, with tools to manage pricing, customers, marketing, delivery, and more.
Besides prints in several formats and materials, SmugMug allows you to sell books, albums, keepsakes, and even digital downloads of your pictures. You decide how big you want your online business to be.
Sell Stock Photography
In addition to selling prints, you can get into stock photography and generate passive income with your work. This can be a side project to your primary business, or you can make it your first source of income.
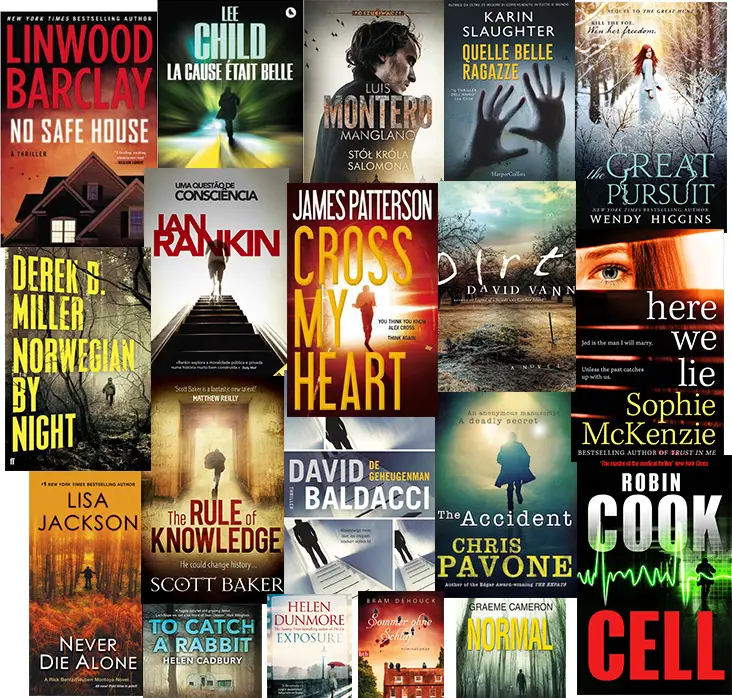
There are many sites where you can sign up, upload content, and earn money for every sale you make. The most popular are Adobe Stock, Shutterstock, Getty Images, and iStock, but don’t overlook smaller, book cover specific sites like Arcangel and Trevillion.
You can check the features, pros, and cons of each platform in our following comparisons:
Make sure you meet the technical requirements of each site and take the time to familiarize yourself with the platform and study what type of content sells best.
The key to success in stock photography is to create quality content that is useful to designers and content creators. Evaluate what type of content can attract sales and try to offer a new point of view to stand out from your competition.
Tip: create unique content for seasons and holidays (Christmas, Valentine’s Day, Thanksgiving, Halloween, etc.). You have much more potential to sell this type of work than other random topics. Stock photography has many areas, but these are the most profitable ones.
6. Use social media to promote yourself
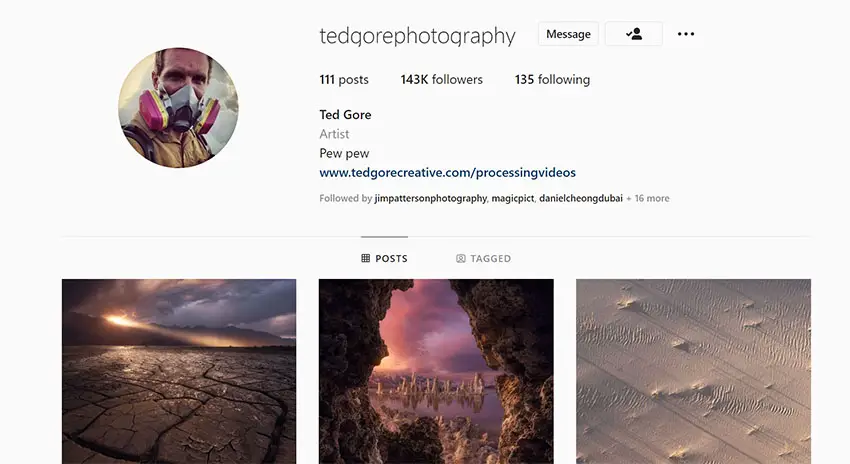
Nowadays, it is easier than ever to promote our work and get clients, thanks to the internet and social media. And, of course, Instagram is an essential tool for us photographers.
Remember that the best way to attract clients is to show what you do. You can share behind-the-scenes content, tips, personal projects, and previous works— always with your clients’ permission. Take some time to create an online presence and stay active to remain on the radar of your potential clients.
The best thing about apps like Instagram, LinkedIn, TikTok, or Facebook is that they not only work as a platform to showcase your talent but are also powerful channels for networking. With them, you can establish professional relationships with clients, brands, and other photographers.
Yet, you must learn to use social media as a business tool and not as leisure and entertainment. For that, it’s always best to have separate accounts for your photography business and personal life.
Further Steps
As you earn more clients and projects, you can scale up your business, rent a space, create a company, and more. And with that, you will need to hire additional hands (retouchers, assistants, art directors, etc.).
Moreover, you can team up with other photographers or artists and start a creative agency or studio if you are more ambitious.
Whatever you want to do with your photography business will depend on your professional aspirations and business plan.
The best advice I can give you for this is to be patient and set realistic goals.
Take your time evaluating all possible scenarios, and be sure to get help and consulting to maintain the financial health of your business and ensure your stability over time.
Pros and Cons of Starting a Photo Business from Scratch
Everything has a good and a not-so-good side. Before starting your photography business, evaluate the pros and cons. That will help you make better decisions and get your feet on the ground to set clear and realistic goals.
Pros
- Making money from what you love.
- Flexibility and independence.
- Meeting new people.
- Endless opportunities to grow.
- Opportunities to travel.
Cons
- Inconsistent income— there will be seasons with low income, so you should learn to deal with the freelance lifestyle and manage your money wisely.
- It takes time to grow.
- It can be expensive at the beginning.
- Sometimes you will have to work with picky clients.
Final Thoughts on Starting a Photography Business
Living from your passion sounds beautiful in theory, but it also requires a lot of discipline and constancy.
Organization, patience, and vision are the key to building a business, whether in photography or anything else. Take your time to create a solid business plan with clear goals to maintain your focus, prepare a professional-looking portfolio, and promote your work. Sooner than later, you will get your first clients!
Found this article helpful? Share it on your social media and help fellow photographers start their careers!
Read More:
What are photography viewpoints?


Leave a Reply