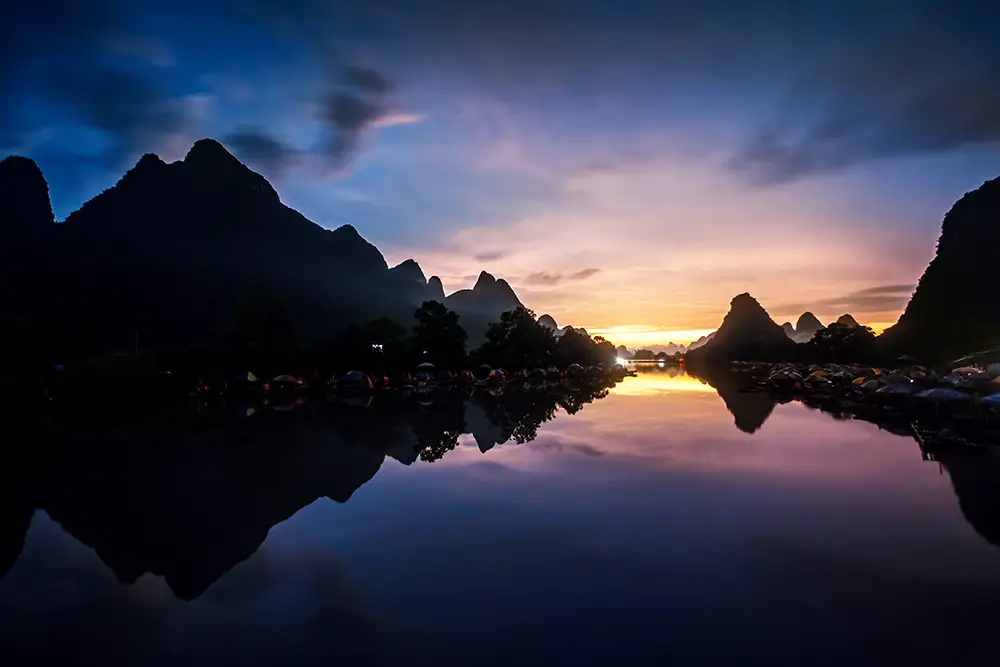
You Know the Theory, Now Make It Click
Landscapes Masterclass
Digital Blending Workflow: No HDR, No Plugins
Thanks for finding your way here, where you will find detailed tips, tricks and guides on how to perfect your landscape photos through digital blending in a way that’s fun, straightforward and powerful. I hope you find it useful. If you want to skip ahead, get the Lightroom Develop System and other free resources here.
We all want to create photos we can be proud of, right? We know the theory, but somehow that doesn’t translate into photos that look good. So, where are we going wrong?
This tutorial is for all landscape photographers who take one photo and want to go from:

in minutes with only simple techniques in Lightroom and Photoshop that you fully understand.
- No software doing mysterious things
- No plugins
- No bracketed exposures
- No need for HDR
- No need for Nik filters or anything other than your own creativity…
- Only Photoshop (and optionally Lightroom) needed
Fantastic photos with only basic skills and a simple, repeatable workflow to create unique and personal landscape and cityscape photos. This is not about giving you a recipe to follow, but about giving you the skills to access your own creativity and make the kinds of photos you want to make.
Table of Contents
Get the Free eBook!
Download this article as a free 59-page PDF eBook to reference when processing your photos.
Put your email address in below to sign up for my newsletter and get sent a download link right now.
1. Some Examples
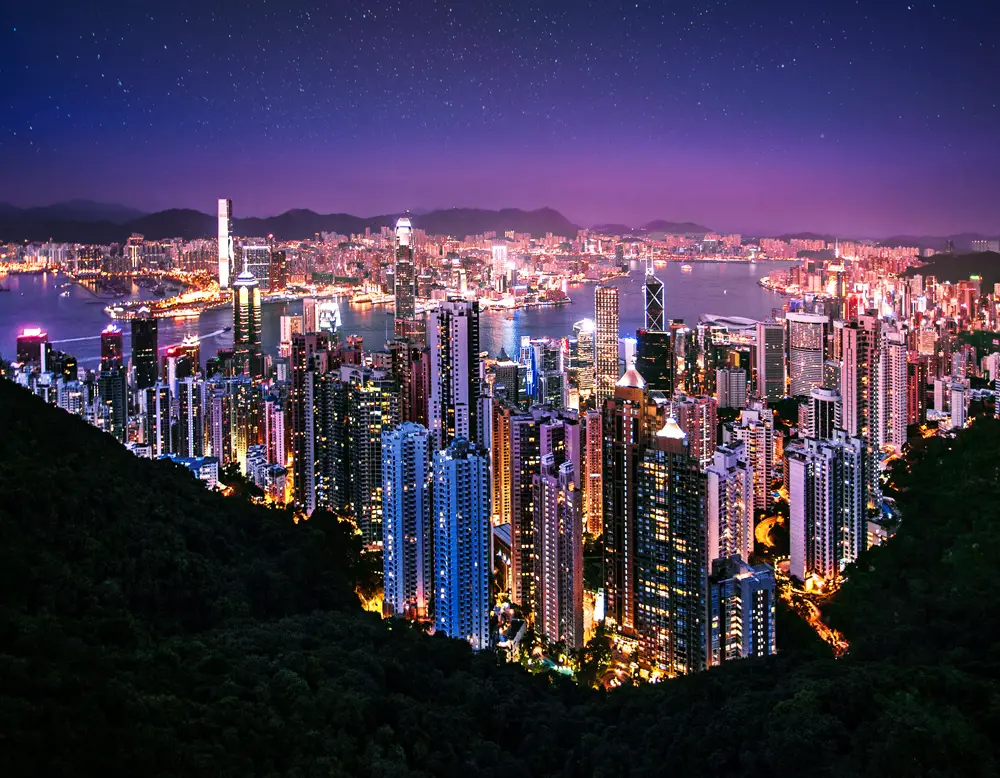
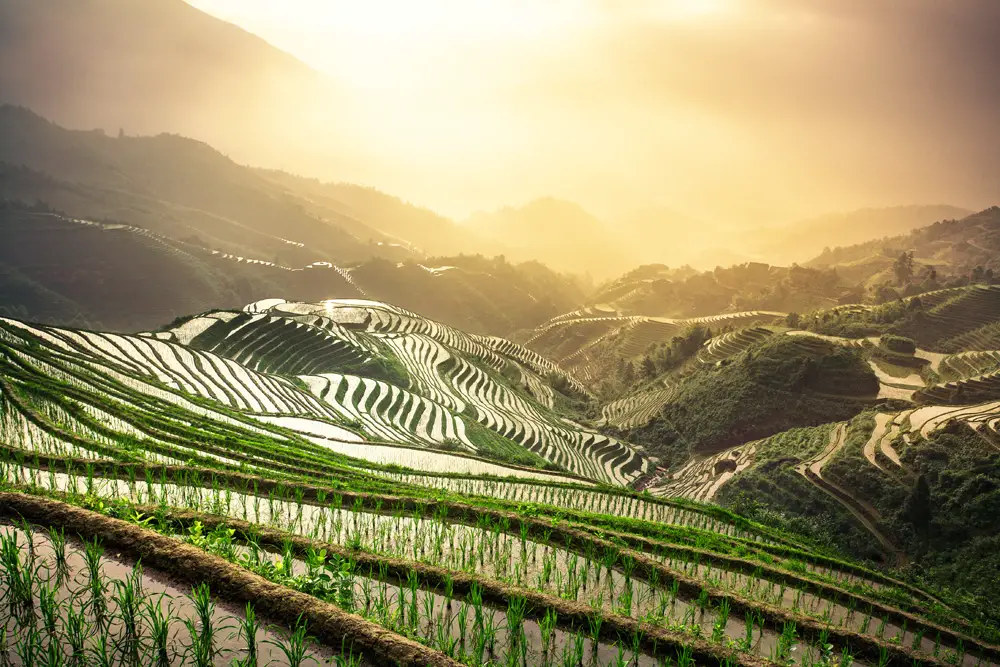
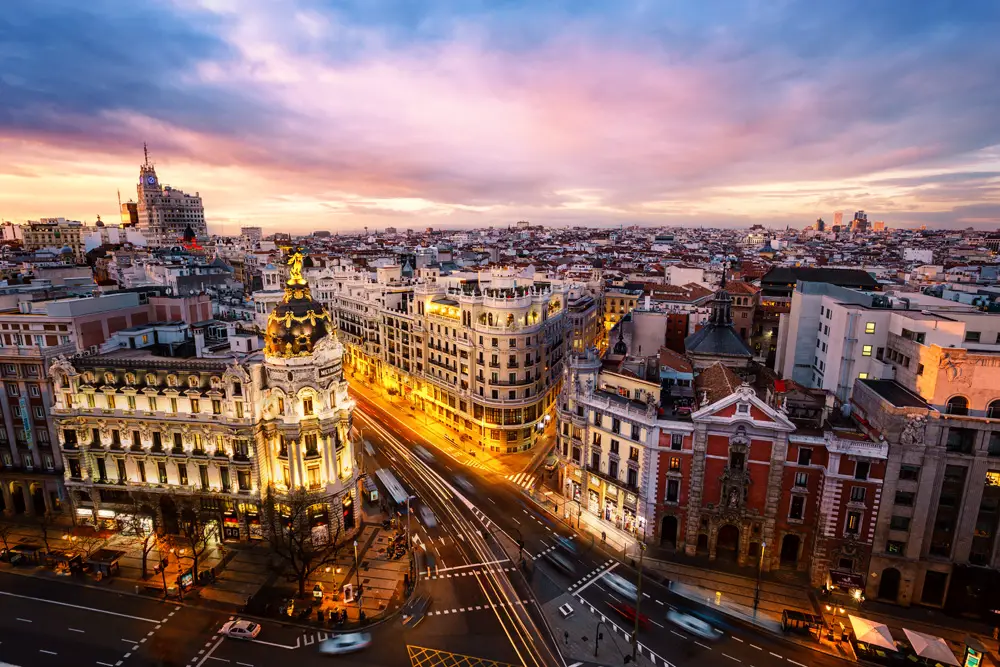
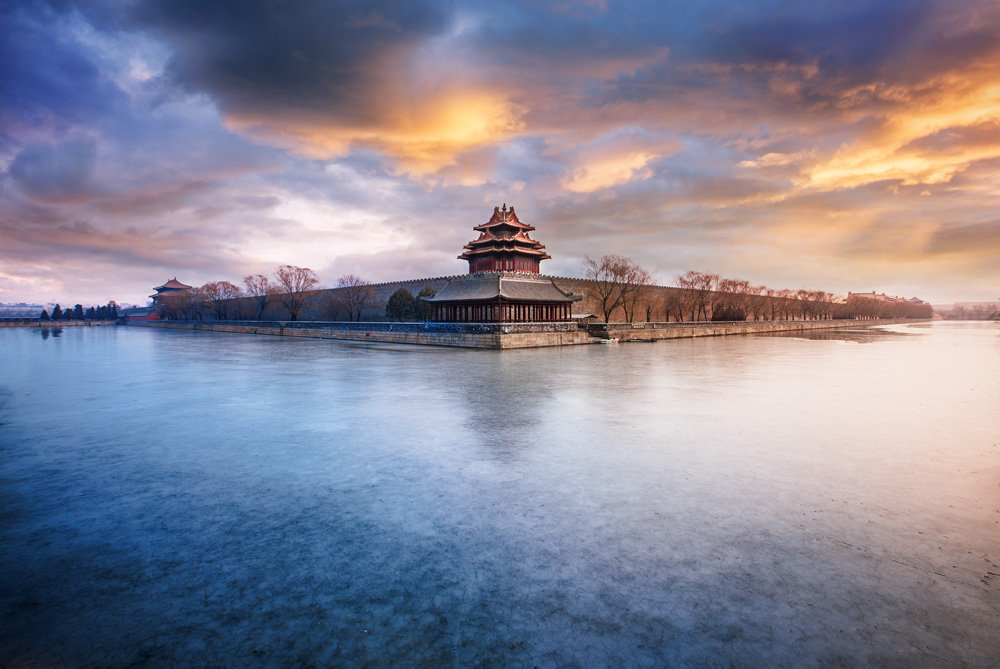
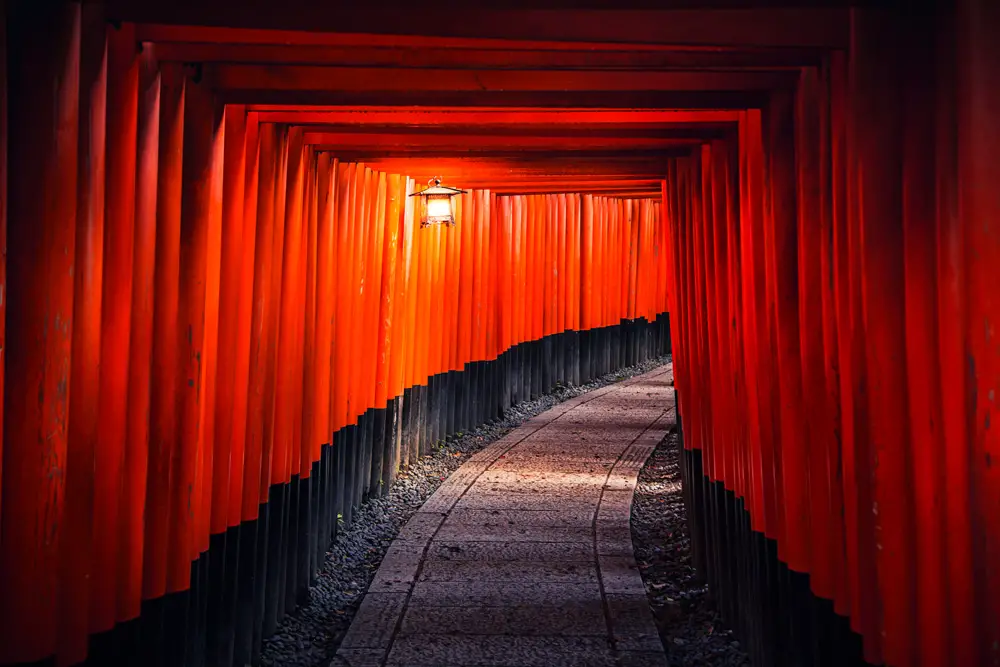
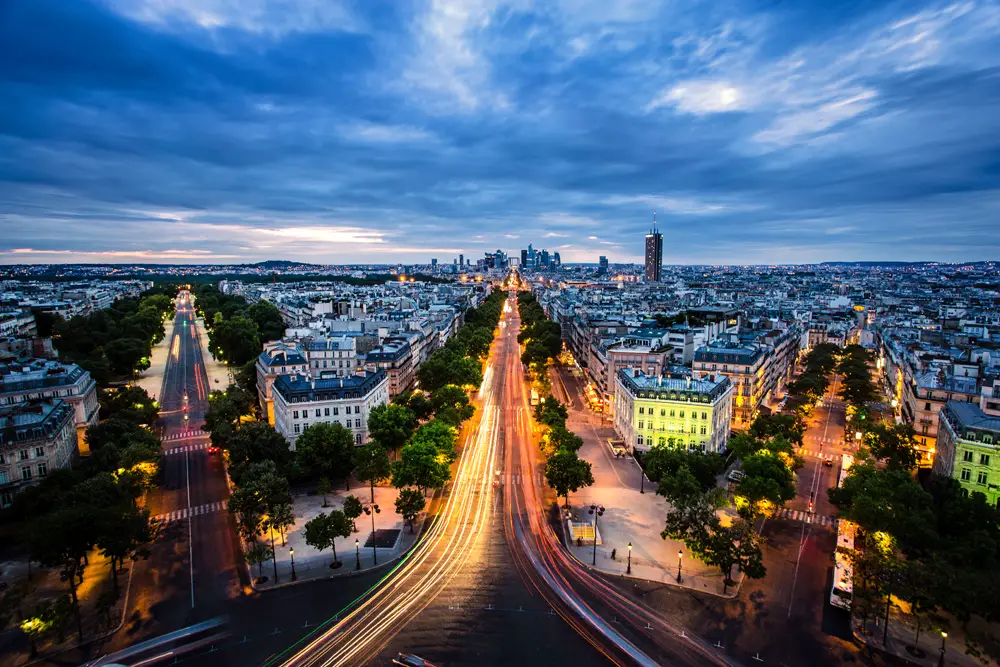
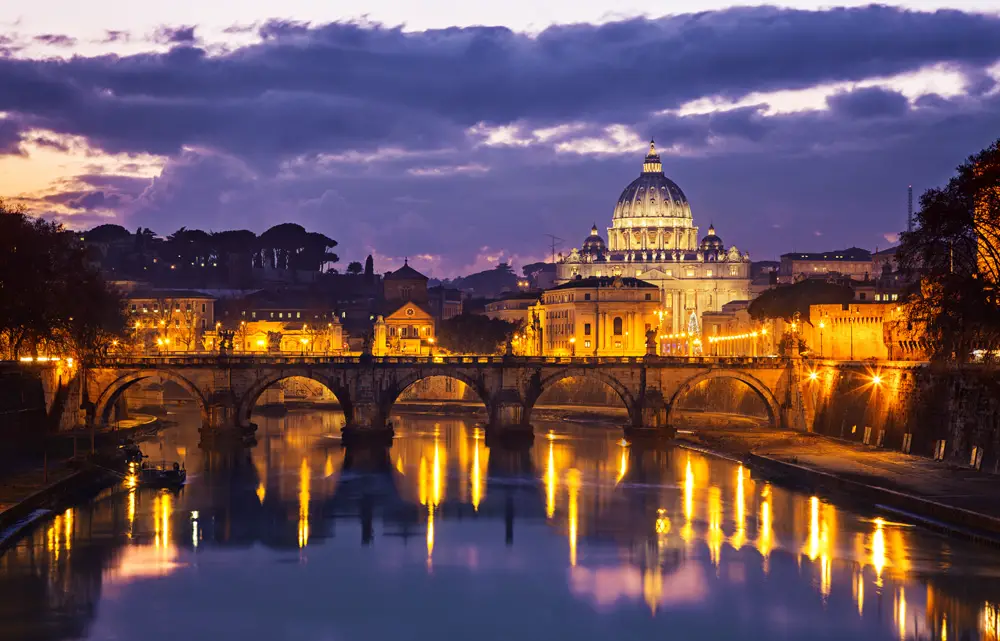
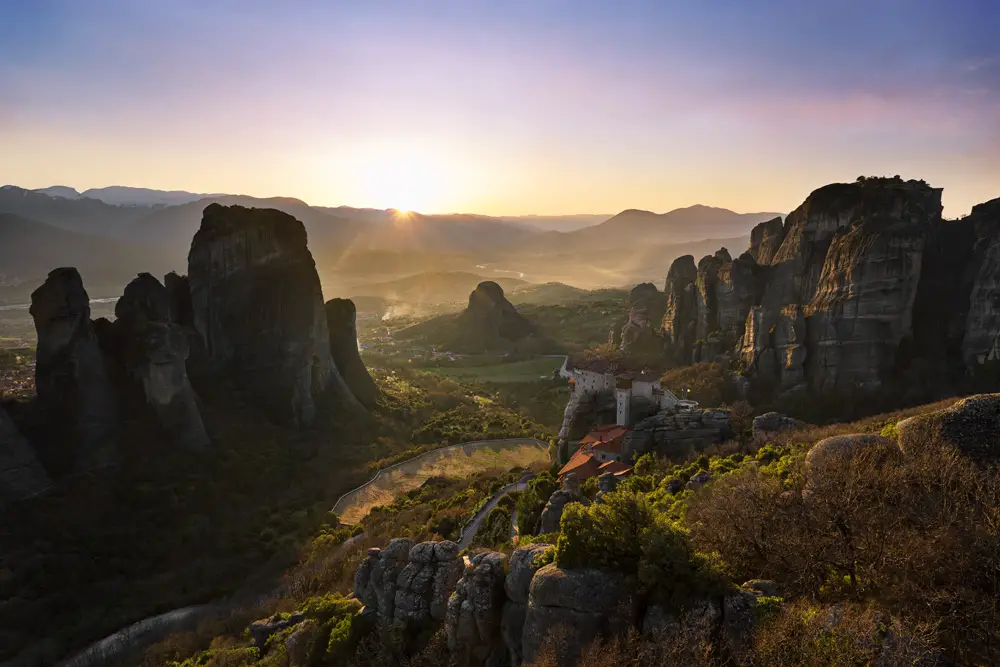
Before we get into the workflow, let’s see some examples of what exactly you can do. None of these photos took long to produce, and all were made entirely in Lightroom and Photoshop, with no additional plugins or HDR or anything clever. The only helpers I used were my free resources, the Lightroom Develop System CC, the Photoshop Landscape Colour Grades and the Photoshop Colour Control ActionPack.

2. What You Will Need
You’ve got a landscape photo lying around on your hard drive, right? That’s all you need. Any old photo taken with any old camera: your phone, a homemade pinhole camera, a fancy DSLR. No special equipment is required. It helps if you can shoot in RAW, but a jpg is fine too.
With modern cameras, there is much less need to bracket photos, even to create HDRs and for digital blending. You can do both of these with just one RAW file and some easy to learn techniques. If you want a RAW file to play around with and to try some of the techniques, you can download one here.
On your computer, you only need Photoshop, although you will need Lightroom if you want to make full use of the free resources.
3. The Landscapes Digital Blending Workflow
Now it’s time to open up Lightroom (or Adobe Camera RAW in Photoshop) and get to work. The video below contains the entire workflow if you’d rather watch it, but I’d recommend you also read through the text tutorial as that contains much more detail. If you want to follow along, download the RAW file used in this tutorial here, but remember, this isn’t a recipe for you to copy on all your photos, more of a guide to show you the possibilities that each of your photos holds, even ones you might otherwise have discounted. So, turn to Part 2 to read on …
Turn to Part 2 to continue …
7 Responses
MCarmen
Many thanks for
your wonderful tutorials.
Tim Daniels
Thanks! Glad you’ve found them useful.
Dennis Harris
really great!!
Grant OSBORNE
So glad that your ‘lapse’ for lapse of the shutter has ended and that you are making your superb content available. Many useful hours ahead to learn from an expert. Thank you.
Tim Daniels
Thanks, Grant. I’m glad you find this useful!
stacey
Having problems with downloading RAW file at the link. I get the following message
404 Not Found
Code: NoSuchBucket
Message: The specified bucket does not exist
BucketName: downloads.www.lapseoftheshutter.com
RequestId: 8HHGKAS26XP7DZPR
HostId: zvJsjlDG2O7fArJWw3fmbT/XEOD4wxJNC7XEoYKWAvqp+VX0iNmQ004sEgEpWb5CFpf+YA1bPxQ=
Tim Daniels
Thanks for letting me know.
I’ve now fixed the link.