Enter your camera’s crop factor, lens focal length and desired aperture and the calculator will return the correct shutter speed for astrophotography.
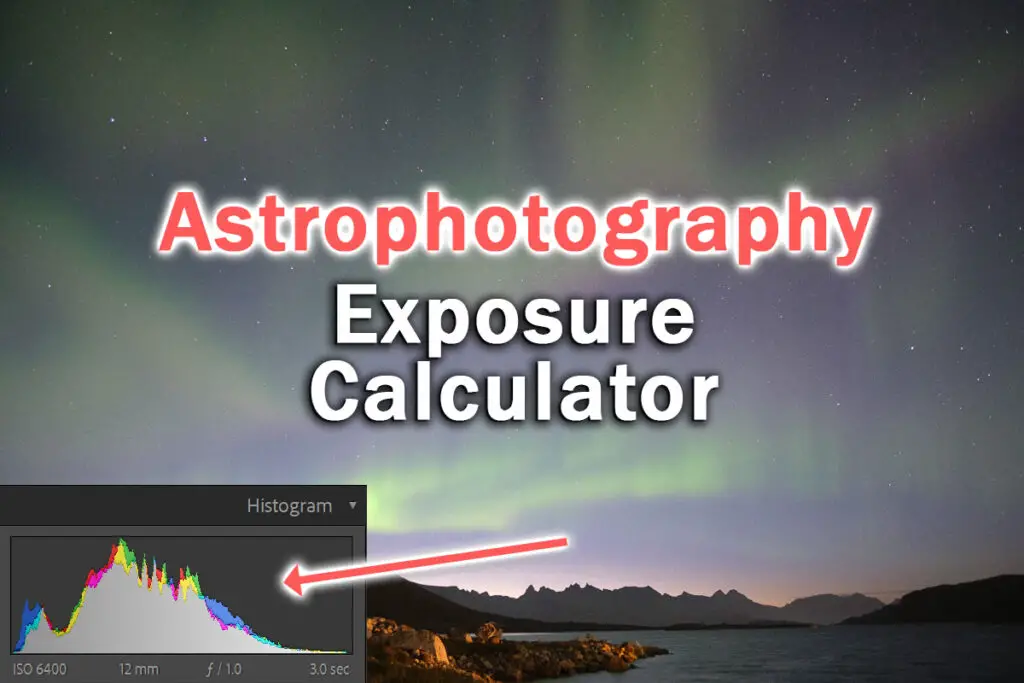
Astrophotography Exposure Calculator
There’s more details on the ideal aperture to use and how to make sure you have the right exposure below.
How to Use the Astrophotography Exposure Calculator
If you’re into capturing the heavens, this tool is tailor-made for you. Let’s take a closer look at how it works:
- Camera Type:
- Start by selecting your camera’s sensor size or type.
- Different cameras come with varying sensor sizes, commonly known as ‘crop factors’. For example, an APS-C camera from Fujifilm, Nikon, or Sony typically has a 1.5x crop factor, while Canon’s APS-C cameras have a 1.6x factor. Micro 4/3 cameras come with a 2x crop factor. If you use a Full Frame camera, just select ‘Full Frame’.
- This factor impacts the field of view and the effective focal length of the lens you’re using, which in turn affects the exposure time for astrophotography.
- Focal Length:
- Here, input the focal length (in millimeters) of the lens you’re planning to use. This plays a significant role in determining the best exposure settings, especially the shutter speed.
- Preferred Lens f/stop:
- This is the aperture setting of your lens. It determines the amount of light hitting the sensor.
- A lower f-number (like f/1 or f/1.4) means a wider aperture, letting in more light, while a higher f-number (like f/11 or f/16) means a narrower aperture, letting in less light. For astrophotography, wider apertures are typically preferred as they allow capturing faint celestial objects better.
Results:
- Once you’ve made your selections and input your lens’s focal length, the calculator provides you with:
- A recommended shutter speed for optimal exposure without introducing star trails.
- A recommended ISO setting to ensure your images have a proper balance of brightness and detail without excessive noise.
- An Exposure Value (EV), which is a measure of the total amount of light captured in your photo. For astrophotography, it’s optimal to have an EV between -7 and -8. If your settings result in an EV outside this range, the calculator will provide you with some tips on how to adjust your settings to get better results.
Note:
- When making changes, especially increasing ISO or Shutter Speed, be mindful that while you’ll get a brighter image, the trade-off might be an increase in noise or star trails, respectively.
The Ideal Exposure for Milky Way Photography
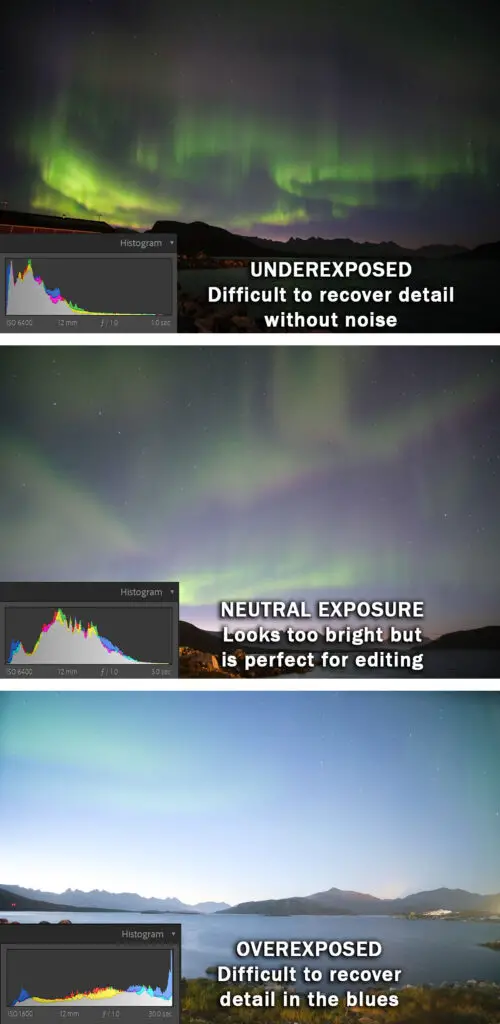
Don’t use the image on your LCD to judge brightness of your photo – this can be very misleading in the dark – instead use your camera’s histogram.
Ideally, you should use the RGB histogram, as the luminosity histogram on some cameras is not true luminosity, but actually just the red channel.
Looking at your histogram, aim for a neutral exposure where the peaks are centred around the middle of your histogram.
You don’t want to go too far to the left, as underexposure cannot be recovered without significant noise, and overexposure on the right is hard to recover detail from.
If your image is excessively grainy:
- Your gear might be a limitation.
- Activating in-camera Long Exposure Noise Reduction can be helpful.
- If stars appear as streaky trails, shorten your shutter speed.
- Be wary of factors like light pollution, moonlight, and slower lenses, as they can affect image brightness and noise.
How Does the Astrophoyography Calculator Work?
1. Shutter Speed:
- Determines the amount of light captured based on your lens’s focal length and camera sensor size.
- A simple guideline: Shutter Speed = 500 / (focal length / crop factor)
- Focal length: The measurement of your lens. Shorter is generally better for the Milky Way.
- Crop factor: A factor depending on your camera’s sensor type.
- Full-frame: 1
- APS-C: 1.5 or 1.6, depending on model.
- 4/3 sensors: 2.
- This calculation is grounded in the “500 Rule“, often used to balance light capture without star trails. Results may vary depending on the direction you aim at in the sky.
2. F/Number (Aperture):
- A low f/number, like f/2.8 or below, is ideal for astrophotography. It allows more light to hit the sensor.
- Lenses with an f/number of f/4.0 or higher might result in grainy images.
3. ISO Setting:
- It’s set based on both aperture and shutter speed.
- A typical Milky Way shot might be: 30 seconds, f/2.0, ISO 1600.
- For variations in f/number or shutter speed, adjust the ISO to balance brightness. Recommendations:
- f/1.4 lenses: Max ISO 800.
- f/2 lenses: Max ISO 1600.
- Slower lenses: Generally, ISO 3200.
High ISO can lead to overexposure of stars, and for the best star colors, maintain ISO between 800 and 3200.
4. Exposure Value (EV):
- Targeting an EV of -7 is a good benchmark for night sky shots.
- Your actual EV might vary but should be close to -7 unless limited by your equipment.
- The formula used in the calculator is: EV=log2(fnumber^2/ShutterSpeed)
Read More:


Leave a Reply