Easy Photo Blending
Blending photos is a powerful way to make landscape and cityscape photos interesting and unique. This tutorial is part of the Landscapes Masterclass series. Take a look if you haven’t already.
This tutorial gives you how-to’s for blending in five common landscape situations:
- Multiple Exposure Blending
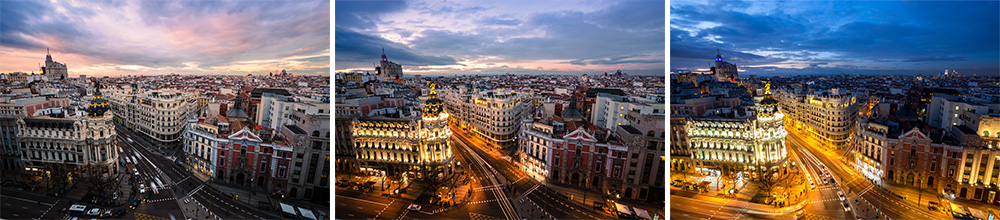
- Time Blending
- Object Blending
- Double-Process Blending
- Blending Skies
There are also a couple of extra techniques showing how you can take these further and really create something special. If you want a quick overview, then the video below covers most things in this article.
Quick Start
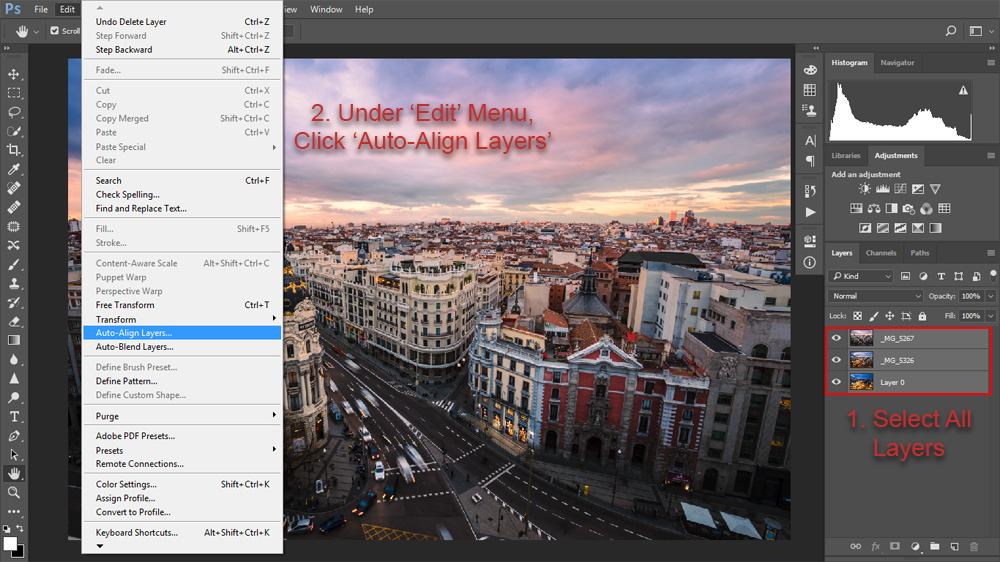
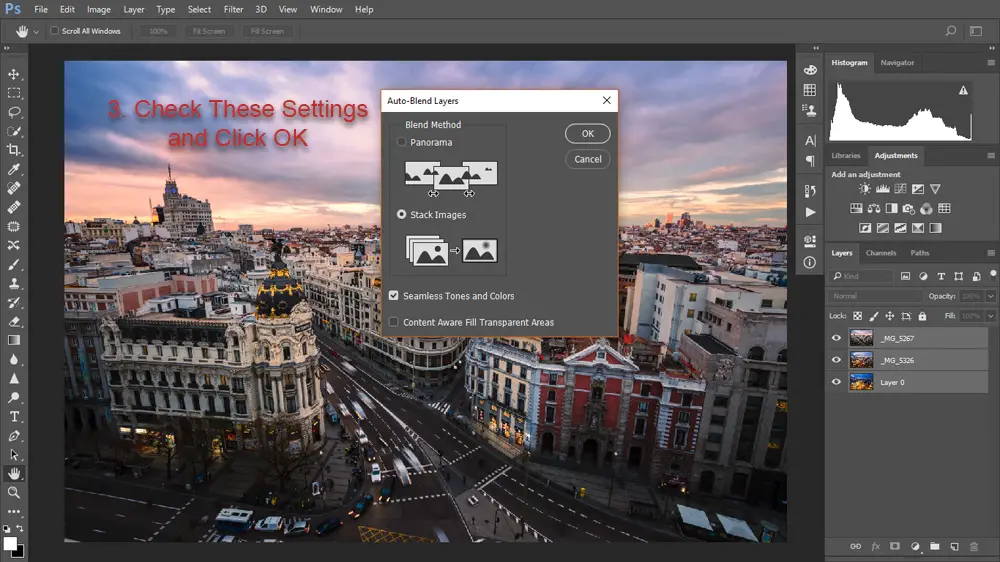
The absolute simplest way to blend exposures or multiple versions of the same photo is to use the ‘Auto-Blend Layers’ command in Photoshop.
This gives you no control over the final output, and definitely doesn’t produce a polished end result, but does provide layer masks that you can then tidy up yourself, using any of the techniques below. A good starting point if you are short on time, or less confident with Photoshop blending.
Perhaps the most common technique for blending photos is to use a simple layer mask in Photoshop and hand paint the blend using the paintbrush. This can cover you for a lot of the more basic situations you find yourself in.
If you don’t understand layer masks, you might find the rest of this tutorial a little out of reach. But don’t worry, there are plenty of excellent resources to teach you. Try this one from Adobe
Common Blending Situations
1. Shooting into the Sun — Multiple Exposure Blending
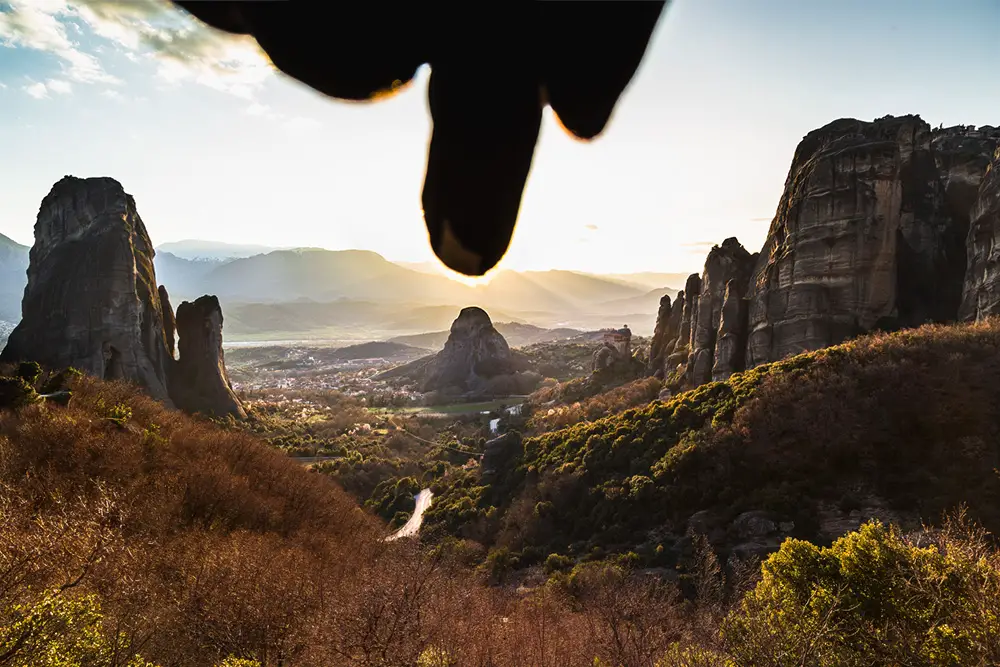
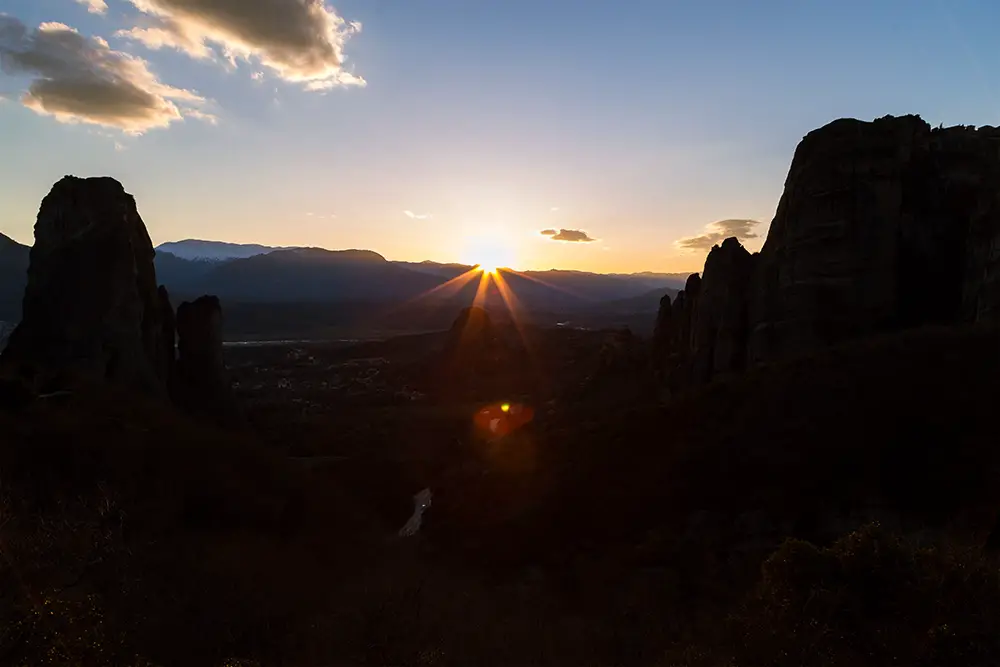
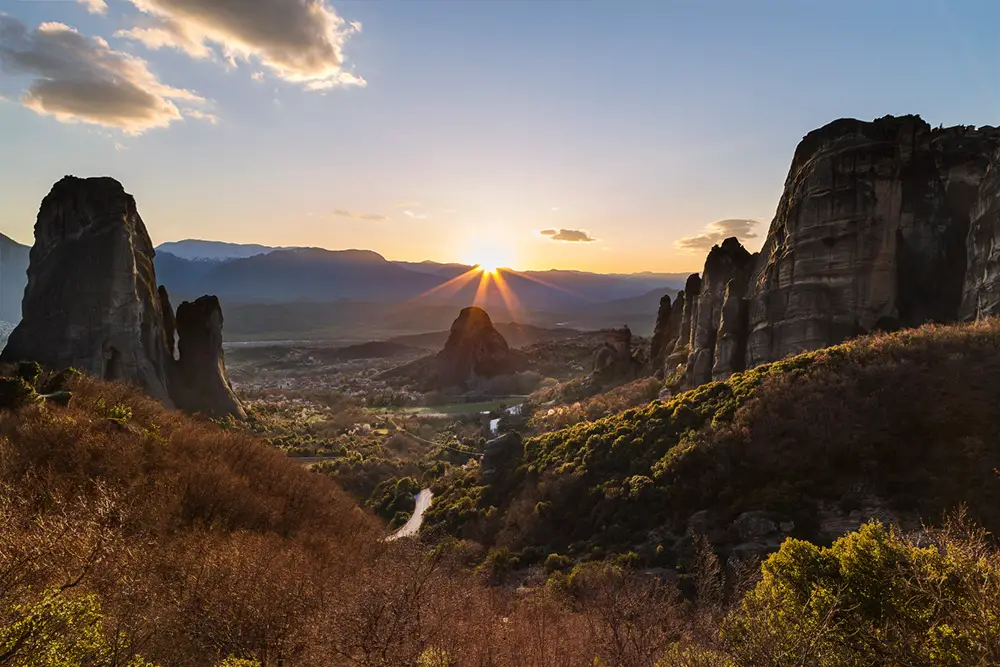
Modern cameras can often capture a huge amount of dynamic range, but they still struggle when shooting directly into the sun. You can either have the foreground correctly exposed, or the sky. How do you get both perfectly exposed in one photo?
I took the two photos below in Meteora, Greece, and processed both in Lightroom using the Lightroom Develop System. One is exposed for the foreground, one is exposed for the sky. You can see in the sky exposure that the sun is causing some lens flare. Blocking the sun with your finger during the foreground exposure stops this if you don’t like it.
Creating & Using Luminosity Masks
Blending these two exposures together is a very easy process using luminosity masks:
- Open both photos into the same workspace in Photoshop, making sure the sky exposure is on top.
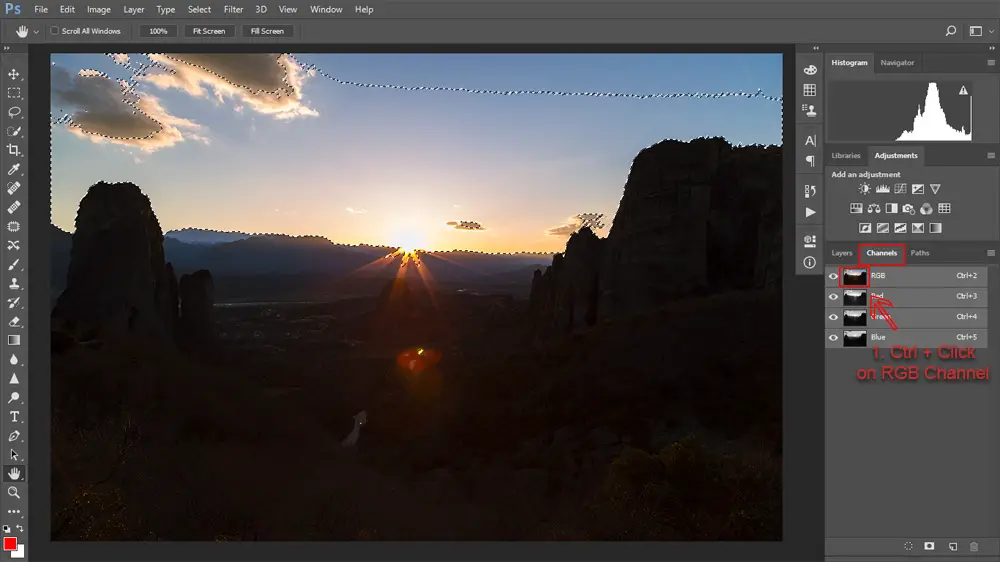
- Then, click on the ‘Channels’ tab in the bottom right of your workspace, and Ctrl-Click on the picture in the RGB channel.
You can use actions and panels to create these luminosity selections, but it’s just as easy to make them when and where you need them. Instructions for the first step are illustrated in the screenshot below.
This process creates a selection of the those pixels in the sky exposure that are in the top 50% of luminosity (brightness, essentially).
Although in this photo, you could probably do a pretty good job of selecting the sky and sun by hand, this technique is by far the quickest and easiest way, particularly for more complex scenes as we will see later.
- Once you have made the luminosity selection, return to the ‘Layers’ tab, make sure the sky exposure layer is active and click on the add layer mask symbol.
The selection will be automatically added to a layer mask. See the screenshot below for more details.

Modifying the Luminosity Mask
If the luminosity mask isn’t quite to your liking, you can easily modify it with tools like the ‘Paintbrush’ or the ‘Gradient Tool’.
- Paint white onto the mask to allow more of the sky exposure to show through into the final photo, black to stop the sky exposure showing. Using large, soft brushes, set to a low opacity works best, so that you can slowly build up an effect and avoid any hard edges.
The final mask is shown below. You can see the slight modifications I have made, primarily to the border between the sky and the land. This is to make the transition less abrupt.
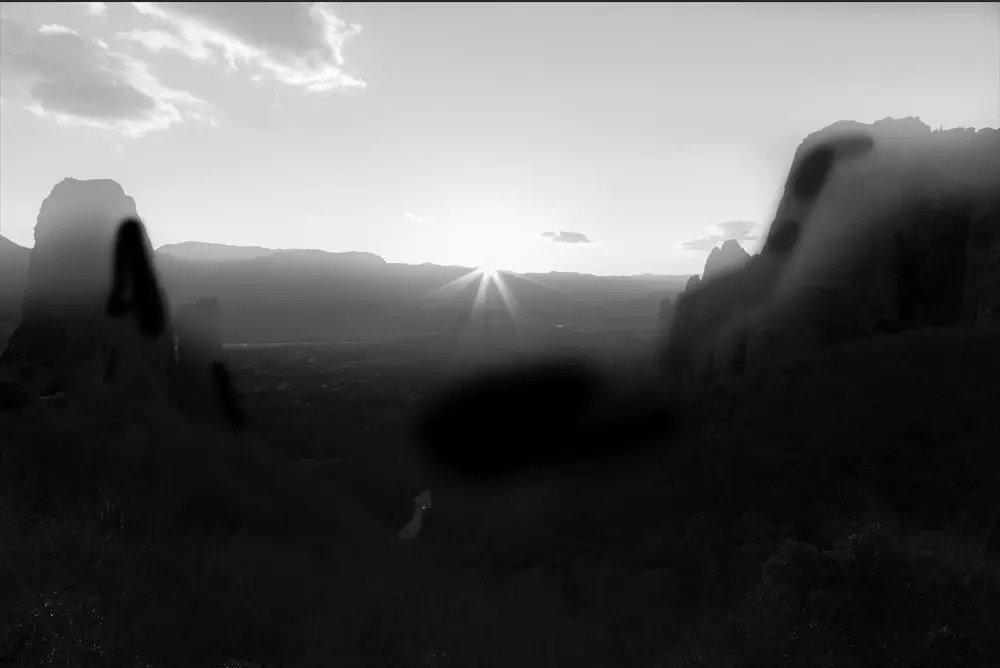
And here’s the end result. I would now take this photo and run it through the Landscapes Masterclass process to finish it.
This is the most basic way to use luminosity masks. For something much more interesting, turn to Part 2 for my most used technique, Time Blending.
Get the Photoshop Color Control Action Pack for free!Subscribe to the mailing list and get a free download link right now
Turn to Part 2 for more…
Leave a Reply