- Multiple Exposure Blending
- Time Blending
- Object Blending
- Double-Process Blending
- Blending Skies
4. Double-Process Blending
After photographing the sunset over the Vatican in Rome, I was left with one photo that I liked, but on it’s own couldn’t quite make into something I liked. It’s pretty common to have a photo that just feels flat, even though you know it shouldn’t.
The secret is to double-process it.
Using the free Lightroom Develop System, I processed a couple of versions of the photo, following the Landscapes Masterclass process.
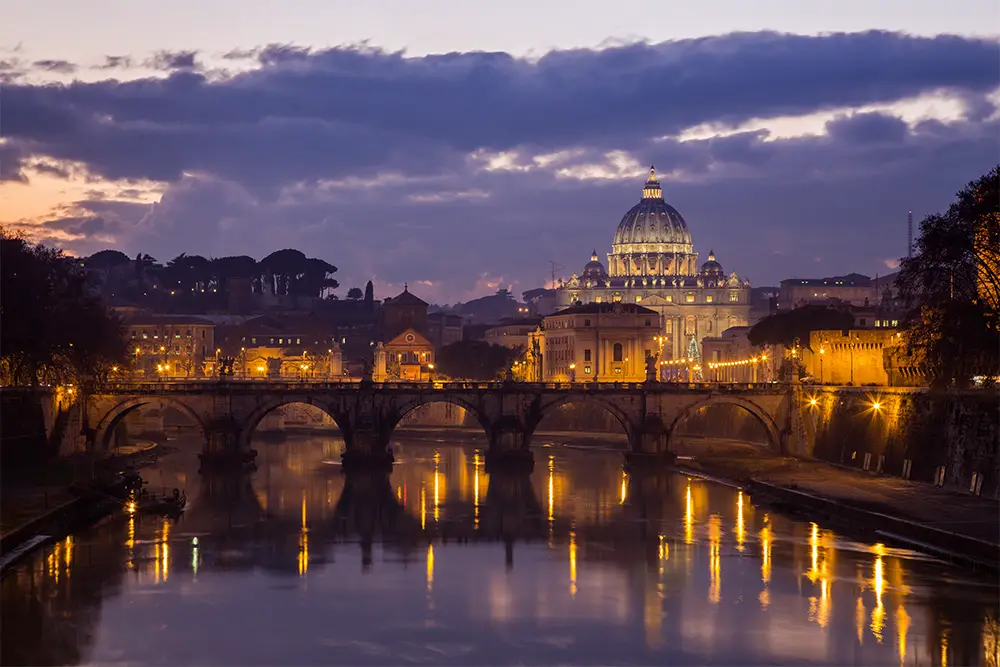

I liked the sky in the first photo, and the streetlights and reflections in the second. Now I needed to blend them to get both into one photo.
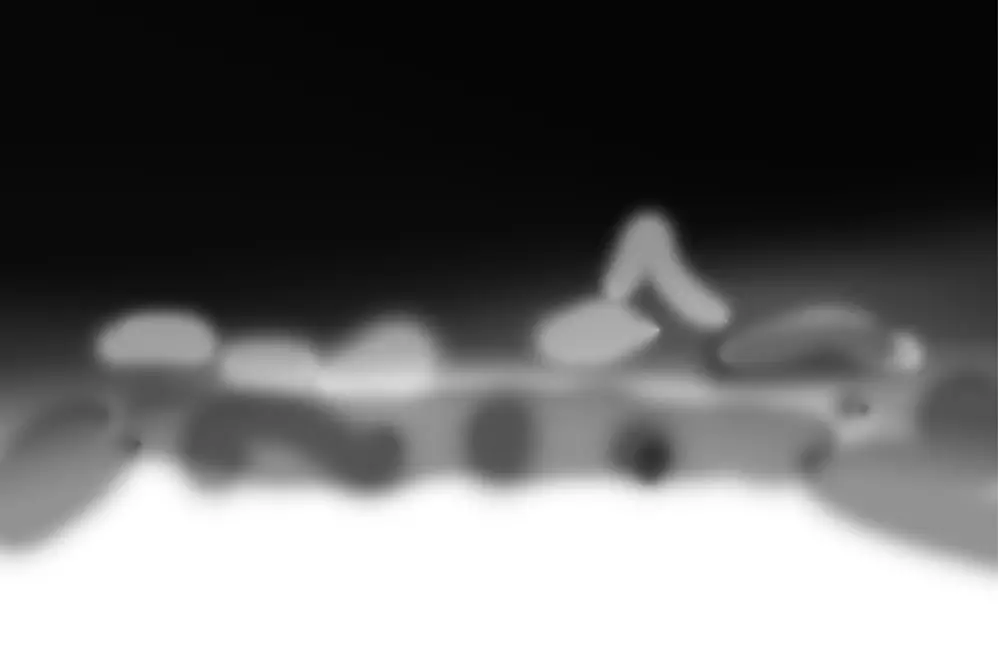
- Open both photos into the same workspace in Photoshop.
- Add a layer mask to the topmost layer
- Using the ‘Brush’ and/or the ‘Gradient Tool’ set to black, paint out any areas you don’t want in the final photo. The key is to use a large, soft brush set to an opacity of 10-20%. This ensures that any transitions between the two photos are subtle.
The final mask is below.
And this left me with a final photo having the sky from the first photo and the streetlights and water from the second.
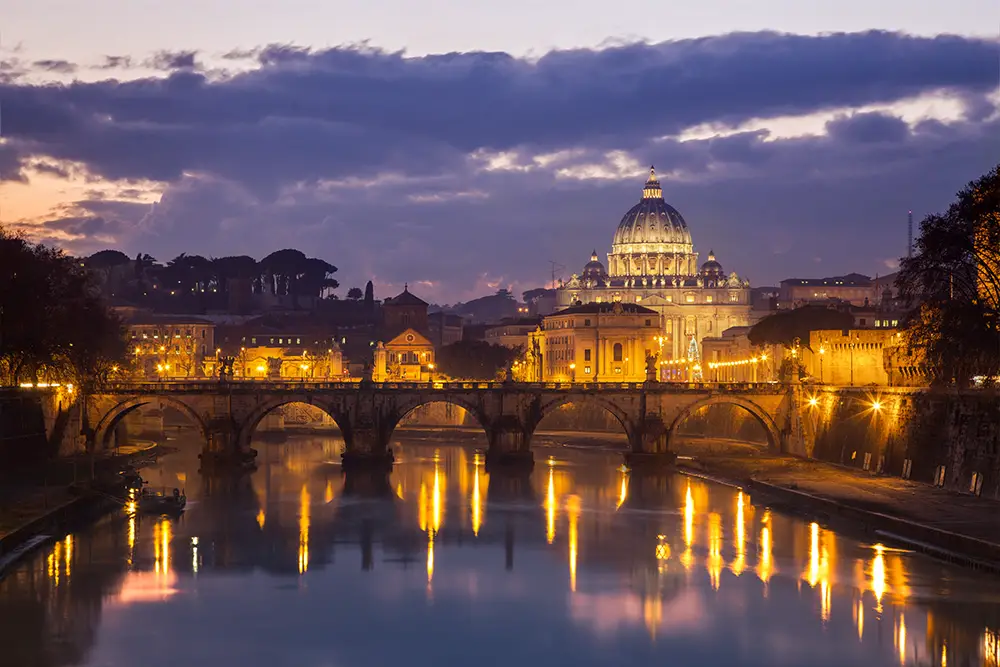
The differences are subtle, but worthwhile, as this blended photo gives much more to work with for the rest of the Landscapes Masterclass process.
Turn to Part 5 to see a couple of different ways to blend new skies into your photos.
Get the Photoshop Color Control Action Pack for free!Subscribe to the mailing list and get a free download link right now
Leave a Reply