- Basic Effects
- Advanced Effects
- Secret Effects
Part 3: Secret Effects
You don’t have to use these colour effects for sunsets or other landscapey things. There are plenty of more stylised uses. Here are a couple of examples that will hopefully make you think more creatively.
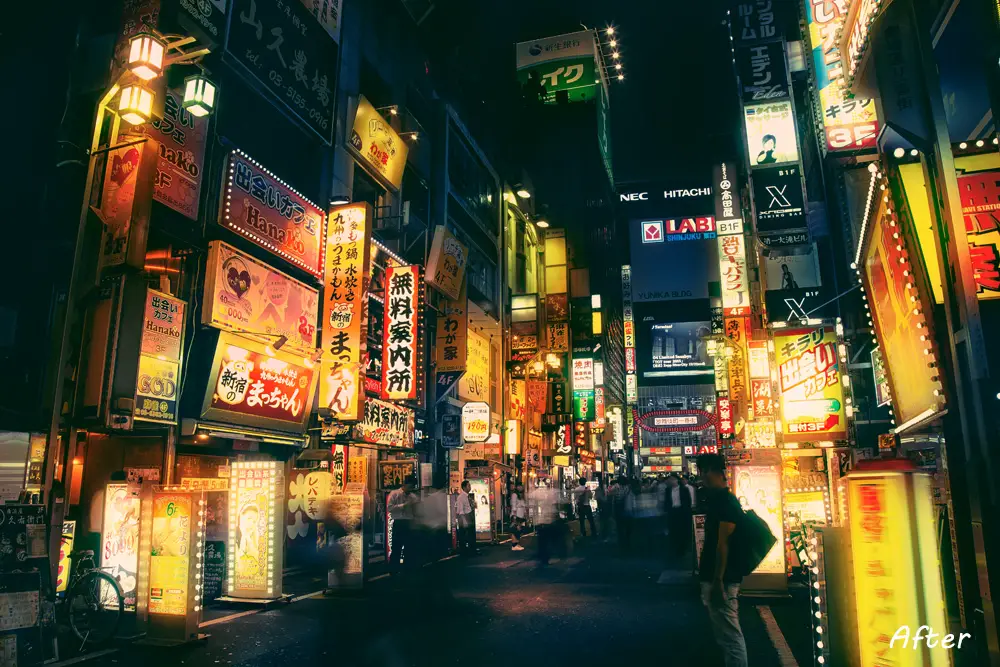
In Part 1, we used graduated filters to recover changes we made to the main white balance slider, but there is another way — using split-toning. This is the basis for creating effects like those of Masashi Wakui. Have a look at the free tutorial video below for a full workflow. If you want to download the RAW source file to follow along, you can here. This effect works best on cities at night, particularly if they have a lot of illuminated signs.
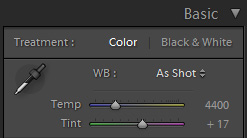
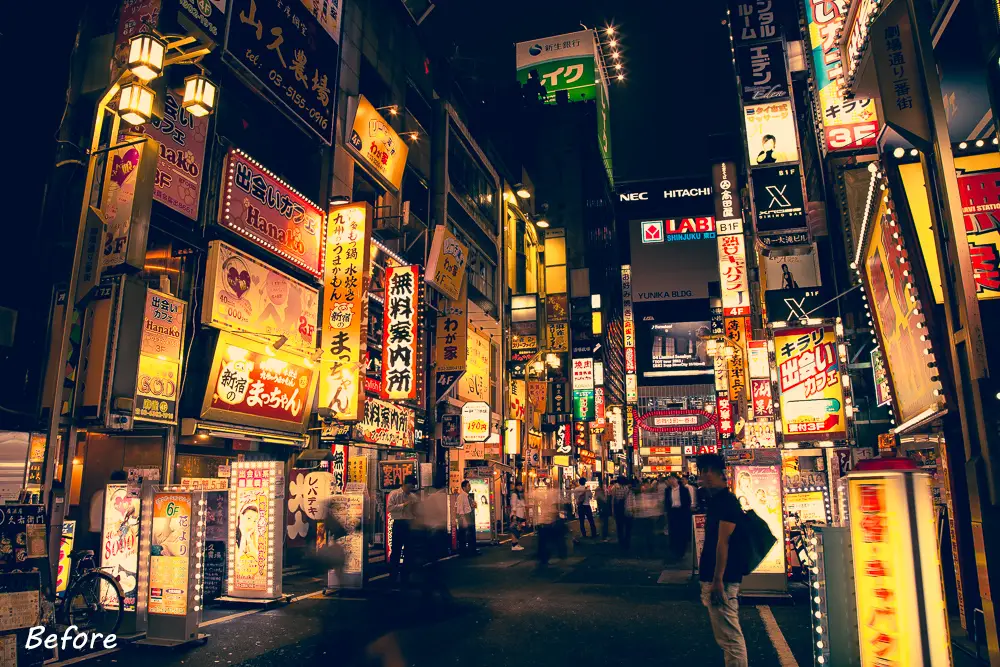
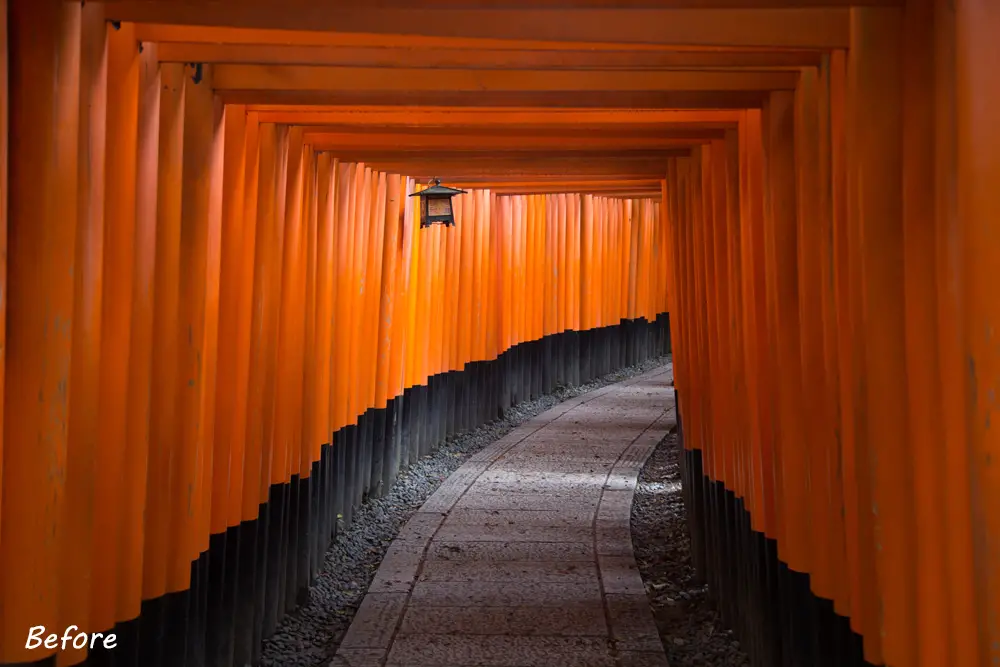
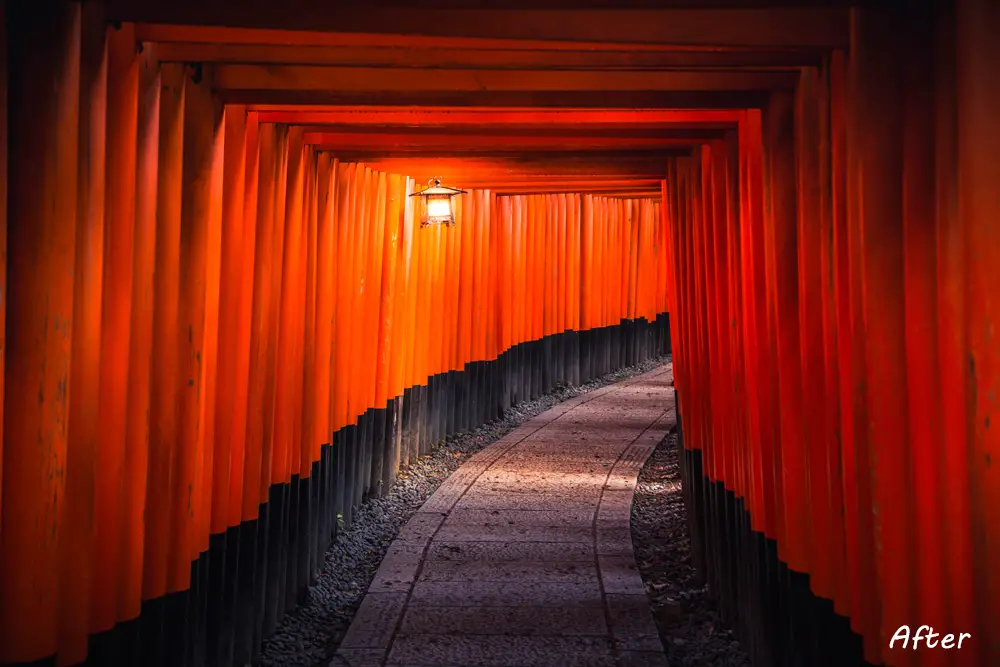
So, how can you use split-toning to recover white balance? Here’s a before & after of Shinjuku in Tokyo as an example.
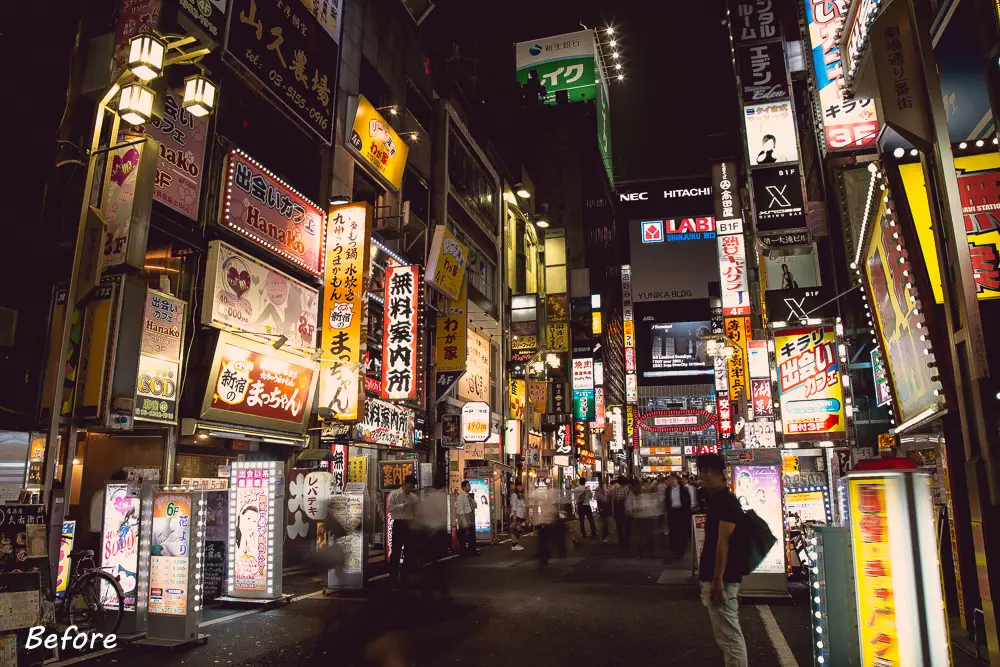

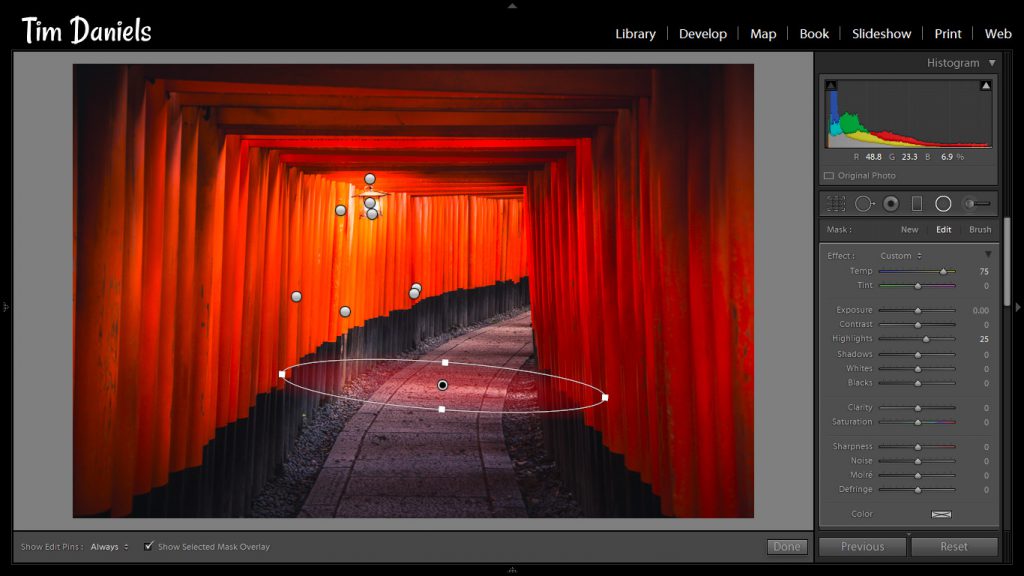
- Push White Balance to the Extreme. Push the main white balance slider all the way to the right, up to its maximum of 50000. It will look bad, but we can fix it.
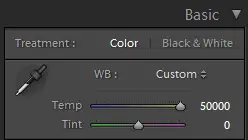
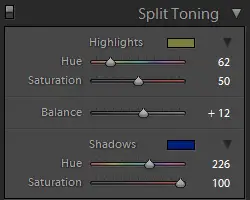
- Recover Colours Using Split-Toning. In the split-toning tab of Lightroom, select a yellowy colour for the highlights, and set a saturation of about 50, and a deep blue for the shadows, with a saturation of 100. You should see a large colour change in your photo.
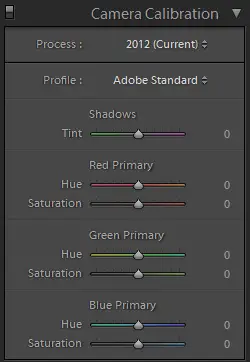
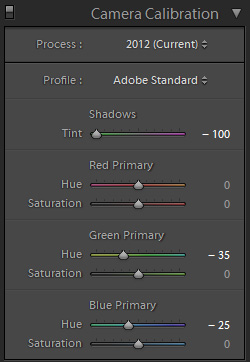
- Fix Shadows. Most of the effect is complete with white balance and split-toning, but pushing the Shadow Tint in Calibration to one extreme, along with changing the Green and Blue Primary Hues, will help to perfect the shadow colours.
This creates a nice stylised effect for you to then do whatever you want to. In the Wakui effect video below, I cover in detail how I then take the photo from this point, to a finished version as shown below. As always, there are free Lightroom presets for all these effects in the Lightroom develop system.
Subscribe to the mailing list and get a free download link right now
There is one more special effect involving white balance in Lightroom, and that is turning on streetlights. This is particularly useful when you want to simulate night time in a photo taken in daylight. Check out the free tutorial that covers this in much greater depth. Here’s an example and the workflow:
- Create Point Source of Light. This is a very simple technique using circular gradient filters. Four brush presets for turning on streetlights are included in the free Lightroom Develop System. Start by drawing a small circular gradient over the point source of the light, as shown below, with Temp set for 100, Exposure set at +4.00, and also with boosted Highlights and Lights.

- Enlarge the Point Source. Draw a slightly larger circular gradient around the point source of light, with a Temp of 100, Exposure of +2.00 and a Highlights boost.

- Add Light Spillage to Walls. If this was a real light source, light would naturally spill onto the walls, but at a much reduced level the further the wall was from the point source of light. So, reduce Temp, Exposure and Highlights from the previous step and draw a circular gradient onto the wall near the light in the direction it would naturally fall.

- Add Light Spillage to the Floor. Finally, repeat the previous step but for the floor, reducing the intensity of Temp and Exposure yet again to simulate light fall off.
Repeat these steps until you have a photo you are happy with. To see this example in action, take a look at this tutorial video.
Thanks for reading, I hope this has helped you in your photography journey. For free access to the library of resources, sign up here, and a download link will be emailed to you immediately. And don’t forget to let me know how you get on. Want more? Take a look at the Start Here page for more interesting stuff. To get all the free downloads for Lightroom and Photoshop that we have used here, plus many more tips and tutorials, enter your email address below.
Tim
Subscribe to the mailing list and get a free download link right now
While you’re here, why not read my Best Long Form Photography Tutorials & Guides …
The Digital Blending Workflow Tutorial
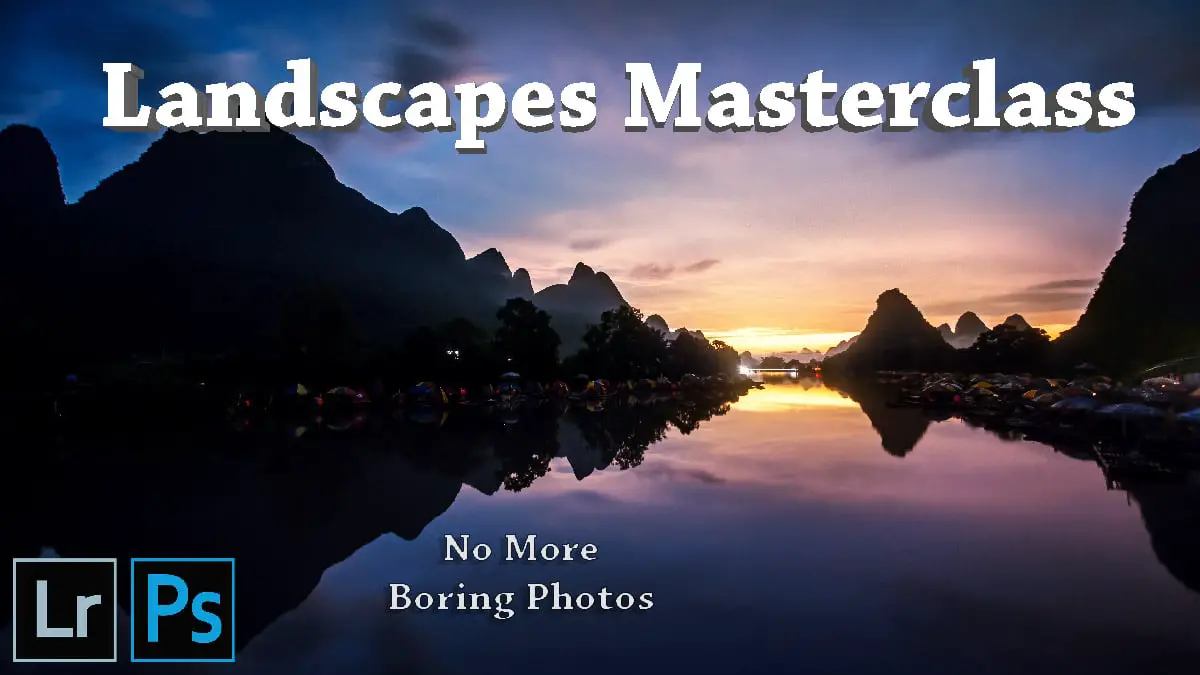
The Landscapes Masterclass: No HDR, No Plugins
This long form guide contains a complete workflow for one landscape photo, giving you detailed tips, tricks and guides on how to perfect your landscape photos through digital blending, using the tools in Lightroom and Photoshop
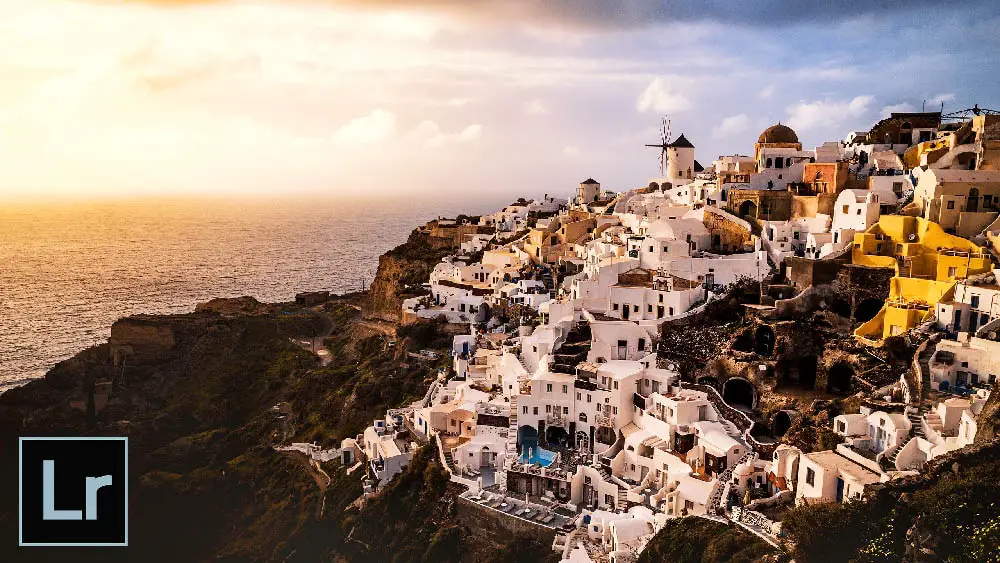
Lightroom Tutorial – Adding Color Depth with White Balance
Using targeted white balance adjustments, you can enhance sunrises, paint in new sunsets, make stormy skies pop, create stylised effects, and much more, all with very little time and effort. Learn how to do this entirely in Lightroom
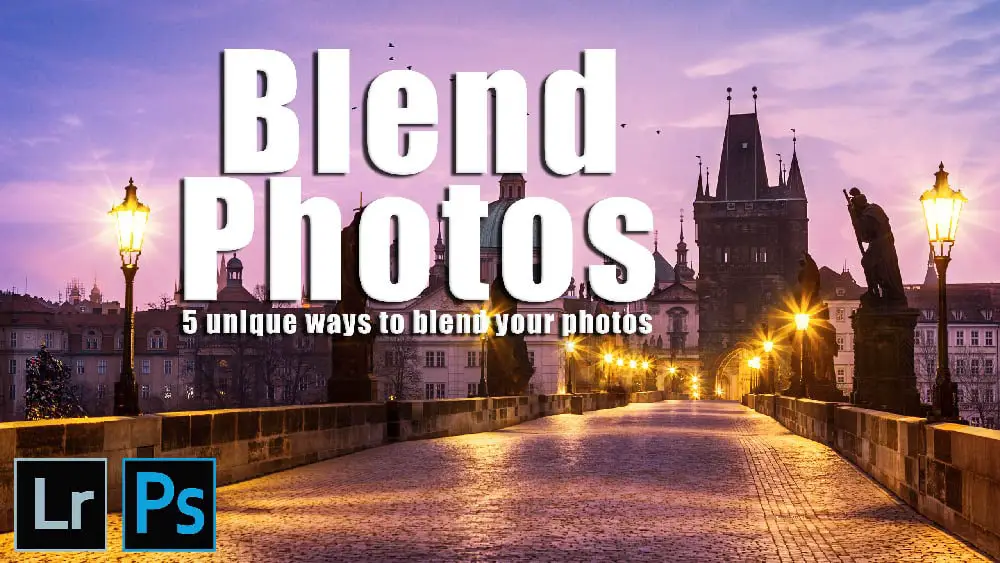
Photoshop Tutorial – Blend Any Two Photos
This tutorial covers methods of blending in five common landscape situations: Multiple Exposure Blending; Time Blending; Object Blending; Double-Process Blending; Blending Skies.
These powerful methods will help you blend photos in any situation.
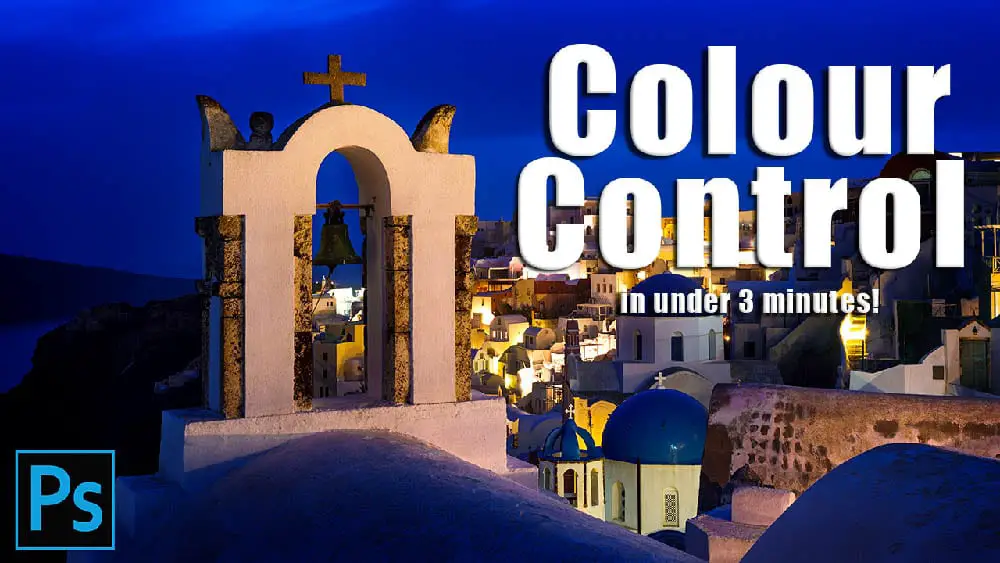
Color Control in Your Photography Tutorial
“I’ve blended my exposures, but my photo still doesn’t look like how I want it to look. Now what?”
Learn a two-and-a-half minute, Photoshop based workflow to fix both colour and tone in this long form tutorial and video series.
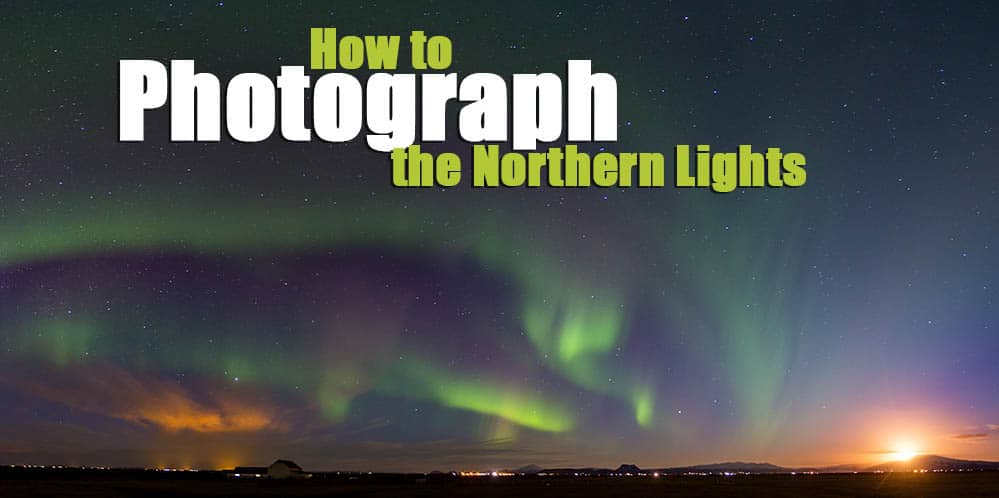
Northern Lights Photography Tutorial
This guide covers how to see the Northern Lights – when, & where, the ideal camera equipment you should use, the camera settings you need to get perfect photos, and how to process your photos to get something you can be proud of, along with much more…
Leave a Reply