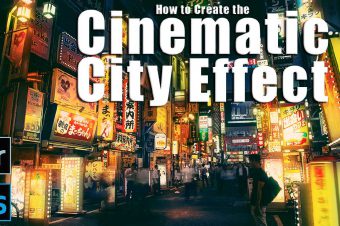
How to Turn On Streetlights in Lightroom
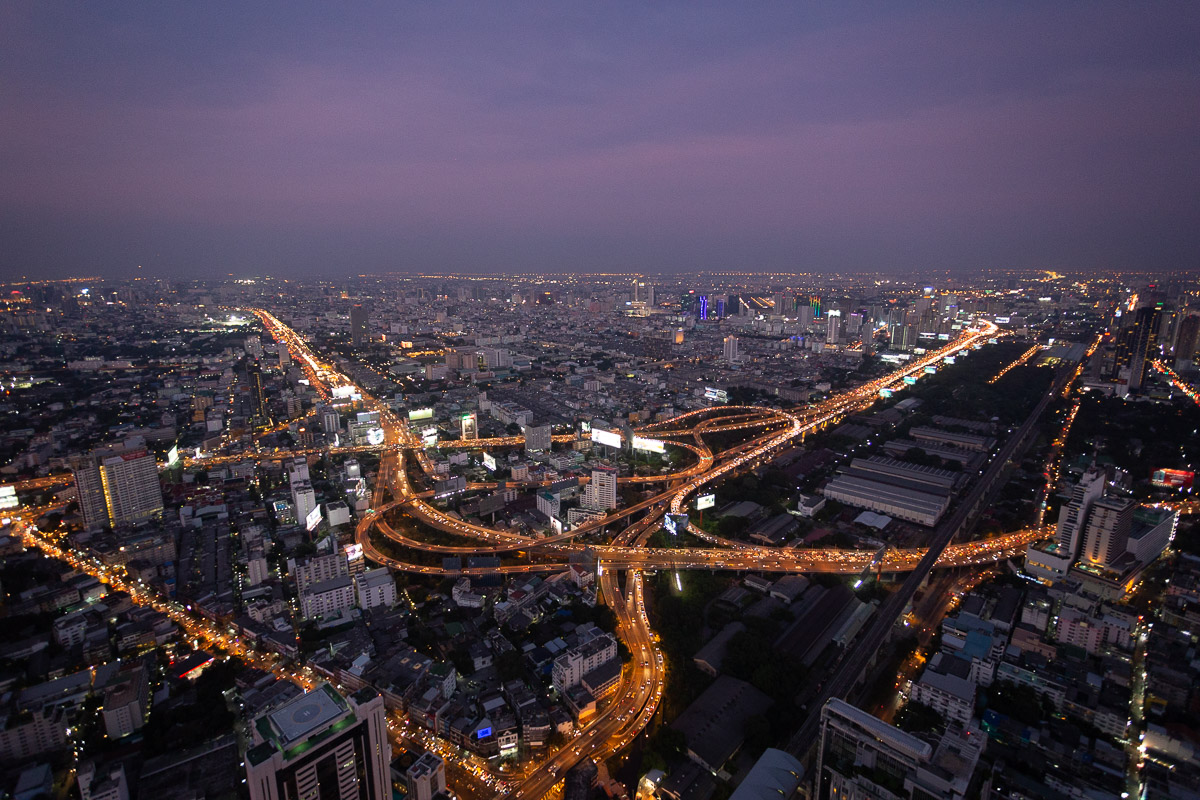
Sometimes, you might have a photo taken in daylight, where you want to turn on the streetlights to simulate a night time effect. Fortunately, this is very easy to do in Lightroom, using targeted white balance effects. Here’s an example:
If you want to follow along with this tutorial, you can download the source file from here. And you can find the video of this tutorial below:
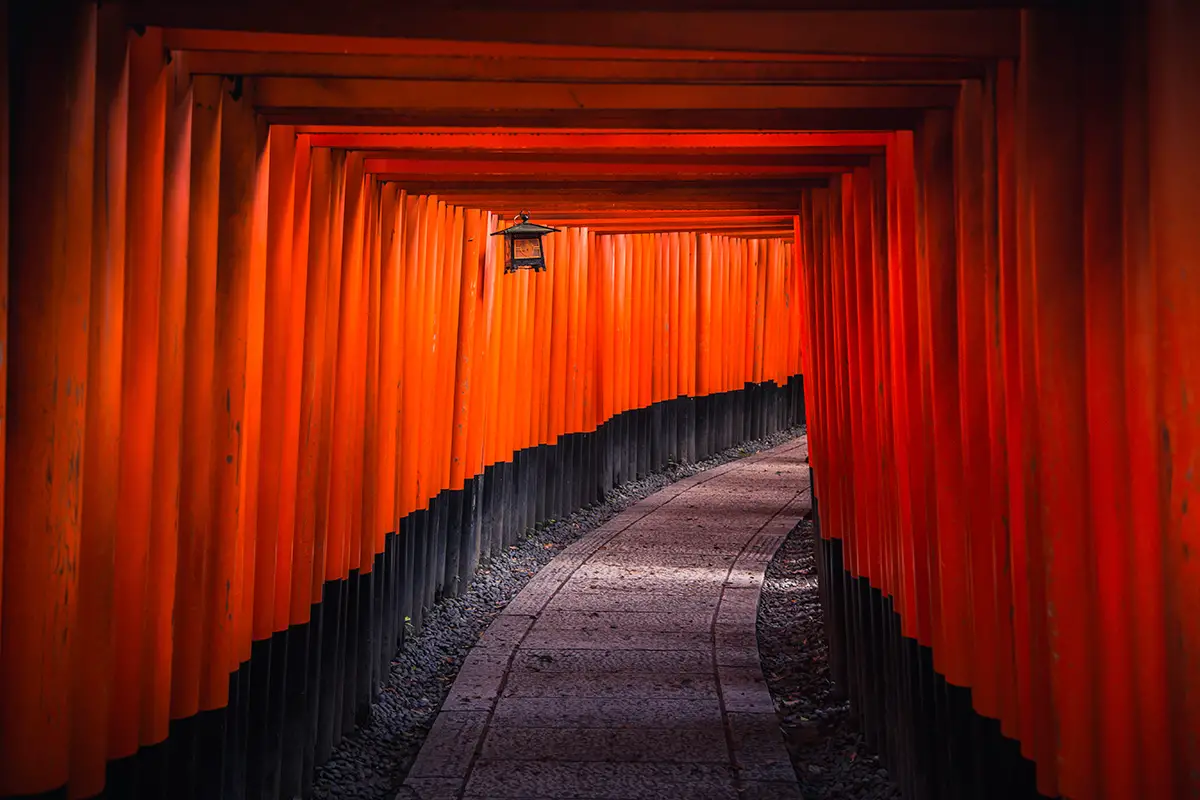
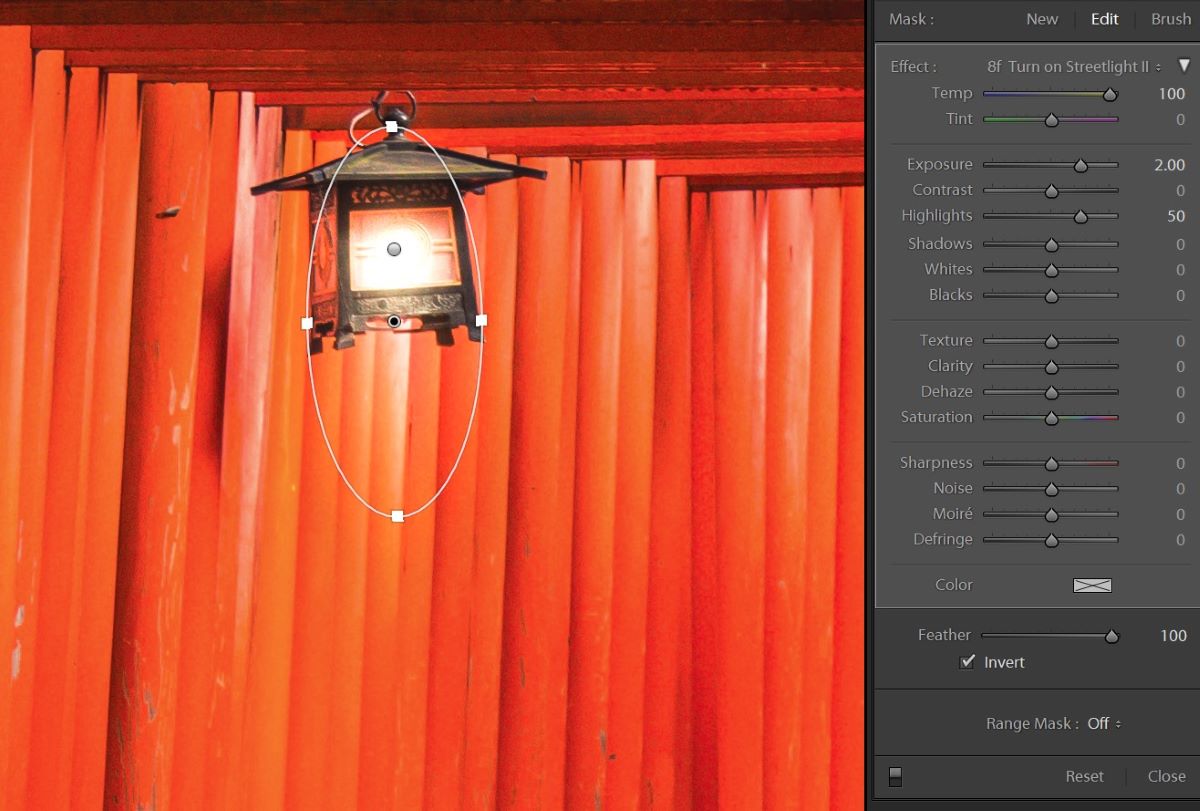
This photo of the Torii gates in the Fushimi Inari shrine in Kyoto was taken in the daytime. I have already applied some presets from the Lightroom Develop System to shift the colours back to the deep reds that the gates are actually painted, so now all that is left is for the light to be switched on.
The trick to making this look real is to start with the point source of light, adding a tightly focused bright beam, working outwards from the point source to create light spill, using progressively larger, softer, and less powerful gradients. It tends to be easier to create a realistic effect if you use circular gradients, although you can paint the lights in freehand, using the adjustment brush if you prefer.
I have produced a number of free brushes and presets for use in Lightroom that takes the guesswork out of producing this effect, and help you jump into using it straightaway. You can take a look at, and download, the totally free Lightroom Develop System, a series of over 1000 free Lightroom presets and brushes from here.
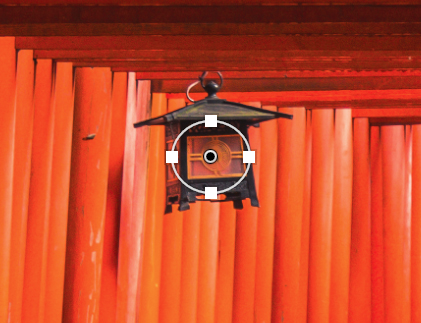
Step 1: Create the Point Source of Light
After moving to the Develop tab of Lightroom, select the Circular Gradient tool and draw a small circular gradient that approximately covers the point of origin of the light source. That is, add the gradient to the very centre of the streetlight bulb.
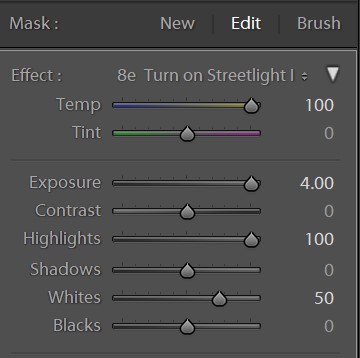
Then, manually push the Temperature up to +100, Exposure to +4.00, Highlights to +100, and Whites to +50, or use the ‘Turn on Streetlights I’ brush preset in the Lightroom Develop System.
You may need to adapt the feathering on the mask depending on the size of the light source to make sure the borders of the light are soft.
Step 2: Expand the Point Source of Light
Depending on the individual photo, you can then create one, two or more increasingly large and soft circles of light, centred on the first circular gradient, to simulate light falloff.
Start by drawing a slightly larger circular gradient around the first, with a Temperature of +100, Exposure of +2.00, and Highlights of +50, or use the ‘Turn on Streetlights II’ brush preset from the Lightroom Develop System. Notice that this brush is much weaker than the first. You may need to reduce the feathering to ensure that it looks natural.
Continue this step, reducing the Temperature, Exposure and Highlights sliders by half with each gradient, drawing them larger and larger, centred over the first, until you are happy with the point source of light. It will probably only take you one or two more circular gradients.
Step 3: Add Light Spill to the Environment
Next, you need to add light spill to the walls and floor to complete the effect. Use the higher numbered ‘Turn on Streetlights’ brush presets from the Lightroom Develop System, with high feathering, or create your own brush presets by playing around with the Temperature, Exposure and Highlights sliders, remembering to reduce all three and increase the feathering the further you are from the light source.
Complete this step by drawing large, irregular circular gradients (or for more complex environments use the adjustment brush) on the walls and floor around the light source, in the direction that light would naturally fall.

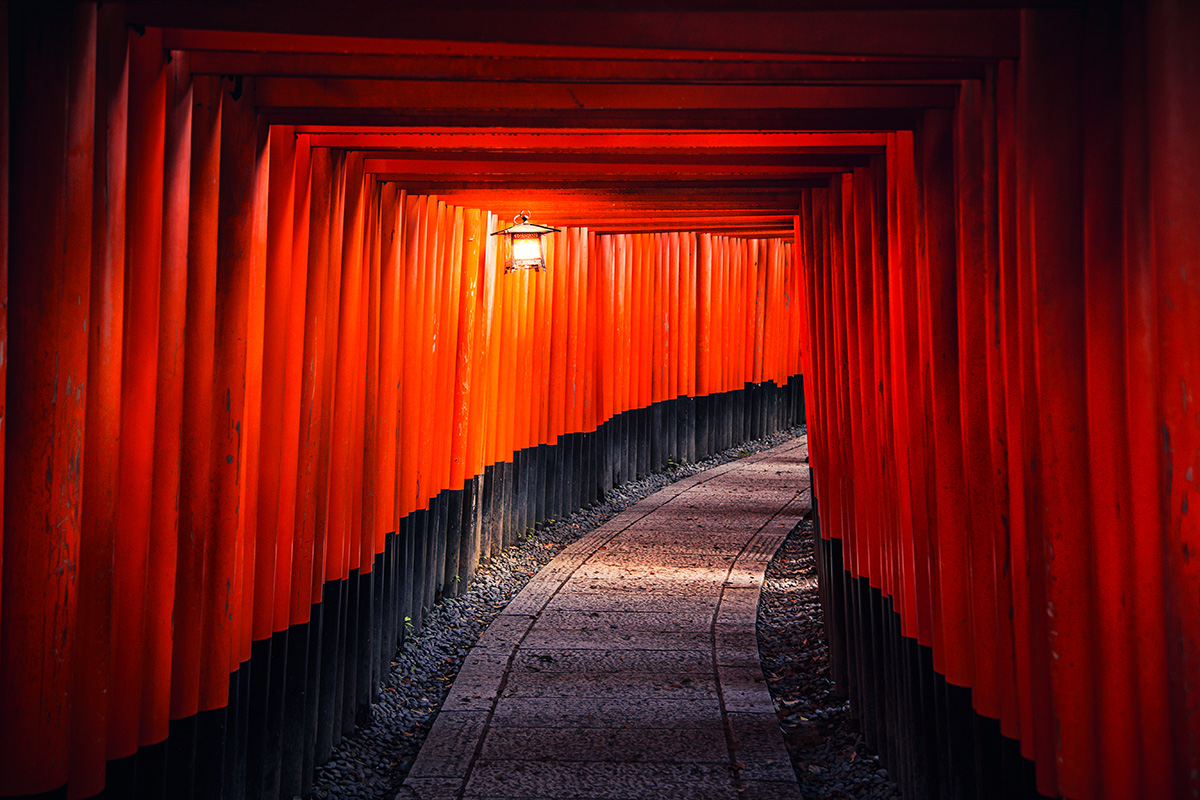
Simply repeat this step until you have a photo you are happy with.
Final Thoughts
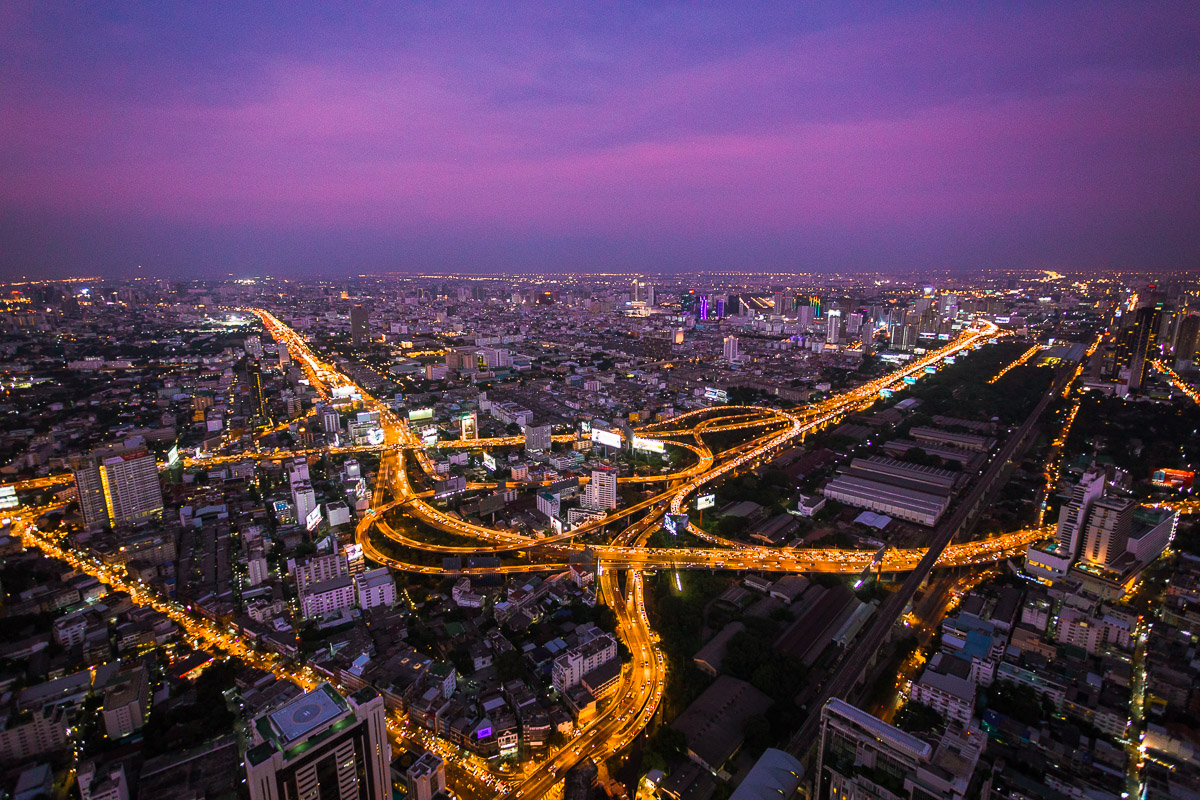
As a quick bonus, if you want to enhance existing streetlights in your photos, there is no need to paint over them. There are a number of streetlight enhancement and streetlight glow presets as part of the free Lightroom Develop System, available here, that will modify the HSL sliders, RGB Tone Curve, and Calibration, to help you go from:
This tutorial is part of a more in-depth text and video tutorial on how to easily add colour depth to your photos, focusing on how you can best use targeted white balance in a way that no one else uses. And if you want a complete start to finish workflow for how to process a landscape photo in Lightroom and Photoshop, take a look at the digital blending landscapes masterclass.
Subscribe to the mailing list and get a free download link right now


Leave a Reply