This site is part of various affiliate programs. Links may give us a small compensation for any purchases you make, at no additional cost to you. Please read the disclaimer policy for full details.
You’re in the right place if your Insignia TV red light is blinking and you don’t know what to do.
I know how frustrating it is to have an apparently minor issue with your TV that stops you from watching it, so I wrote this guide so that you can fix your Insignia TV red light blinking with the minimum of trouble.
Just follow each step in turn and I am confident that we can get your TV back up and running again without having to resort to an expensive replacement.
Insignia TV Red Light Blinking
A blinking red light on your Insignia TV means that there is a problem with the power supply or with the power board or main board of your TV. Fix it by changing wall sockets, using a different power cord and checking all cables are firmly connected to your TV. You should also use a voltmeter to see if your power board is working.
Power problems are the most usual suspect if your red light is blinking multiple times when you try to turn your Insignia TV on.
We’ll go over detailed steps for how to fix this below, starting with the easiest fixes before moving onto hardware fixes if none of those work.
1. Power Cycle Your Insignia TV
With modern electronics, it’s possible that the flashing red light on your Insignia TV is caused by something stuck in your TV’s memory.
Power cycling your TV will clear out any issues with non-permanent memory and reset your main board without losing your personal settings.
This is quick and painless and won’t cause you to lose any of your saved settings.
- Switch off and unplug your TV.
- Hold down the physical power button on the TV for at least 15 seconds.
- Wait for at least 30 minutes for any residual power to drain from the TV’s capacitors (which are capable of storing charge for several minutes).
- Plug your TV back in and try switching it on. You should see a red light if you have been successful.
Make sure you do wait for the full 30 minutes before plugging your TV back in – you would be surpised how long the components within your TV can hold charge, and you want to make sure it has fully reset.
Although this seems a very basic step, don’t overlook it because in the vast majority of cases a simple soft reset fixes most issues.
Most people will now have their TV fixed and back up and running. If this isn’t you, then we’ve got a few more basic fixes to try before getting into the hardware fixes.
2. Check Your Wall Socket is Supplying the Correct Voltage
It might seem obvious, but the most common reason why your Insignia TV red light is blinking is because of a household power issue, rather than a problem with the TV itself.
First, you need to confirm that your wall socket is supplying enough power, and there is no interruption of supply during use.
There’s a few methods that you can use:
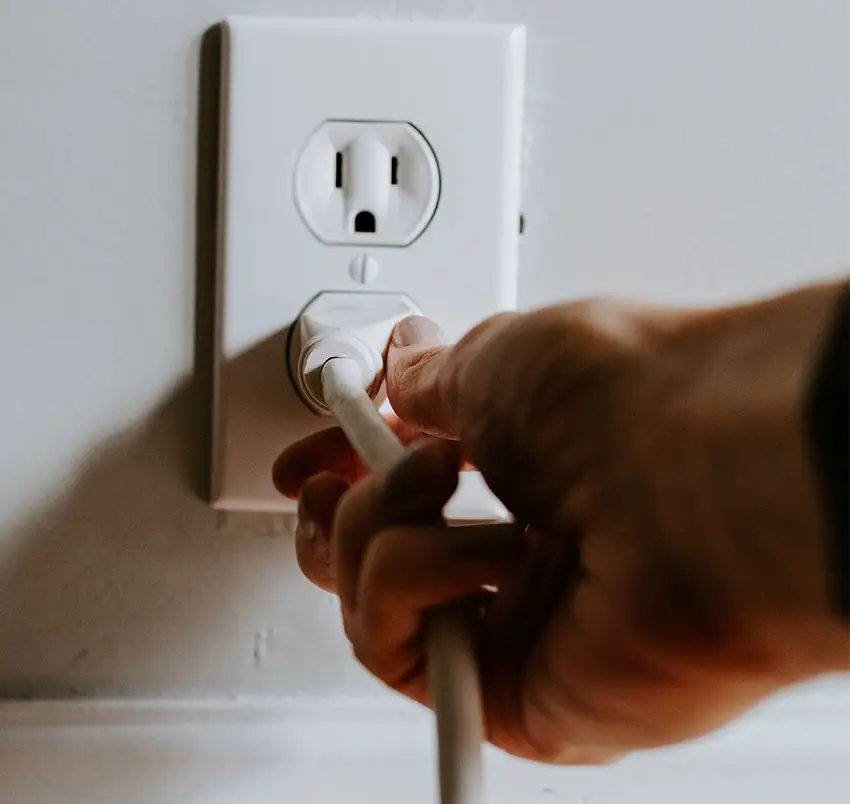
- Unplug your Insignia TV from your wall socket.
- Remove any surge interruptors or smart plugs so that you have a direct line to your wall socket.
- Plug another large device that you know works into the same socket and check that the new device works as normal. (It’s important that this device draws approximately as much power as your TV, to confirm the socket is fully working).
- Remove the other device and plug your TV back into this socket.
- Switch on the power and switch on your TV using the physical power button located somewhere on its case (usually beneath the Insignia logo).
- See if the red light is solid. If so, this means your TV is getting sufficient voltage.
- If your TV’s red light is blinking 5, 6, 10 times or more, then repeat these steps with another wall socket to confirm your household electricity supply isn’t a problem.
If you’ve tried a number of sockets and are still seeing the red light flashing, then move onto the next step.
3. Check for a Damaged Power Cord
If you didn’t check when changing the wall socket that your TV is plugged into, you should now confirm that the power cord itself isn’t damaged.
In particular, look for kinks and knots in the power cable, which can damage the copper wires both mechanically and from increasing the electrical resistance, which generates heat, causing damage that may not necessarily be obvious.
Because of potential damage within the cable that you cannot see due to the protective sheath, it can be a good idea to use a new power cable, if you have one or can borrow one.
Also, be sure to carefully look at the power connector on your TV to confirm that the port is free from corrosion, dirt and dust.
4. Take a Look at Your HDMI Inputs
There’s a strong possibility that a poorly seated cable is automatically switching inputs on your TV, but as it’s not fully connected, it isn’t able to supply a signal and so it looks like your TV isn’t working, with the red standby light flashing.
This comes down to either a:
- Faulty HDMI cable with a break in it
- Damaged HDMI port with broken pins
- Poor HDMI connection where the cable and connector are not fully making contact

To check your HDMI and other cables:
- Switch off your TV.
- Remove any HDMI or other physical cables connected to the back of your TV.
- If you have any compressed air, use that to clean the contacts both of the cable and in the connector on the TV. If you don’t have compressed air, then blow gently on them.
- Firmly push the cables back into their slots on the TV.
- Switch your TV back on again.
It that hasn’t fixed the problem, then try using a different HDMI input. Most TVs have 3 or 4 HDMI ports.
If you have one that is on a different part of the TV then that would be the best one to try, as it this should have a separate connection to the TV’s main board.

Plug you HDMI cable into the new port, note the number next to it, then choose this HDMI input on your TV, by using the Input or Source button on your TV remote or the Input or Menu button on your TV itself.
You can also try removing all external devices, including those connected by Bluetooth and any coaxial or signal cables, so that the TV only has a power cable going into it.
This is because a flaw with the HDMI-CEC settings can stop your TV coming on properly if you have other devices, particularly games consoles, plugged into your TV.
HDMI-CEC allows two-way communication between your TV and console, allowing your console to switch your TV on automatically.
The problem is that if you do not switch inputs on your TV away from your console’s input before switching off your TV, then your TV will not “listen” to your remote, and will instead just blink its red lights.
Unplugging all cables will temporarily solve this, so if your TV’s red lights are no longer blinking and your TV is working as normal, then try switching off HDMI-CEC before re-instating the cables.
To switch off HDMI-CEC on an Insignia Fire TV:
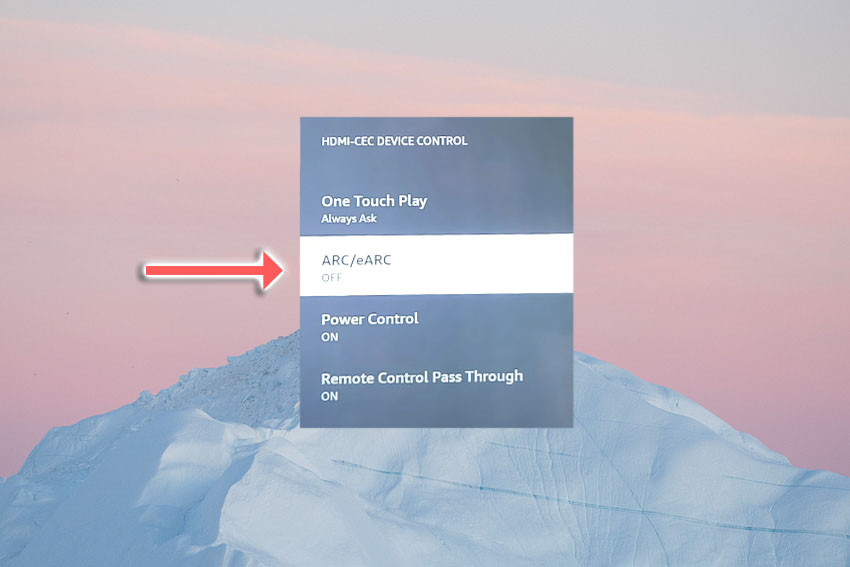
- Press Home on your remote.
- Scroll to the Gear Icon for settings.
- Then Display & Sounds.
- And HDMI-CEC device control.
- You can switch it off by setting ARC/eARC to No.
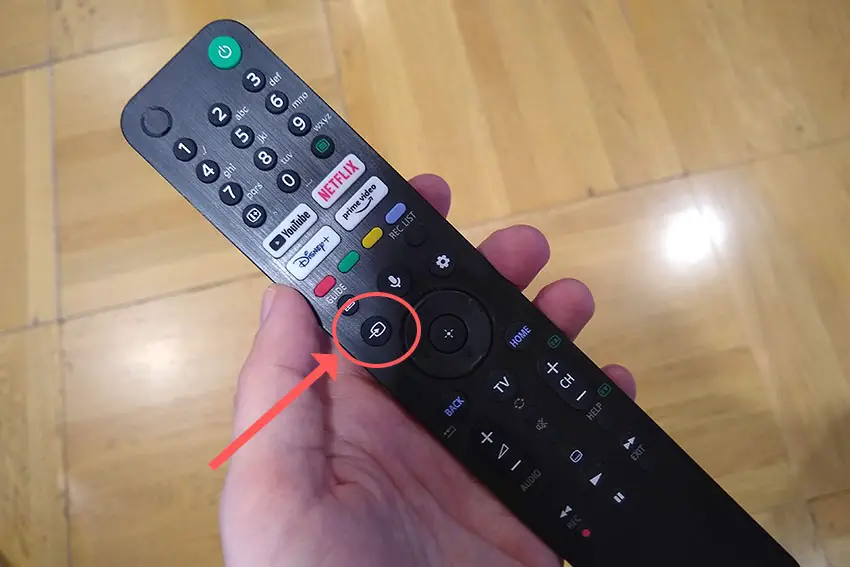
5. Is Your Remote Working?
If the red light is blinking, this means that your TV is receiving power, but there is a chance that its not responding to you because the remote isn’t working.
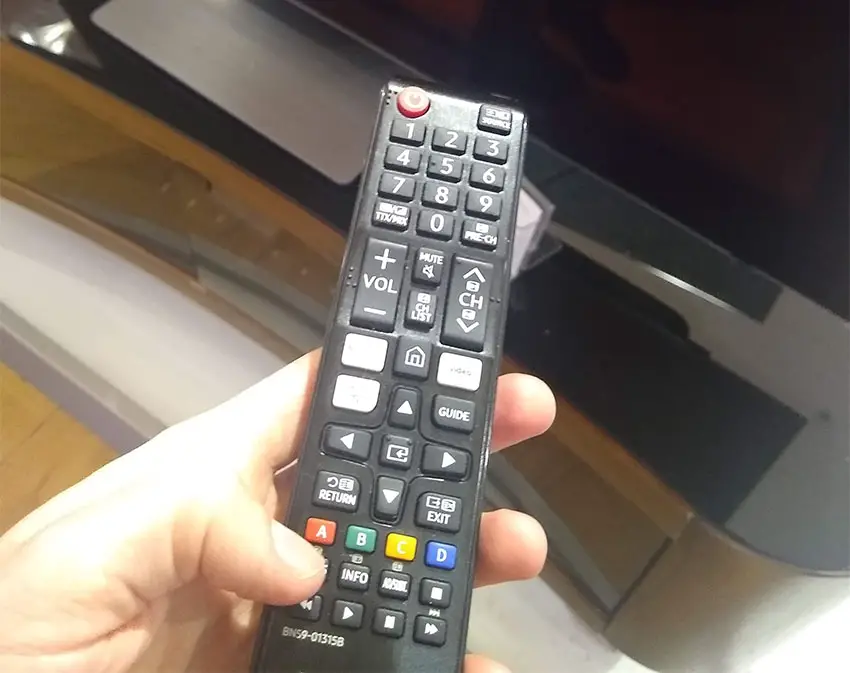
If you are using an IR remote, then confirm that you have a good line of site to your TV.
If you are using an RF remote, confirm that it is connected to the same local network as your TV.
Don’t forget to check the batteries in your remote, replacing the existing ones with brand new batteries if you have no way of checking them.
For IR remotes, it’s possible to check if the remote is working by using your smartphone’s camera.
Simply point the IR transmitter on the end of your remote at your phone’s camera and you will see a red light appear when you press any button on the remote.
This doesn’t work for some cameras though, notably some iPhones, so check with another remote if in doubt about your camera.
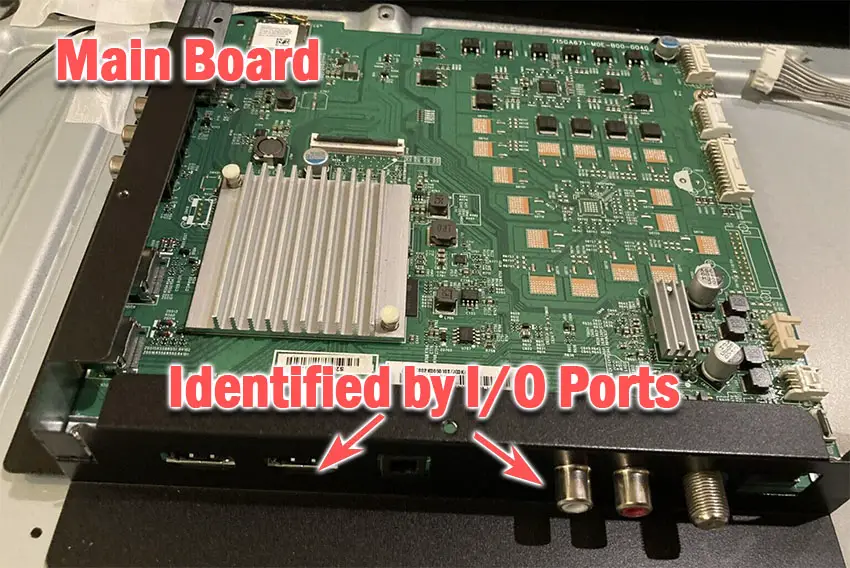
6. Check for Main Board / Power Board Failure
If you’ve checked external connections, then all that’s left is internal connections, and in particular the main board and/or power board.
These are hidden away inside the case of your TV and can be checked for failure by simply taking your TV’s case apart and using a multimeter to check that voltages are correct across the boards.
You should note that this invalidates your warranty, so if you bought your TV in the last year, then contact Insignia to have them fix it.
Out of warranty fixes are likely to run to $200 – $400 to check and replace a main board, but if you do it yourself, you are looking at around $30 – $50 in parts from eBay.
Troubleshooting the main board and power board is easiest to see in video form, so take a look below for the full details on doing this.
The two things that you are looking for are:
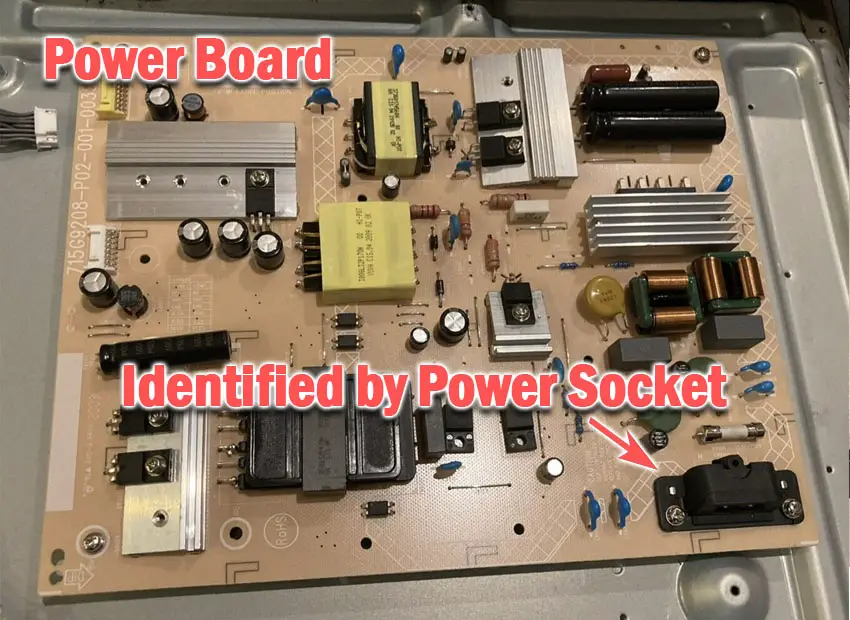
- If there is power received by the power socket on the power board, and if all components are receiving power from this.
- No components are showing signs of damage. Particularly look at capacitors as these are prone to swelling after power surges which causes them to fail.
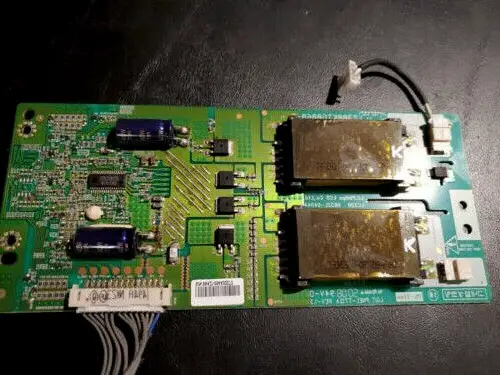
If both the power board and main boards look OK, then the most likely problem is a failure of the backlight inverter.
This powers the backlight of your TV by uprating the standard voltage and current of your home supply to the higher levels required by the backlight.
It’s a very small board in most TV models (although in some is integrated onto the power board). Check this board with your voltmeter, and don’t forget to also look at the cable. These boards are only around $10-15 on eBay, so are very cheap to replace if they have failed.
Insignia TV Support and Warranty
Unfortunately, warranties typically only last a year unless you have already paid to extend it.
Although you are unlikely to see the red light blinking problem on an Insignia TV under one year old, this can happen. If so, return your TV under warranty and get it fixed.
You can also try to contact Insignia support directly to see if they can offer any help.
You can use the Insignia support site to help diagnose your problem, but if you are at this stage, then you are better off calling them direct on:
- 1-877-467-4289 (8am – 9am CT, 7 days a week)
You can also contact them any time via email.
Even if Insignia won’t fix your TV, they might still offer you a discount off a future model if you pester them hard enough! Always worth a try!
What to Do if Your Insignia TV Red Light is Blinking Multiple Times
To wrap up, if your Insignia TV red light is blinking, then to fix it you can:
- Check your TV is receiving power by testing your wall sockets.
- Look for damage to your power cable.
- Check your HDMI cables are firmly connected.
- Check your remote is working and has batteries.
- Test for main board or power board failure.
If you haven’t been able to fix your problem using the steps above, then your next port of call should be customer support, who can advise you if they are able to fix it.
If not, then you can try a local TV repair technician, but if they are unable to help, then unfortunately you are most probably looking at having to get a new TV.
Read More:
Insignia TV turns on by itself?
Insignia Fire TV dim and flickering?
![[SOLVED] Toshiba Fire TV Horizontal Lines on Screen](https://www.lapseoftheshutter.com/wp-content/uploads/2021/10/toshiba-fire-tv-horizontal-lines-on-screen-340x226.jpg)
![What’s the Best Camera for Time Lapse? [Quick Guide]](https://www.lapseoftheshutter.com/wp-content/uploads/2022/10/best-camera-for-time-lapse-340x226.jpg)


Leave a Reply