If you’ve tried to crop layer in Photoshop, you will have quickly discovered that it is not obvious how to limit the crop to only the layer you are working on, and not apply it to the whole image.
In this complete guide, we’ll cover how to crop a layer in Photoshop non-destructively.
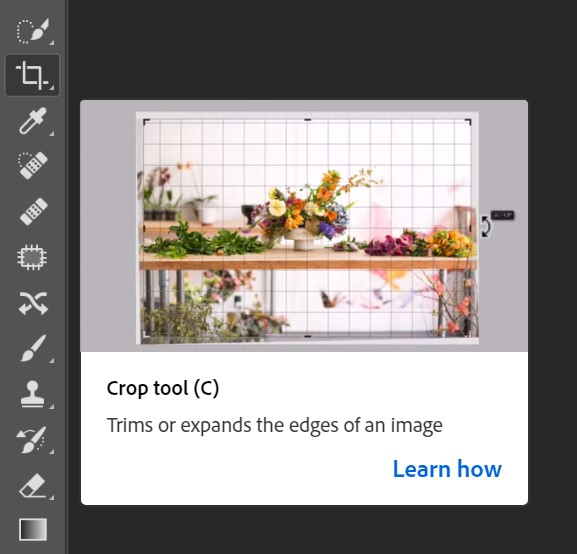
Photoshop: How to Crop an Image
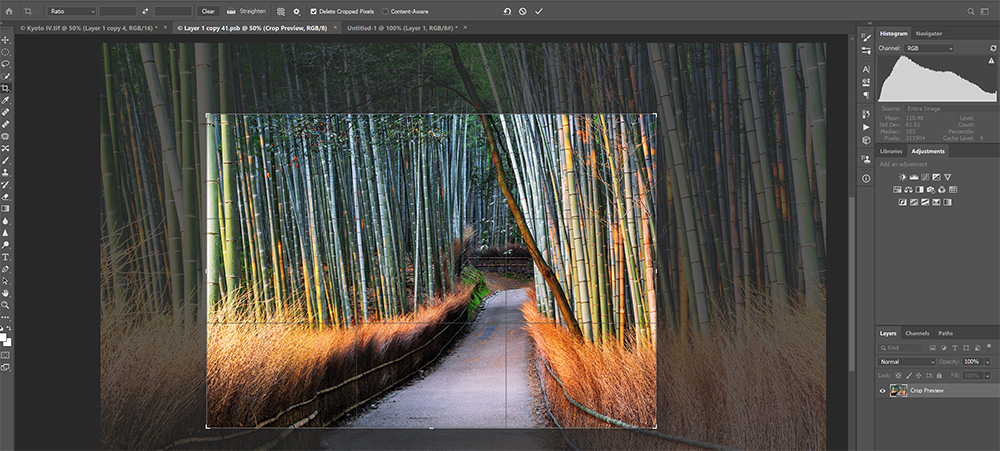
If you want to crop your entire photo, then the Photoshop crop layer tool (shortcut key ‘C’) is the obvious choice. Note though, that this tool actually resizes your entire photo and cannot be limited to individual layers.
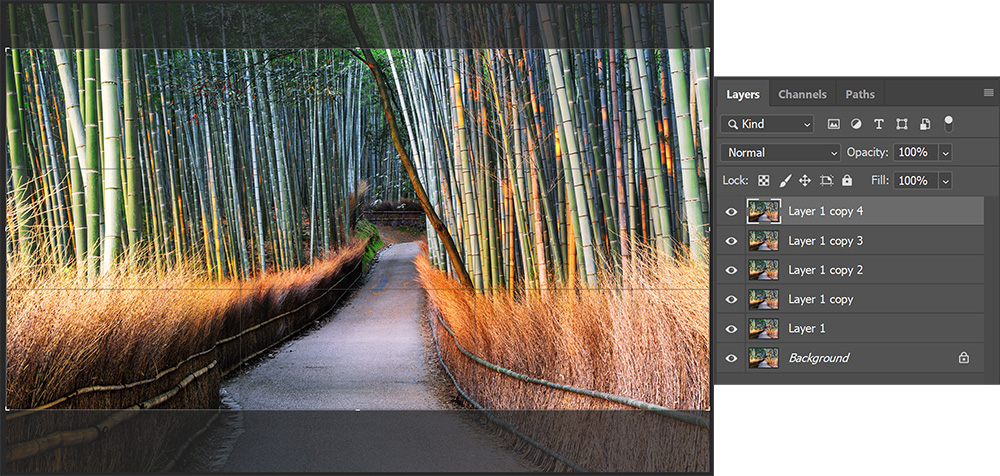
Therefore, if you have multiple layers in the one image, using the Photoshop crop tool will crop all of them to the same degree.
This is fine if you are wanting to change the aspect ratio of the image, or make some other global crop, but what about if you want to only limit this crop to the one layer?
Fortunately, there are three good solutions for how to crop a layer in Photoshop, that will teach you how to crop an image in Photoshop without cropping background.
How to Crop a Layer in Photoshop
The three methods to crop a layer in Photoshop are listed below from strongest to weakest. Using Smart Objects comes most highly recommended as this is the only method that truly allows you to crop individual layers, and also allows you to make much more powerful edits on a layer-by-layer basis.
Method 1: Convert to Smart Object
Smart Objects may not be something you have come across before, but they are both very simple to understand and use. In practice, they let you treat individual layers as if they were separate photos, which means that you can use them to crop layers individually.
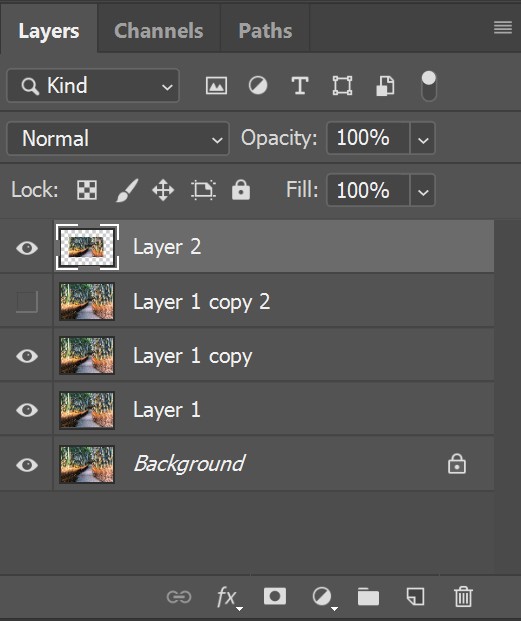
To convert a layer to a Smart Object, select the layer in Photoshop by left-clicking on it in the layer palette, then right-click and select ‘Convert to Smart Object’ from the menu.
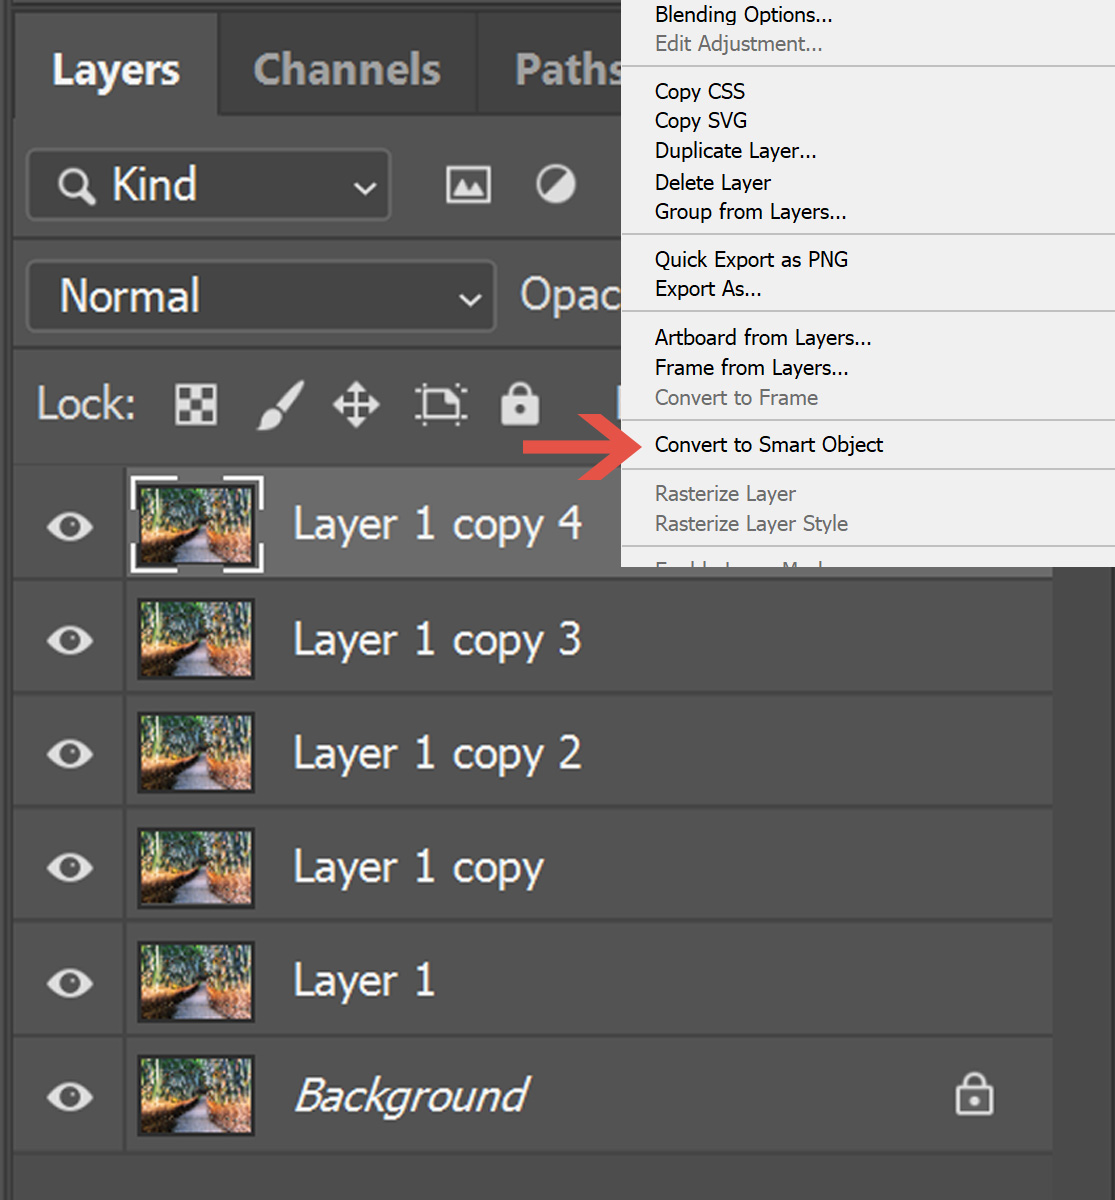
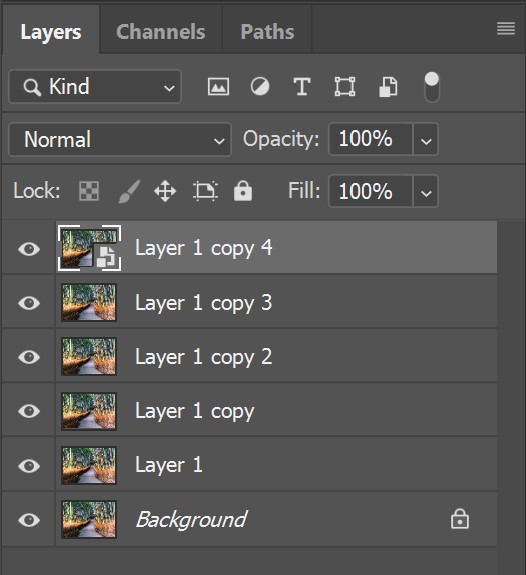
If you have done this correctly, a document symbol will appear in the thumbnail for this layer. This indicates that it is now a Smart Object.
Double-click on the thumbnail, and the layer will open in a separate Photoshop document, on it’s own. You can then use the crop tool, detailed earlier (keyboard shortcut ‘C’), to make any crops you need to the layer.
As the layer is in its own document, the crop tool will now only affect the one layer. You can use any other tools to modify the layer at this point, with one advantage of the Smart Object being that all of these changes are non-destructive and reversible, with the layer’s history stored within the Smart Object.
You can now save the layer as you would normally save a document (eg. Ctrl+S), then return to your original document, where you will find that the layer within the original document has been updated with your crop and any other edits that you made. And the beauty of this method is that if you don’t like the crop, you can return to the Smart Object and re-do it!
You may find that the cropped layer is off-center from your image, but you can easily move this back into position with the move tool (keyboard shortcut ‘V’).
If you want to keep the crop and edit history for the layer, then leave it as a Smart Object. To reduce file size, you can right-click on the layer in the layer palette and select ‘Rasterize Layer’. This will delete any individual layer history, meaning that you cannot go back in and re-do the crop, but the total file size will become much smaller.
Method 2: Use a Layer Mask
A simpler process to effectively crop a layer is to use the Photoshop mask layer technique. Although this does not strictly crop the layer, it will in practice have the same effect as using Smart Objects.
Select the layer that you would like to crop by left-clicking on it, then click on the ‘Add Layer Mask’ symbol in the bottom of the layers’ palette.
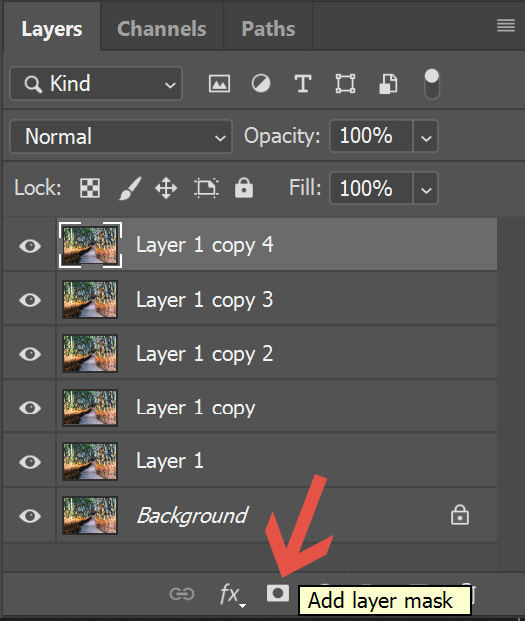
You will see a layer mask applied to the layer as a blank white mask next to the layer’s thumbnail.
If you’re not sure how layer masks work, don’t worry! The straightforward explanation is that where a layer mask is white, then the layer it is attached to will show in the final image (assuming this is the topmost layer in your layer’s palette). Where the layer mask is painted black, the attached layer will be hidden, and any layer below it will instead show in the final picture. Shades of gray fit in-between this, giving you subtle control over layer blending.
For our purposes of cropping a layer, select the layer mask by left-clicking on it, then use either the Brush, Gradient or any other tool to paint black over the parts of the layer that you want to crop out.
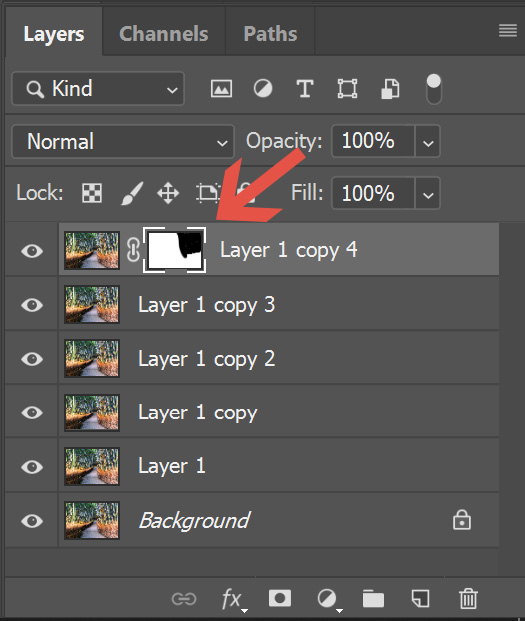
This method gives you total control over how much of the layer is cropped out, and even lets you blend the crop by using the Brush tool set to gray. The other advantage is that this is non-destructive – you can easily delete the layer mask and start again.
Method 3: Use the Marquee Tool
The least powerful, but quickest way to crop layers in Photoshop is to use the Marquee tool (or the Lasso tool for a non-standard crop selection).
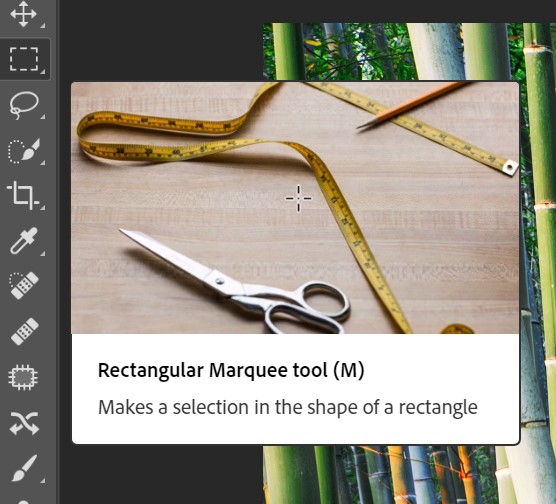
Select the Rectangular Marquee tool then draw it over the layer to reflect the crop action that you want to perform.
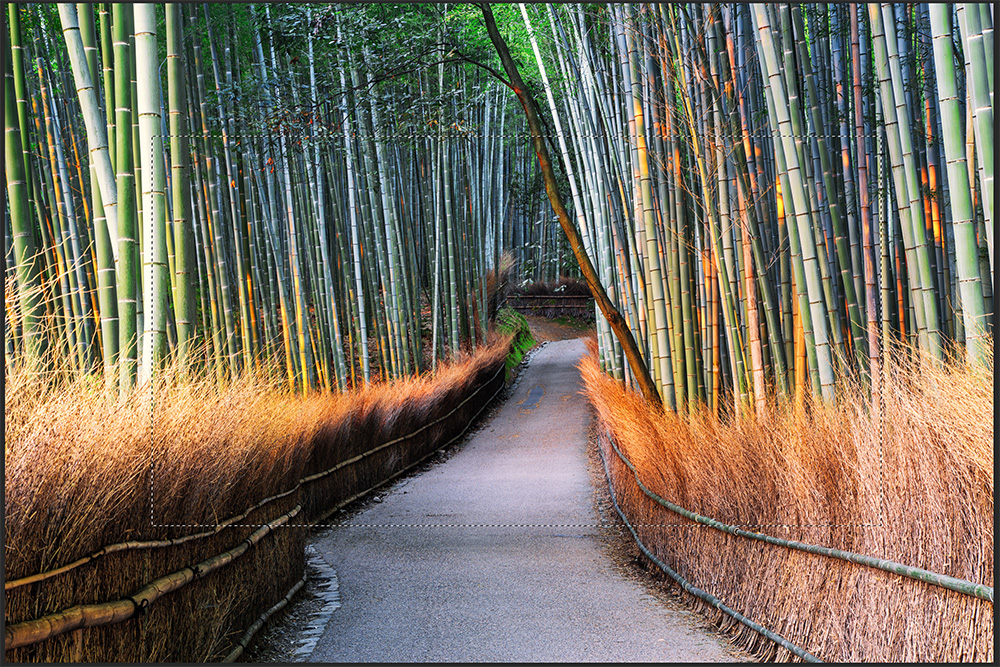
The best way to then apply the crop to only the one layer is to select the layer in the layers’ palette, then click the ‘Add Layer Mask’ button as documented in method 2 above. The Photoshop crop to selection ability will automatically apply a layer mask, hiding everything outside your marquee selection.
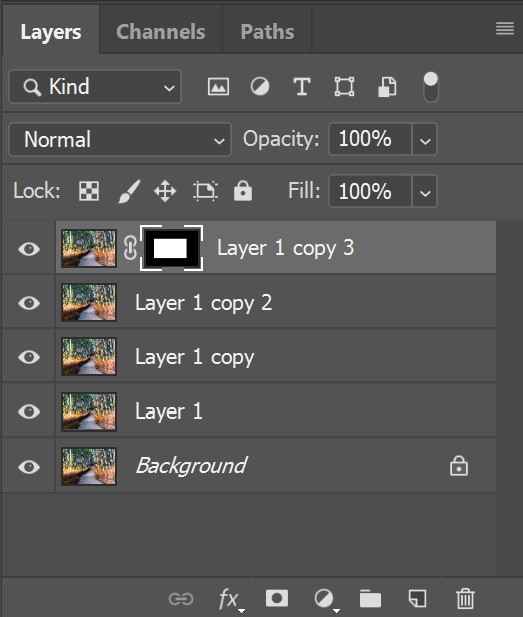
Alternatively, you can make the crop permanent by creating a new layer in Photoshop. Simply right-click within the area selected by the Marquee tool, then select ‘Layer via Copy’ from the menu.
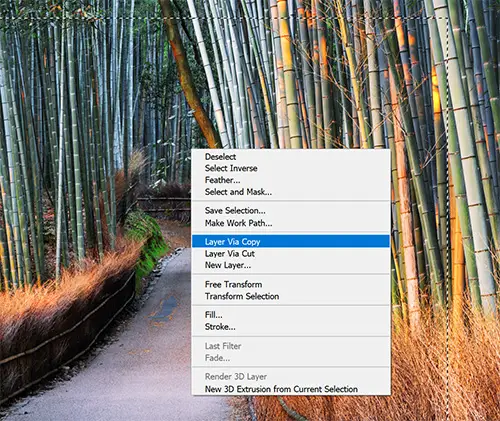
This will create a brand new layer that contains only the area you selected from the currently active layer. You can then hide or delete the layer than you copied from.


Leave a Reply