Note: These are Luminar Neo presets only – they will not work in Luminar AI or any other Skylum software.
If you are looking for free presets for Luminar Neo, then you are in the right spot!
This post contains some of my favorite Luminar Neo presets, which are available for immediate, free download.
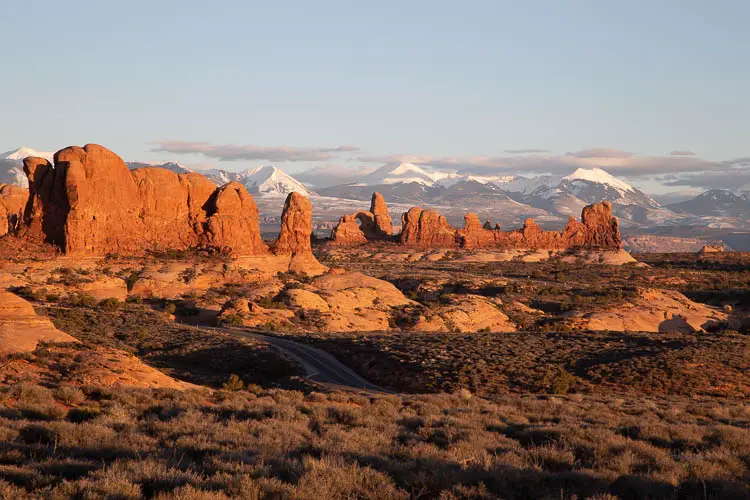
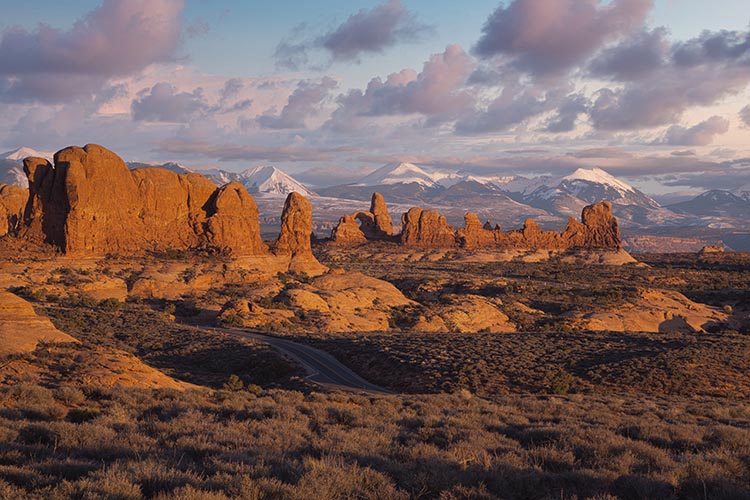
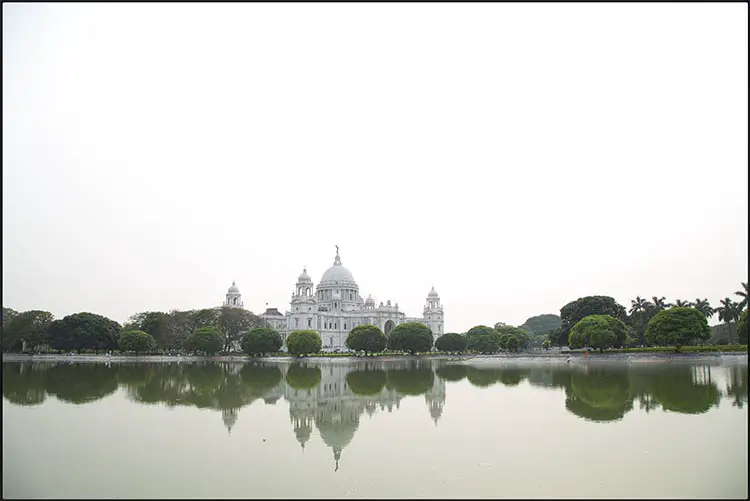
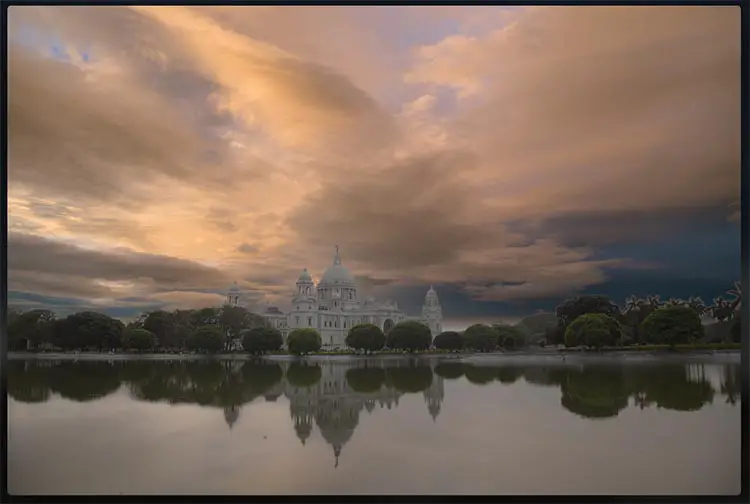
You can see before and afters of the presets in action below, and also read how to install the presets in Luminar Neo.
If you need photos to test these presets on, then you can download free RAW photos in the linked article. I also have a collection of free Capture One Styles and free Lightroom presets which I would recommend checking out.
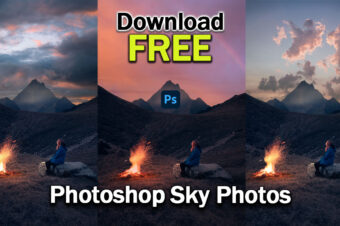
There are also ten free sky overlays available for download. These are sky photos from my library and are available for you to use for non-commercial use only.
Luminar Neo Presets
These free Luminar Neo presets can be downloaded below. They are each designed for specific types of images, as indicated by the names, but will likely work on a wide variety of images.
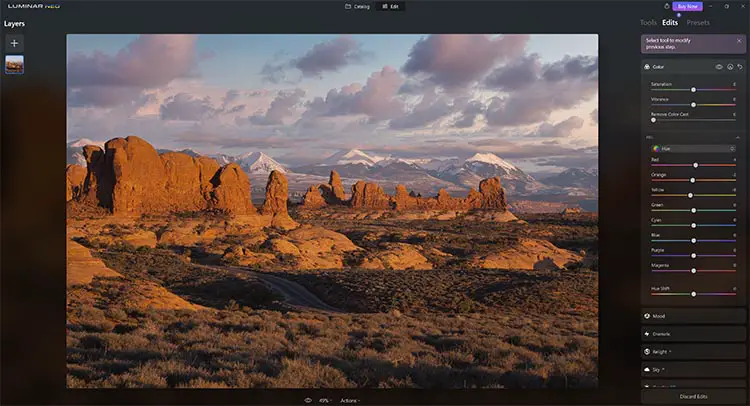
One of the advantages of using user presets in Luminar Neo is that after applying the preset, all of the editing steps used to create them are then shown on the Edit tab.
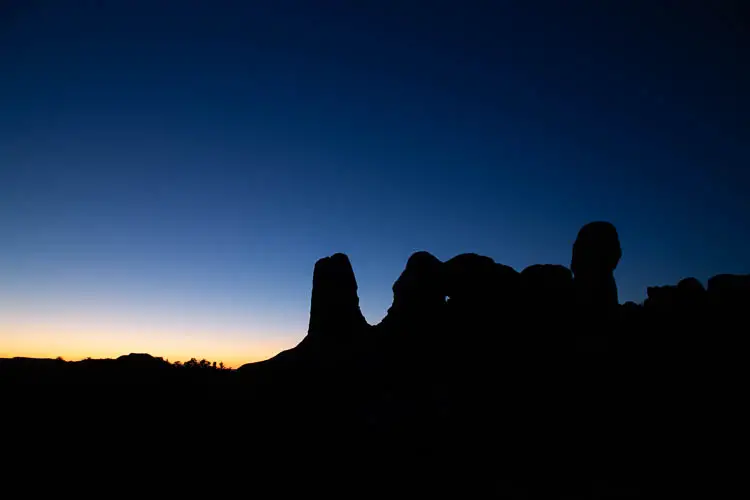
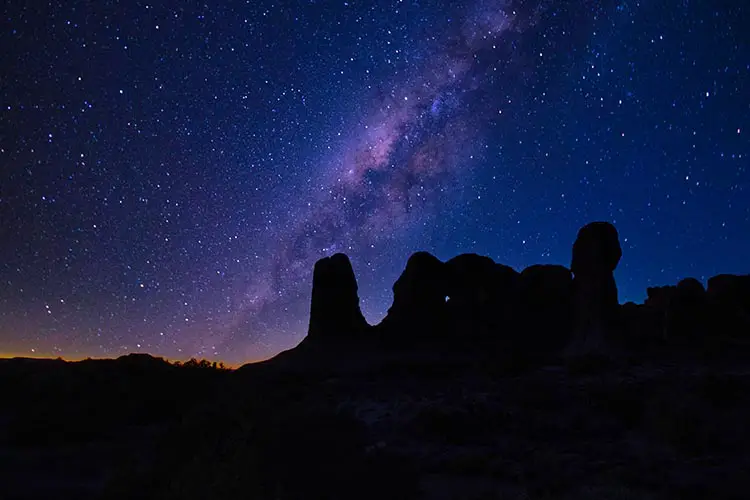
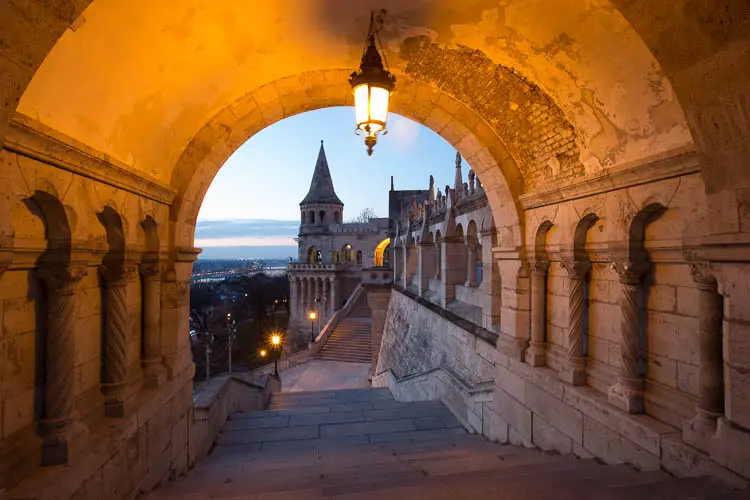
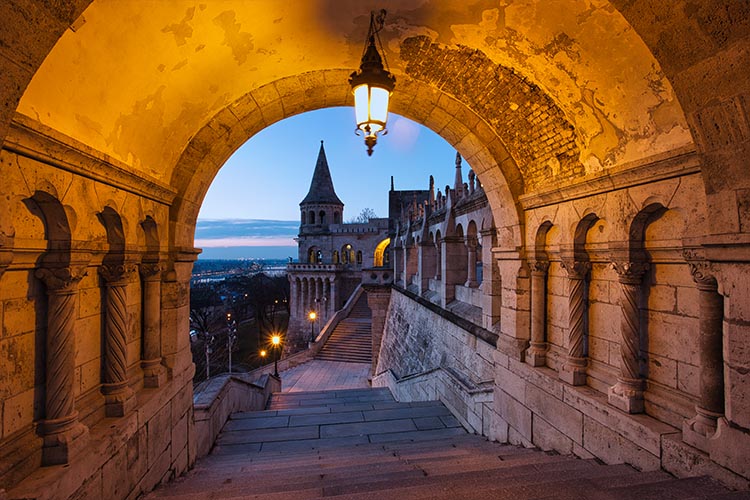
1. Arches Sunset
2. Starry Night
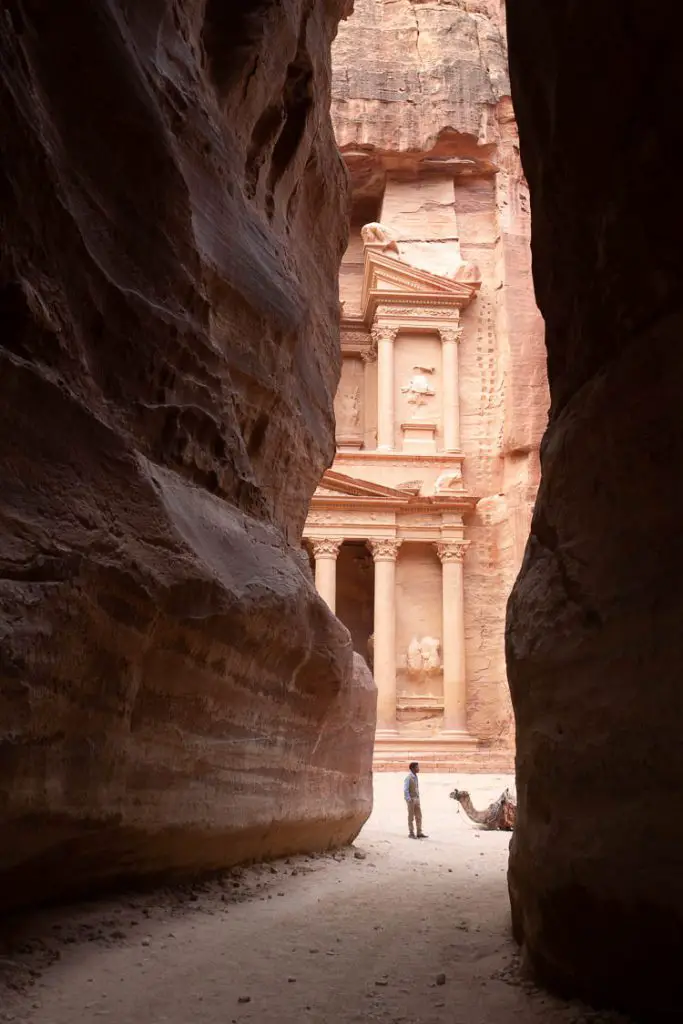
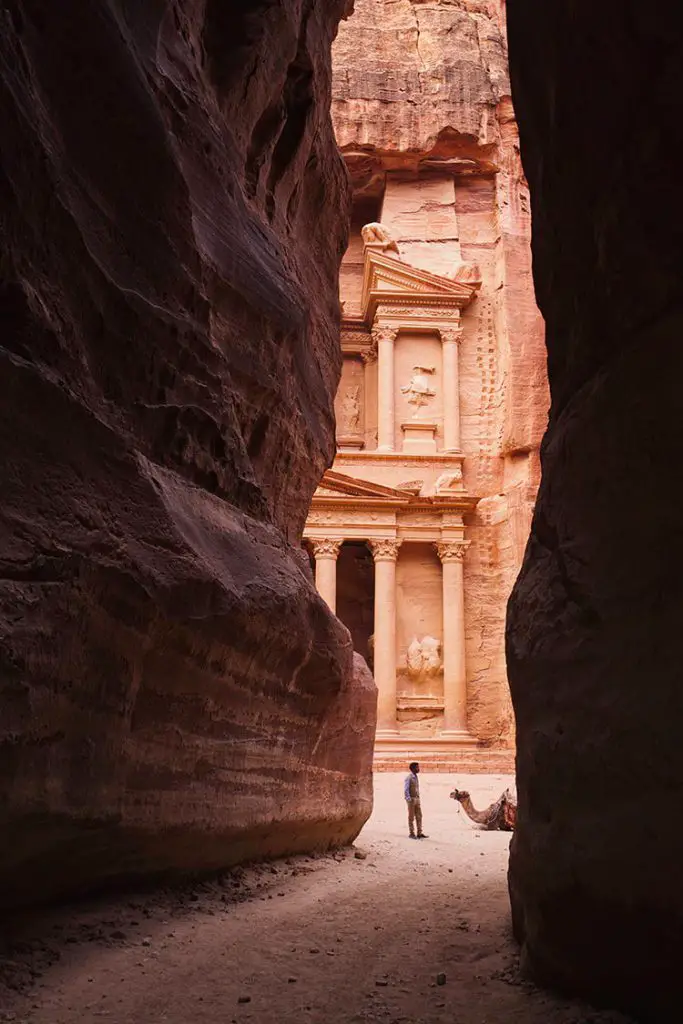
3. Petra
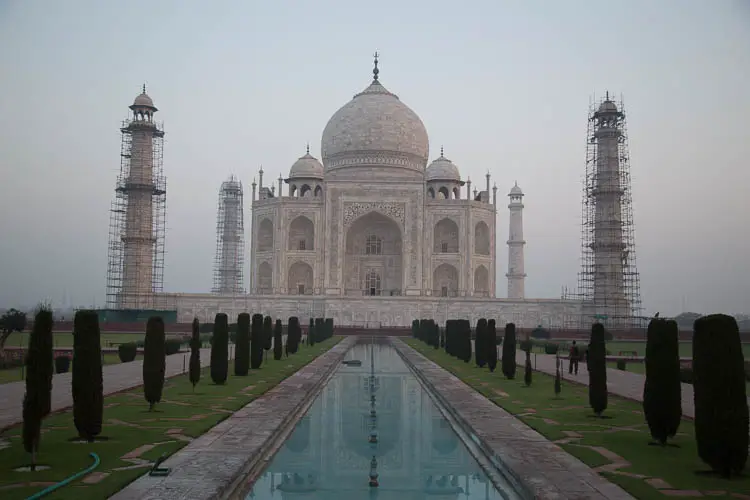
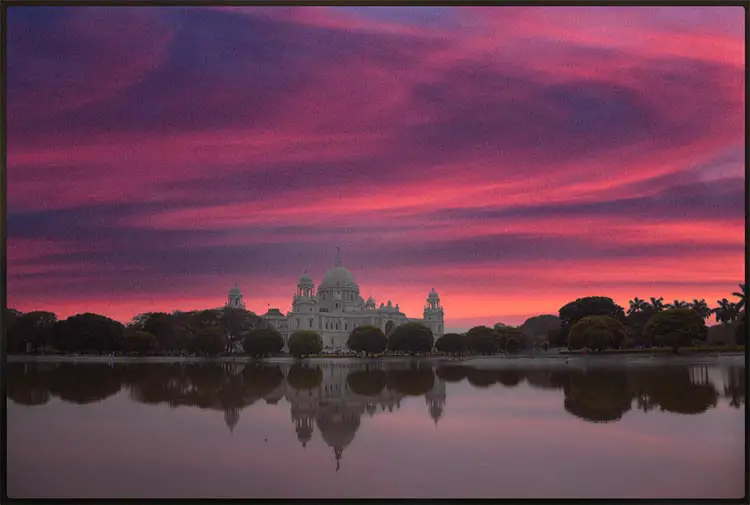
4. Taj Mahal Sunrise

5. Santorini Blue Hour


6. Budapest Morning
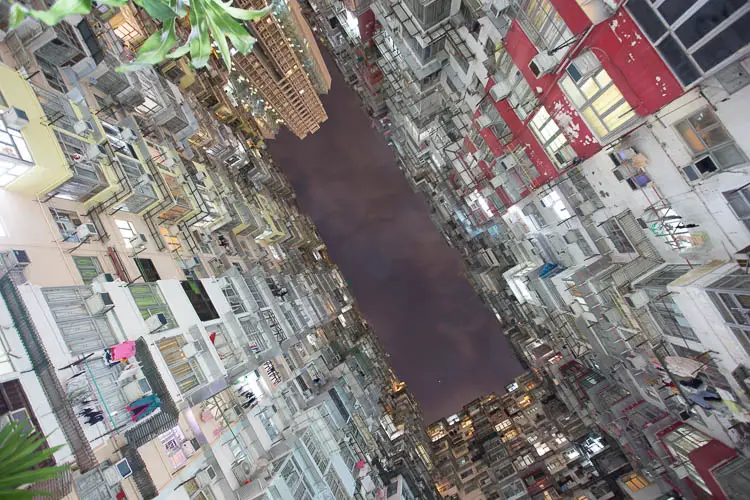
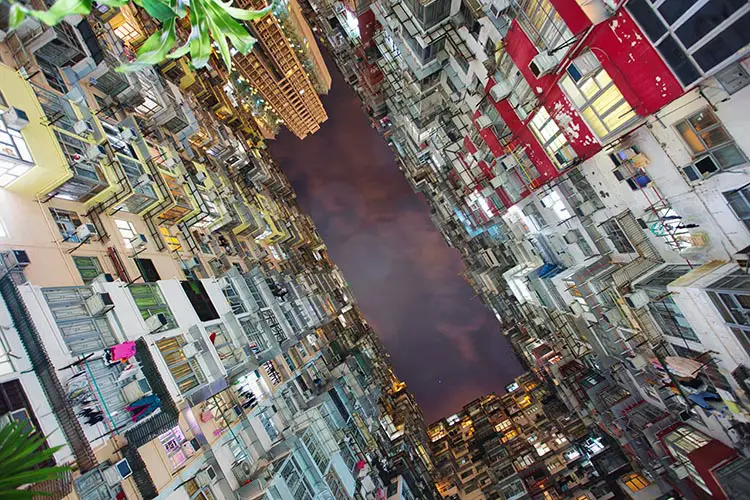
7. Hong Kong Night
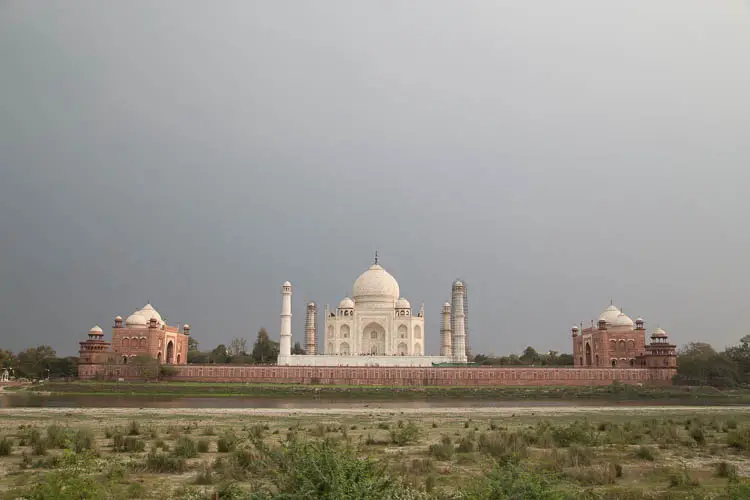
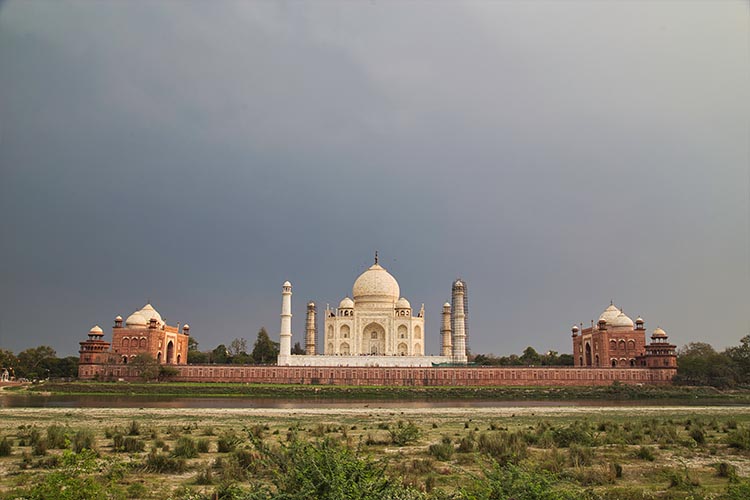
8. Taj Mahal Overcast
9. Bagan Balloons


10. Maldives Beach
See installation instructions further down this page.
If you want to create your own Luminar Neo presets, then take a look at this video, which also gives you some tips on how to use them to their best advantage.
Luminar Neo Sky Overlays – Free Luminar Sky Packs
You can download these free Luminar sky pack from my library for any non-commerical or hobby uses. Add these skies to Luminar Neo following the instructions below, then you can use them to replace skies in your photos using the Sky AI feature.
Each of these skies is titled with the focal length used to take it, so you can more easily match up the replacement sky with an image of your own, as the most effective sky replacements use the same focal length as the original image.
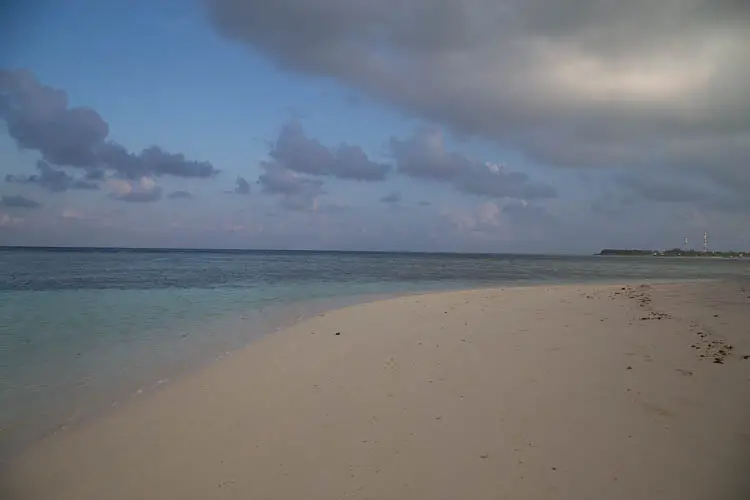
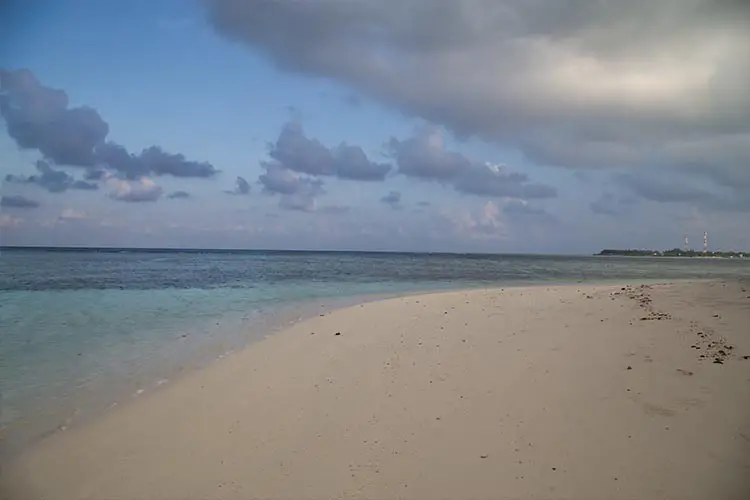
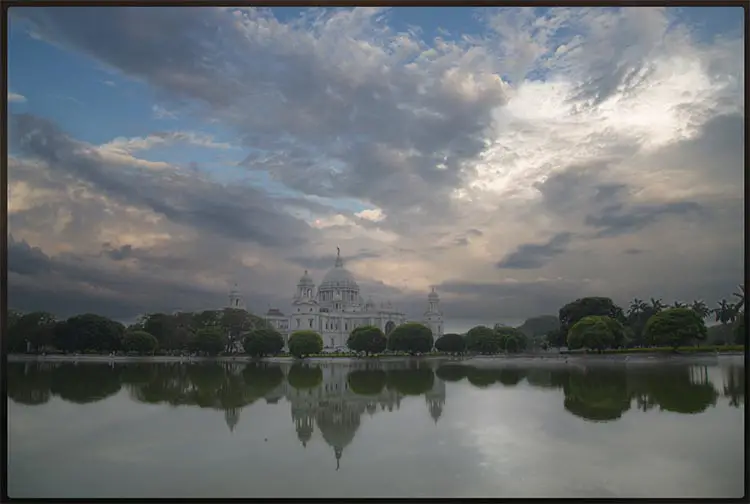
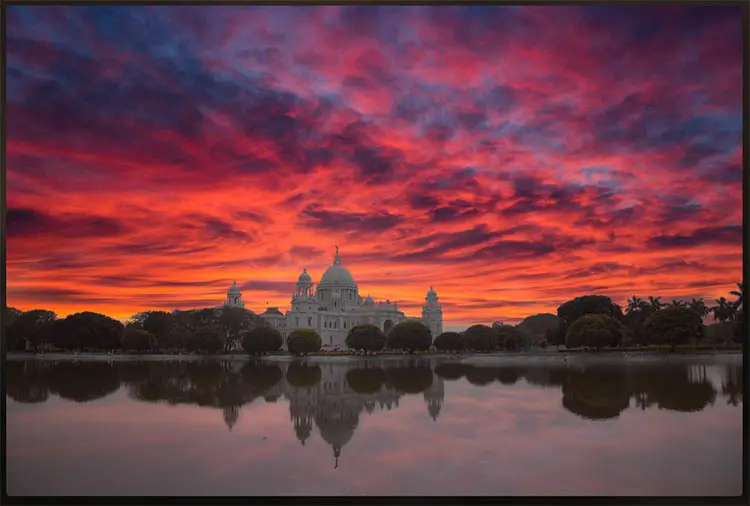
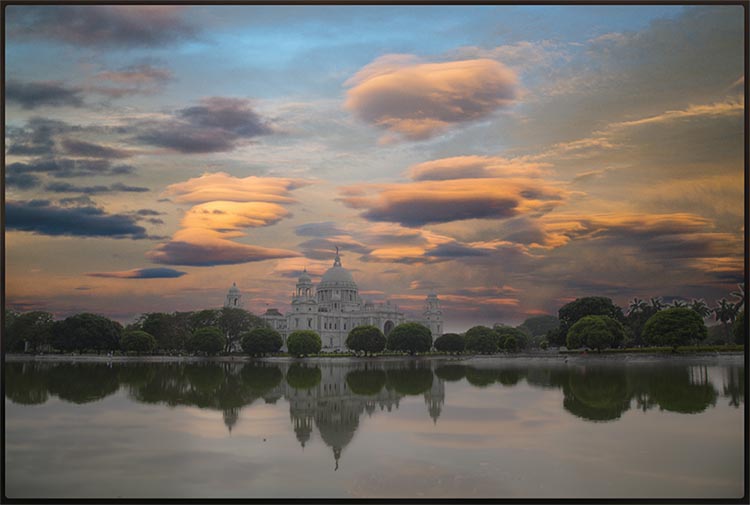
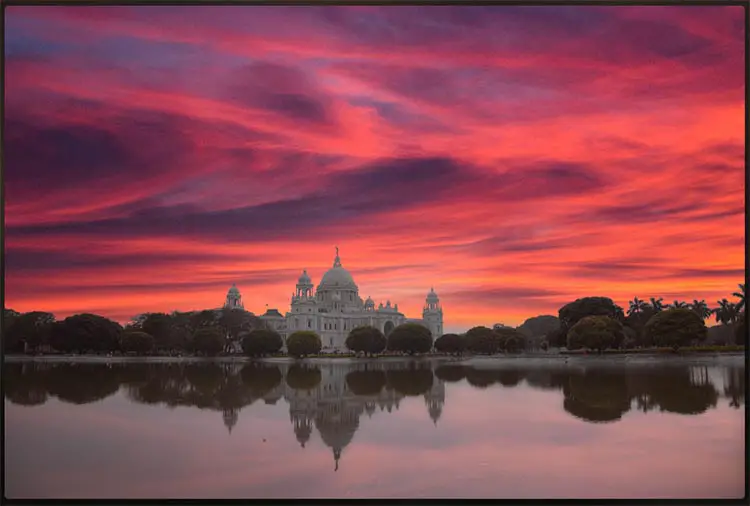
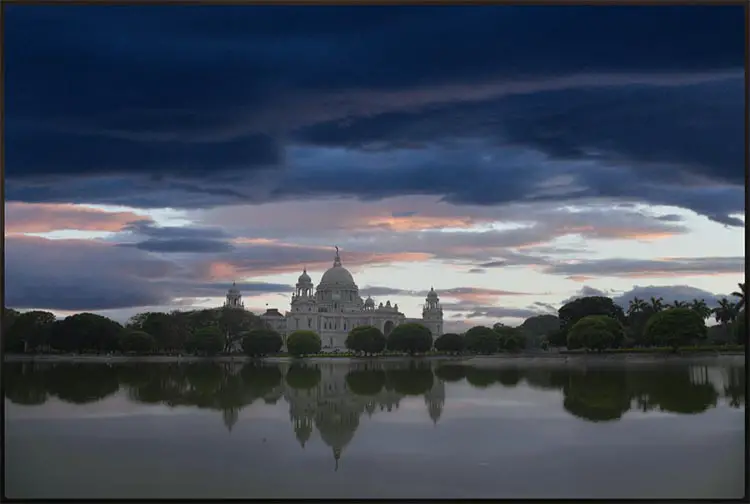
So that you can see what each sky looks like, they are all applied to the same image below, taken at 24mm, with no further modifications.
There are more sky photos available on the free Photoshop sky overlays page.
1. 24mm
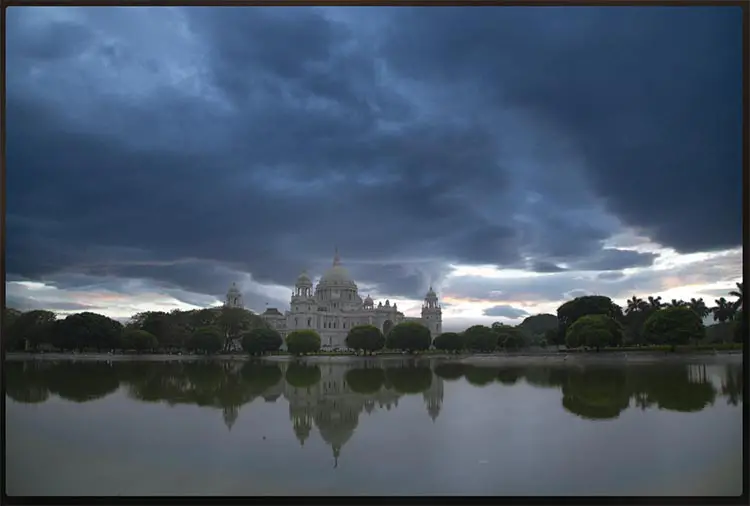
2. 24mm
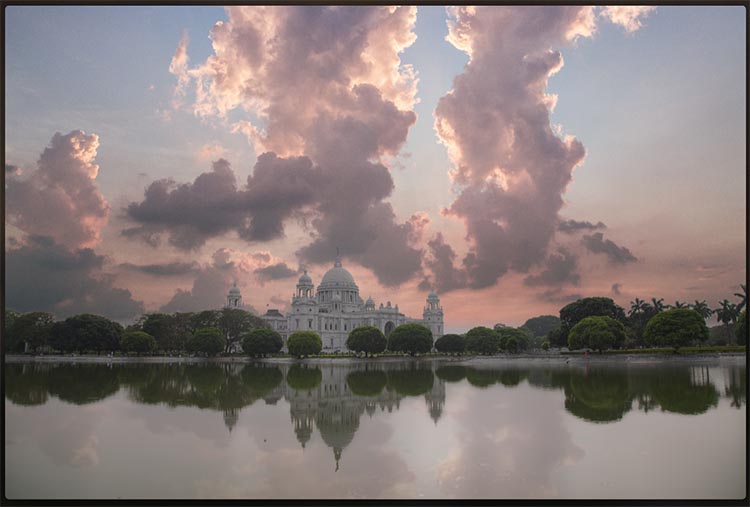
3. 24mm
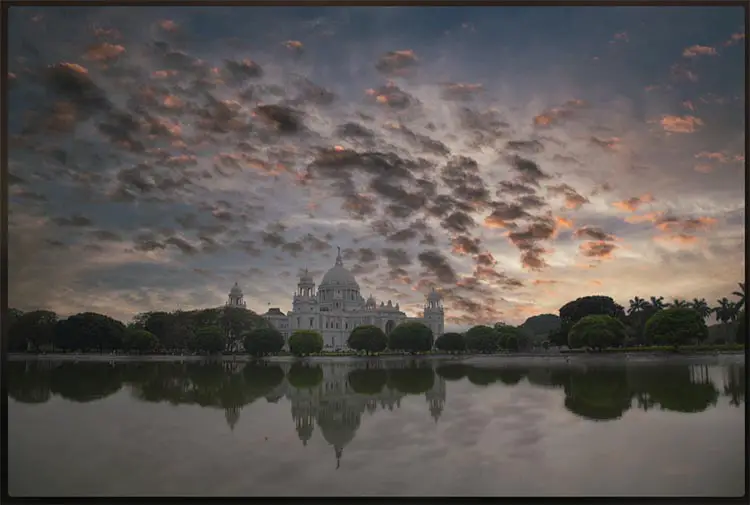
4. 32mm
5. 45mm
6. 45mm
7. 65mm
8. 80mm
9. 105mm
10. 105mm
See installation instructions further down this page.
How to Install Luminar Neo Presets
Installing presets in Neo means having to copy them to the correct presets folder. This can be hard to find, so if you can’t install them using the file paths below, then follow the comprehensive method to find your presets folder following this.
For Windows:
After downloading the ZIP file containing the presets above, first unpack the ZIP file, then move the folders within to your ‘Users’ directory, which should be at:
C:\Users\[your PC username]\AppData\Roaming\Luminar Neo\Data\Presets\Users
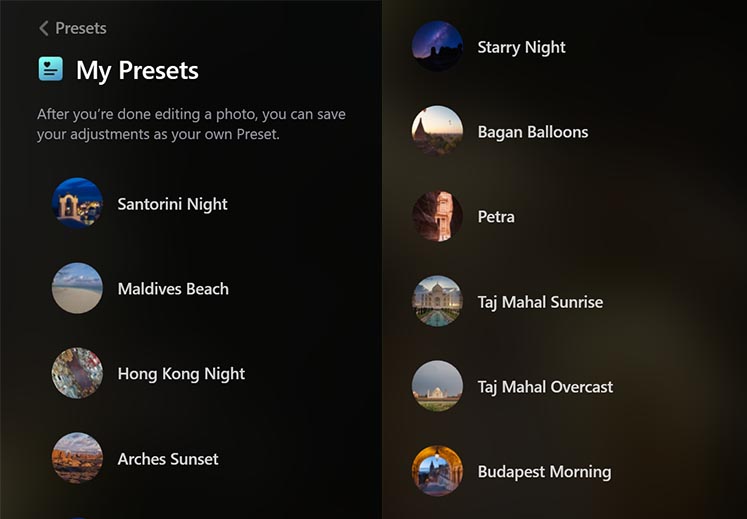
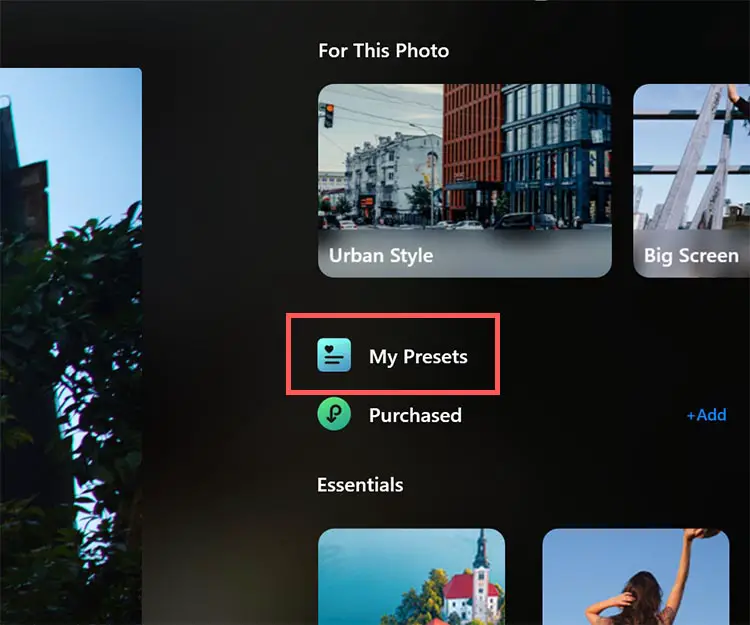
Once you have copied the folder across, the presets will be available in the ‘My Presets’ section of the ‘Presets’ tab, which can be accessed from the menu bar, or by pressing ‘T’.
For Mac:
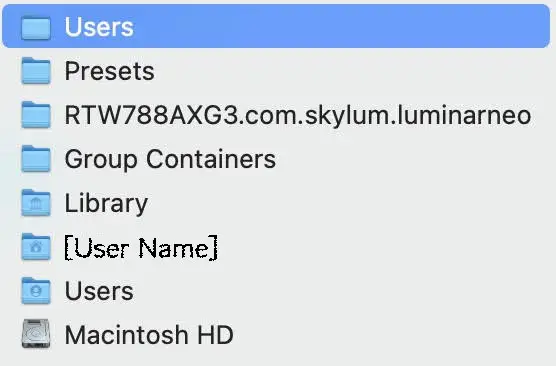
Unpack the ZIP file that contains the presets, then copy the folders into your ‘Users’ folder for Luminar Neo, which will be found at:
/Users/[User Name]/Library/Group Containers/RTW788AXG3.com.skylum.luminarneo/Presets/Users
If you cannot see your ‘Library’ folder, then use the three dots in the top-right, and click ‘Show View Options’.
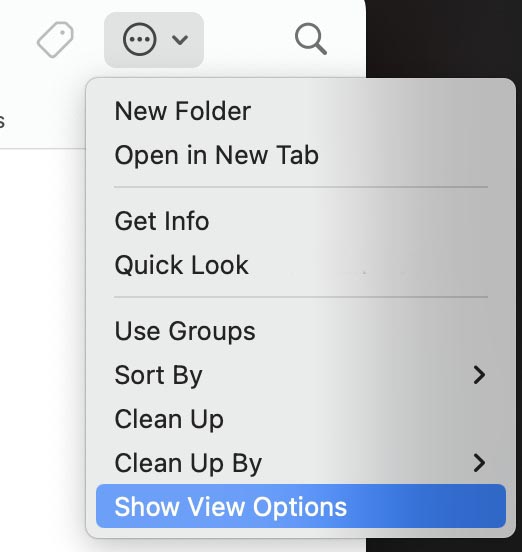
Then click, ‘Show Library Folder’ in the options that popup.

If you are still unable to see your presets folder, then first open Luminar Neo, then use any existing presets to find the folder where they are saved.
To do this, you need an existing user preset. Go to the ‘Presets’ tab and see if the ‘My Presets’ option exists.
If ‘My Presets’ is not there, then you first need to create your own preset.
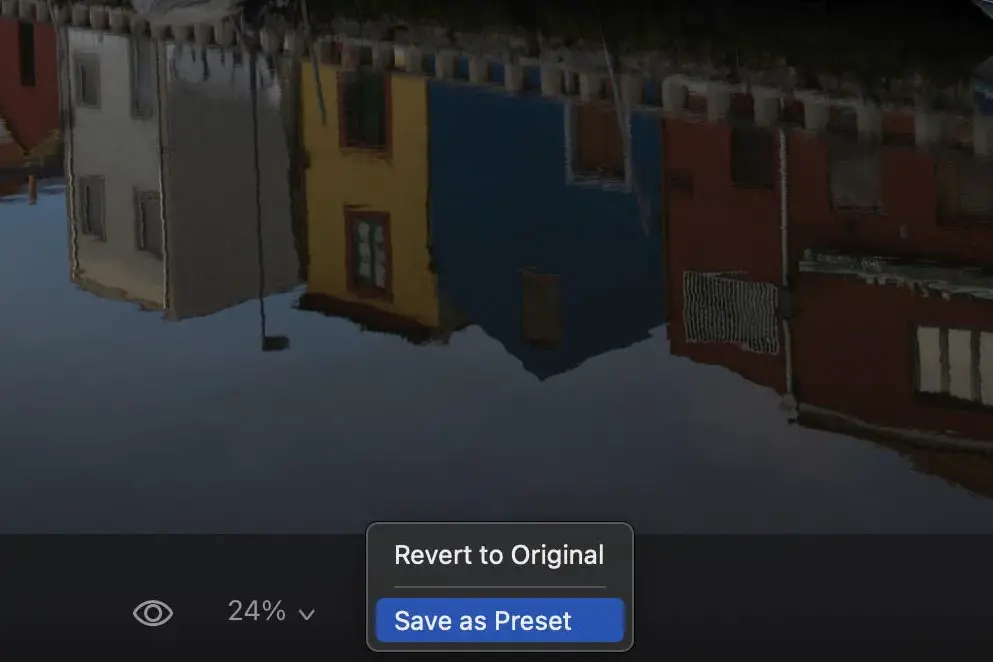
Open any photo in the ‘Edit’ tab and make any edit. Then, use the Actions at the bottom to choose ‘Save as Preset’.
You will be taken to the ‘My Presets’ tab.
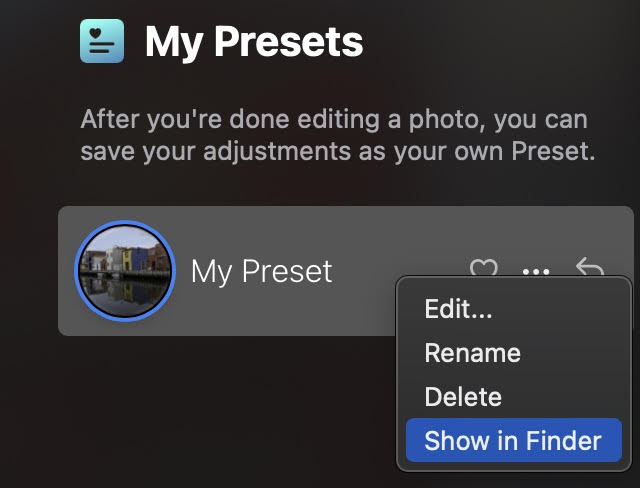
Use the three dots next to your preset, whether it is one you have just created or an existing one, then click ‘Show in Finder’ on Mac, or ‘Show Folder’ on Windows.
Each Luminar Neo preset is saved to its own folder. You will therefore need to go up one level in the folder structure to find your ‘Users’ folder. You can then copy all your downloaded presets into this folder.
How to Install Luminar Sky Overlays
To have these sky overlays always available, follow the installation instructions in the video below.
Or follow the steps:
- First, unpack the ZIP file
- Open Luminar Neo
- Go to the Edit tab
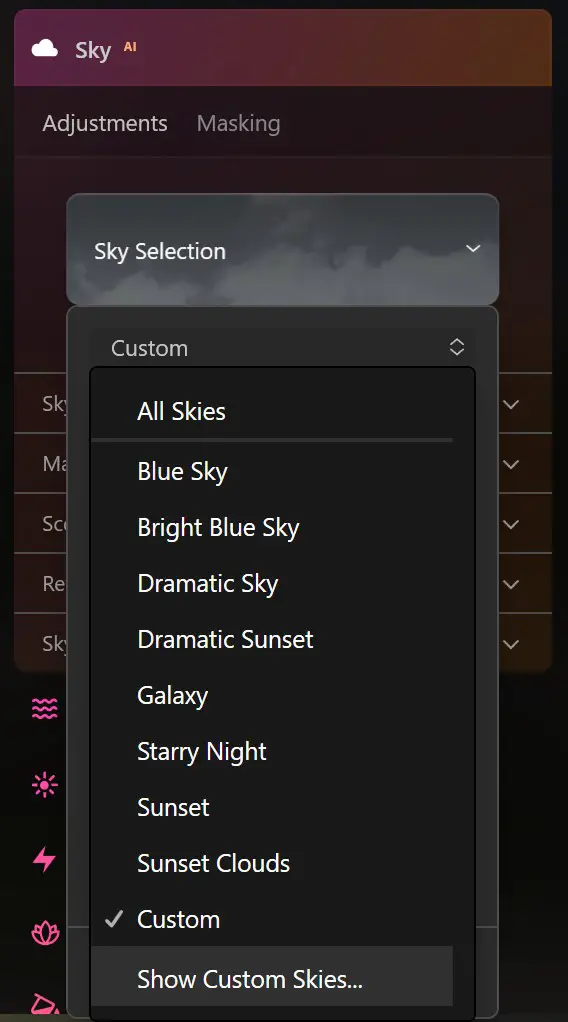
- Open Sky AI
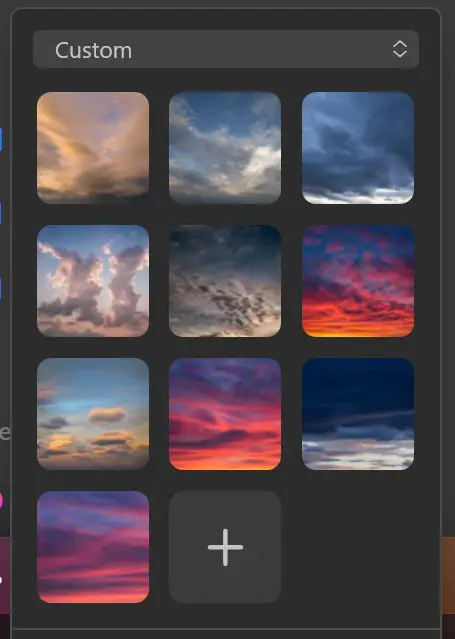
- Choose the ‘Show Custom Skies’ at the bottom of the Sky Selection dropdown
- Copy the downloaded skies into the folder that opens
The downloaded skies should now be available under the ‘Custom’ menu in the Sky Selection dropdown. You may have to restart Luminar in order to see them.
Read More:
Luminar Neo vs AI: Pros and Cons


17 Responses
Richard Bance
Free Luminar Neo Presets
Re the above, I have downloaded the presets and unzipped but i have a Mac and can’t find
C:\Users\richardbance\AppData\Roaming\Luminar Neo\Data\Presets\Users
and when I try to Add Presets within Neo the the files are n to highlighted and so will not
add.
Please can you point me in the right direction for a Mac.
Kind Regards
Tim Daniels
Have you tried opening Neo, then going to the File -> Add Luminar Neo Preset Collection and adding them that way, or is this what you are saying doesn’t work?
It should also be possible to copy them into the folder “/Users/[user name]/Library/Application Support/Luminar Neo/Data/Presets/Users” (I think that is the correct file path). If you can’t see the library folder, then you can follow this guide.
Richard Bance
No still not working.
\AppData\ does not appear anywhere on my imac
Tim Daniels
I’ve now updated the installation instructions for Mac.
I’ve tested this out on my MacBook so just follow the updates and screenshots in the article.
Rogelio De la Peña
Buenas, el archivo appdata es un archivo oculto, debes ir a las preferencias de ventana, y decirle que te muestre las carpetas ocultas, y listo, a mi me funcionó así, espero te sirva
well
loved the presets
i testing for some pro works using luminar neo instead LR
looking good so far
there is a community already of presets for the software? to speedup the editing like LR?
the official shop of skylum doesnt look big
Tim Daniels
Glad you like them!
There’s not much of a community for Luminar Neo presets as yet (I couldn’t find any, which is why I made these).
I will add some more presets to this list soon though, so at least there will be a few more here.
desas
https://s3.amazonaws.com/downloads.lapseoftheshutter.com/Luminar+Neo+Presets+-+Users+Folder.zip
hi this link no found thank you
Tim Daniels
Thanks for letting me know.
The link is working again now.
Brian H
Unable to copy and paste sky overlays on a Mac. After you click copy on one of the downloaded files, it will not paste to any folder.
Tim Daniels
Hi Brian, you should be able to drag and drop the sky overlays into the folder that opens. Can you copy and paste other files between folders?
Paul Reid
Hello. I copied the Presets downloads to this path. Restarted Neo and they now show in My Presets list.
Mac/ Users/ My Name/ Library/ Group Containers/ RTW788AXG3.com.skylum.luminarneo/Presets/Users
Krzys
Brak widocznej wtyczki Photoshop co mam zrobic.
Tim Daniels
These aren’t designed to work with Photoshop, only Luminar Neo.
Sam
Thank you for the presets you provided, but several presets have lost the sky picture file, so that the preset effect is not fully displayed. (1. Arches Sunset|4. Taj Mahal Sunrise)
Tim Daniels
I can see that. The sky for these was one of the default skies in Luminar Neo, so I don’t think there is a way for me to fix this – you’ll just have to select it yourself.
I’ll see what I can do to sort this out in future.
Mattia
Excellent presets!